Your Cart is Empty

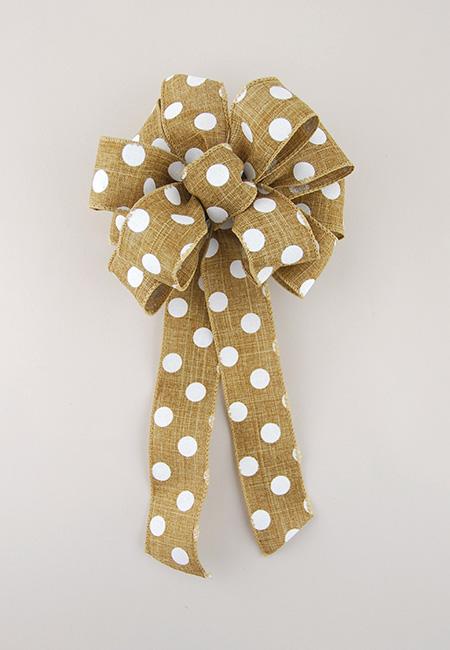
DIY: How to Tie a Loopy Bow
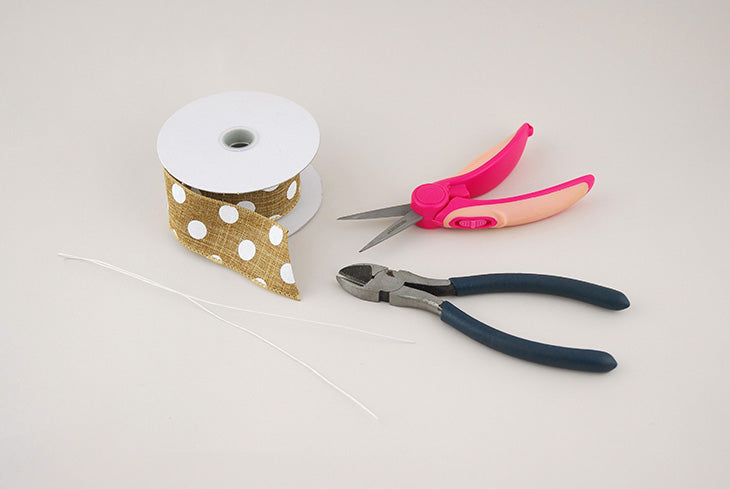
Materials
- Ribbon (approx. 3 yards)
- Ribbon wire (or floral wire)
- Scissors
- Wire cutters
Instructions
- Curl ribbon over to create the center loop and pinch it at the base. Twist the tail of ribbon where your fingers are pinched so that the front side of the fabric is facing up.


- Fold the ribbon under to make the first loop. Twist the ribbon to make the front side face out and pinch it in the center. (Note: You will need to twist the ribbon after each consecutive loop in order to make sure that the front side of the fabric will always be facing out.)


- Fold the ribbon on the opposite side of the first loop to create the second loop. Hold up both loops to make sure they are the same length. Twist and pinch the ribbon.


- Begin the second set of loops using the same method as the first set. Use your fingers to measure the loops, keeping them at the same length.

- Continue folding loops and twisting the ribbon until you have five loops on each side.


- Insert ribbon wire through the center loop and wrap around to the back. Before tightening the wire, make sure the ribbon tail is folded back so that the front side of the fabric is facing toward the front of the bow. Leaving one end of the wire longer than the other, tightly twist the wire together at least 3 times. Don’t cut the wire just yet.


- Trim the ribbon tail to your desired length. Feed the remaining ribbon through the center loop at least as high as the loops are long. Grab the longer piece of wire from the back and insert it through the center loop over the ribbon and around to the back.


- Tightly twist the wire together in the back, trim it, and flatten it down onto the bow. Next, trim the second ribbon tail to match the length of the first.


- Arrange each loop up or down to fill out the full circle of the bow.


- Trim the top tail to the same length as the loops.

