Your Cart is Empty
Menu
-
- Shop By Event
- Naturals & Florals
- Crafts
- Vases
- Candles & Lighting
- Décor
- Ideas & Inspiration
- Sale
-
- Help
- FREE SHIPPING ON ORDERS OVER $79
- 1-800-928-6175
- Login
-
United States (USD $)

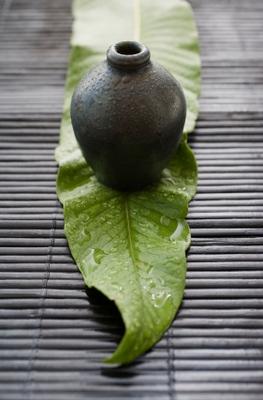
Creative Containers for your Flower Arrangements - Making Moss Covered Pots
July 12, 2018 1 min read
How to cover a pot with natural moss
A covered pot makes a great base for decorating.
Use a hot glue gun or spray adhesive to secure sheets of green sheet moss to the outside of pots.
- Spray a generous coat of adhesive on the sides .
- Then roll the sheet moss around the container, and cut off the excess.
- Now take several rubber bands and place them over the moss until it dries. Keep your pots in the shade and be sure to mist once in a while.