Menu
Shop By Event
Weddings
Ceremony
Reception
Candles
Vases
Aisle Décor
Lighting
Charger Plates
Mirrors
Centerpieces
Bachelorette Party
Engagement Party
Bridal Shower
Birthday Party
Anniversary
Seasonal Parties
Valentine's Day
Easter
Fourth of July
Fall
Halloween
Thanksgiving
Advent
Christmas
New
Sale
Naturals & Florals
Botanicals
Wheat and Cotton
Grapevines
Gyp, Baby’s Breath, Caspia
Fruits, Pine Cones, Berries, Pods
Boxwood, Hops
Lavender
Flowers
Stemmed
Bouquets
Petals
Succulents
Wreaths
Greenery and Garland
Leaves
Grass Mats
Palms & Ferns
Berries
Garlands
Boxwood
Pots & Planters
Floral Supplies
Bouquet Supplies
Compote
Confetti
Corsage & Bouttenieres
Foam & Adhesives
Vases
Tree Slabs
New
Sale
Crafts
Craft Supplies
Foam
Tapes
Twine
Glitter
Gift Packaging
Favors
Fabric & Ribbon
Christmas Supplies
Lace
Burlap
Pearls & Diamonds
Wood Crafts
Boxes
Branches
Wood Burning Tools
Slabs
Pine Cones
New
Sale
Vases
Cylinder Vases
Square Vases
Flower Vases
Bud Vases
Hanging Vases
Mason Jars
Bottles And Jars
Vintage Bottles & Holders
Hurricane Vases & Shades
Bubble Ball Vases
Metal Vases
Compote
Apothecary Jars
Vase Filler
Acrylic Diamonds
Flat Gems
River Gravel
Sea Glass
Crushed Glass
Shells
Water Pearls
New
Sale
Candles & Lighting
Candles
Unscented Votive Candles
Scented Votive Candles
Pillar Candles
Floating Candles
Tealight Candles
Flameless Candles
Luminary Candles
Taper Candles
Fuel Cells
Sphere Candles
Candle Holders
Votive Candle Holders
Pillar Candle Holders
Floating Candle Holders
Tealight Candle Holders
Taper Candle Holders
Hanging Candle Holders
Mercury Candle Holders
Metallic Candle Holders
Coasters/Pillar Plates
Wooden Holders
Lighting
String Lights
LED Lighting
Light Bulbs & Batteries
LED Orbs
Marquee Letters & Signs
Light Bases
New
Sale
Décor
Garden & Outdoor
Shepherd Hooks
Lanterns
Lighting
Pots & Planters
Buckets & Tubs
Garden Décor
Nautical Décor
Terrarium
Home & Indoor
Mirrors
Lighting
Easels & Frames
Bowls & Trays
Frames
Beverage Bar Supplies
Linens
Tablescape
Charger Plates
Napkin Rings
Glassware
Serveware
Linens
Chair Décor
Unique Décor
Apothecary Jars
Birds & Bird Cages
Feathers
Fabric & Ribbon
Pearls & Lace
Tulle
Charger Plates
New
Sale
Ideas & Inspiration
Sale
Help
FREE SHIPPING ON ORDERS OVER $79
1-800-928-6175
Login
United States (USD $)
Canada (CAD $)
United States (USD $)
0
1-800-928-6175
Help
FREE SHIPPING ON ORDERS OVER $79
Currency
United States (USD $)
Canada (CAD $)
United States (USD $)
Login
0
Your Cart is Empty
Continue Shopping
$0.00
Subtotal
Taxes and
shipping
calculated at checkout
Checkout
Shop By Event
Weddings
Ceremony
Reception
Candles
Vases
Aisle Décor
Lighting
Charger Plates
Mirrors
Centerpieces
Bachelorette Party
Engagement Party
Bridal Shower
Birthday Party
Anniversary
Seasonal Parties
Valentine's Day
Easter
Fourth of July
Fall
Halloween
Thanksgiving
Advent
Christmas
New
Sale
Naturals & Florals
Botanicals
Wheat and Cotton
Grapevines
Gyp, Baby’s Breath, Caspia
Fruits, Pine Cones, Berries, Pods
Boxwood, Hops
Lavender
Flowers
Stemmed
Bouquets
Petals
Succulents
Wreaths
Greenery and Garland
Leaves
Grass Mats
Palms & Ferns
Berries
Garlands
Boxwood
Pots & Planters
Floral Supplies
Bouquet Supplies
Compote
Confetti
Corsage & Bouttenieres
Foam & Adhesives
Vases
Tree Slabs
New
Sale
Crafts
Craft Supplies
Foam
Tapes
Twine
Glitter
Gift Packaging
Favors
Fabric & Ribbon
Christmas Supplies
Lace
Burlap
Pearls & Diamonds
Wood Crafts
Boxes
Branches
Wood Burning Tools
Slabs
Pine Cones
New
Sale
Vases
Cylinder Vases
Square Vases
Flower Vases
Bud Vases
Hanging Vases
Mason Jars
Bottles And Jars
Vintage Bottles & Holders
Hurricane Vases & Shades
Bubble Ball Vases
Metal Vases
Compote
Apothecary Jars
Vase Filler
Acrylic Diamonds
Flat Gems
River Gravel
Sea Glass
Crushed Glass
Shells
Water Pearls
New
Sale
Candles & Lighting
Candles
Unscented Votive Candles
Scented Votive Candles
Pillar Candles
Floating Candles
Tealight Candles
Flameless Candles
Luminary Candles
Taper Candles
Fuel Cells
Sphere Candles
Candle Holders
Votive Candle Holders
Pillar Candle Holders
Floating Candle Holders
Tealight Candle Holders
Taper Candle Holders
Hanging Candle Holders
Mercury Candle Holders
Metallic Candle Holders
Coasters/Pillar Plates
Wooden Holders
Lighting
String Lights
LED Lighting
Light Bulbs & Batteries
LED Orbs
Marquee Letters & Signs
Light Bases
New
Sale
Décor
Garden & Outdoor
Shepherd Hooks
Lanterns
Lighting
Pots & Planters
Buckets & Tubs
Garden Décor
Nautical Décor
Terrarium
Home & Indoor
Mirrors
Lighting
Easels & Frames
Bowls & Trays
Frames
Beverage Bar Supplies
Linens
Tablescape
Charger Plates
Napkin Rings
Glassware
Serveware
Linens
Chair Décor
Unique Décor
Apothecary Jars
Birds & Bird Cages
Feathers
Fabric & Ribbon
Pearls & Lace
Tulle
Charger Plates
New
Sale
Ideas & Inspiration
Sale
Home
/
Décor
Featured
Best selling
Alphabetically, A-Z
Alphabetically, Z-A
Price, low to high
Price, high to low
Date, old to new
Date, new to old
Garden & Outdoor
Garden & Outdoor
Charger Plates
Charger Plates
Home & Indoor
Home & Indoor
Tablescape
Tablescape
Unique Décor
Unique Décor
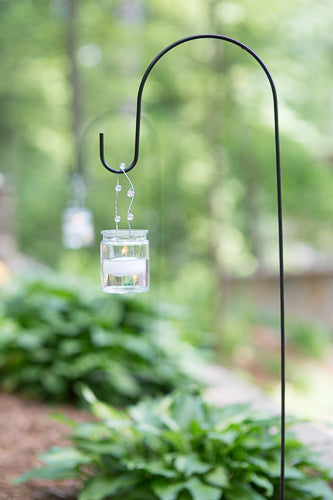
Adjustable Black Iron Shepherds Hook 34"-55" aisle-decorceremonydecoreventsbowl-floating-candle-holdergarden-outdoorgarden-decorhome-indoorshepherd-hooks
Quick View
Adjustable Black Iron Shepherds Hook 34"-55"
$24.99
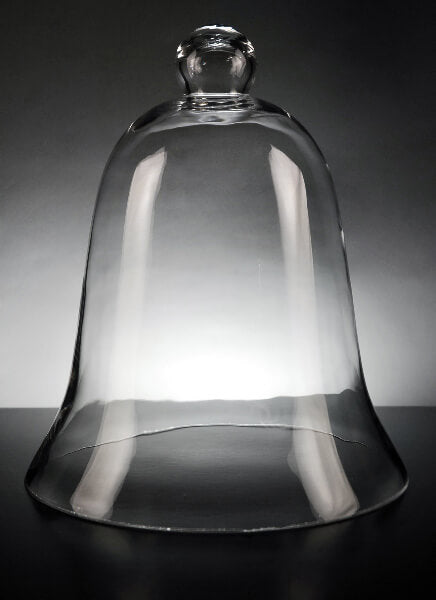
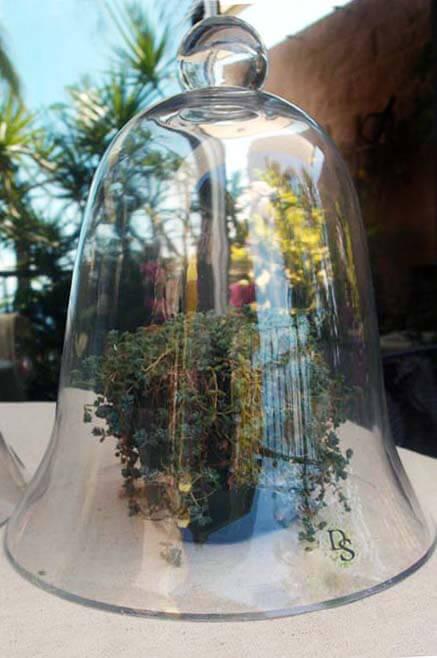
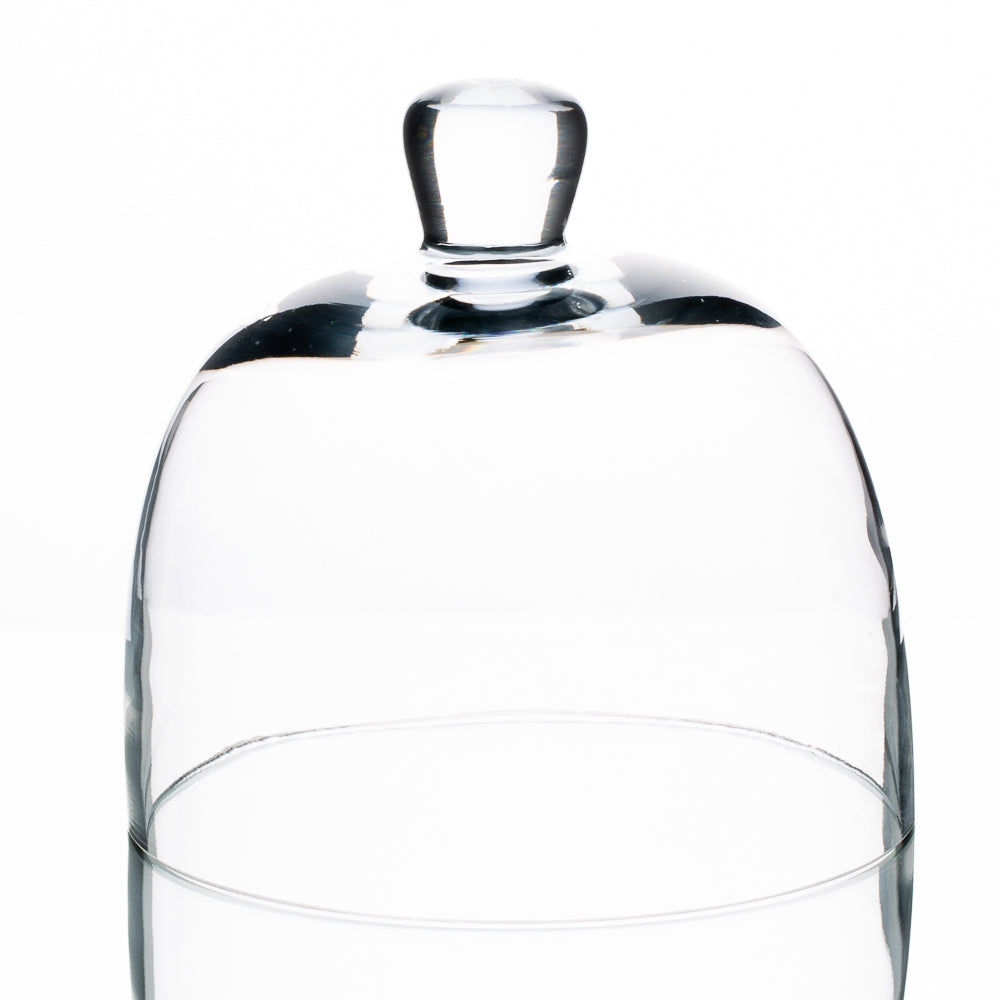
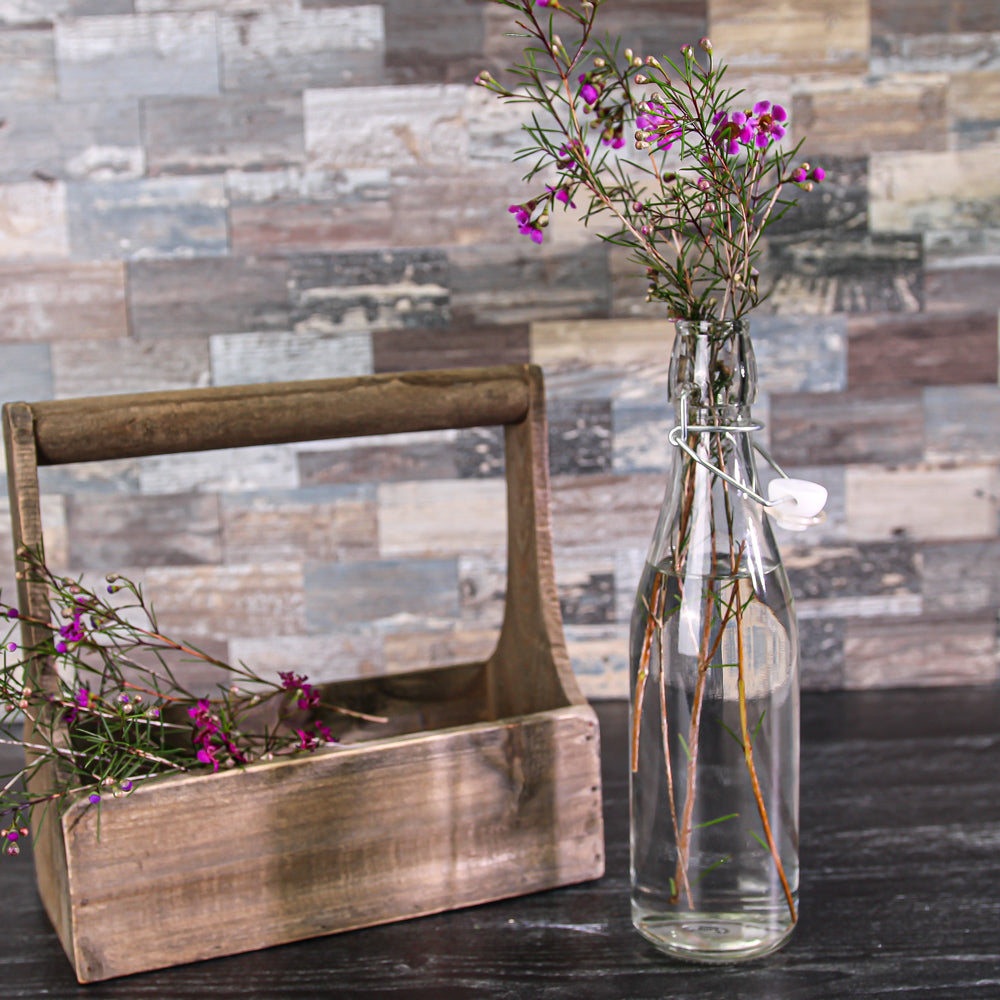
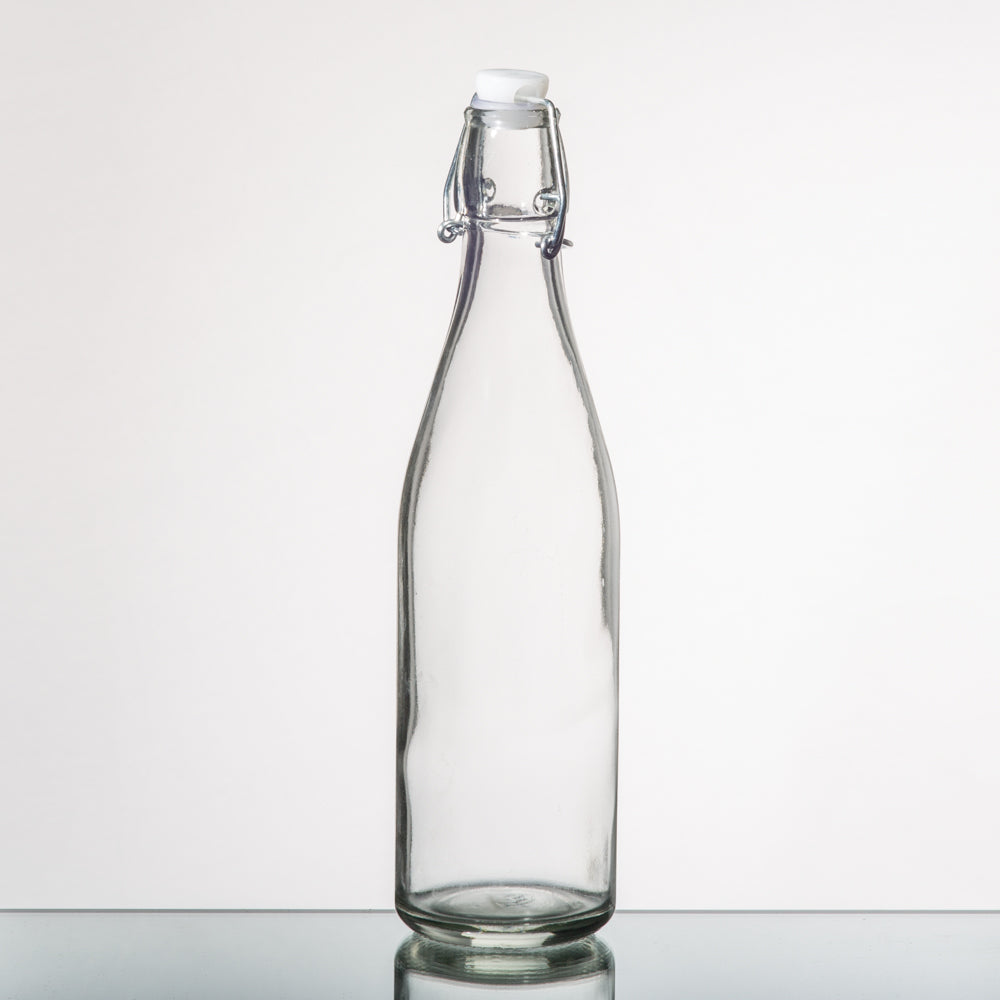
Thick Glass Bell Jar 11.5" anniversarybeverage-bar-suppliesmilk-bottle-vasesdecorengagement-partybowl-floating-candle-holdergarden-outdoorglasswarehome-indoorreceptionsucculentstablescapeterrariumvintage-bottles-holders
Quick View
Thick Glass Bell Jar 11.5"
$39.99
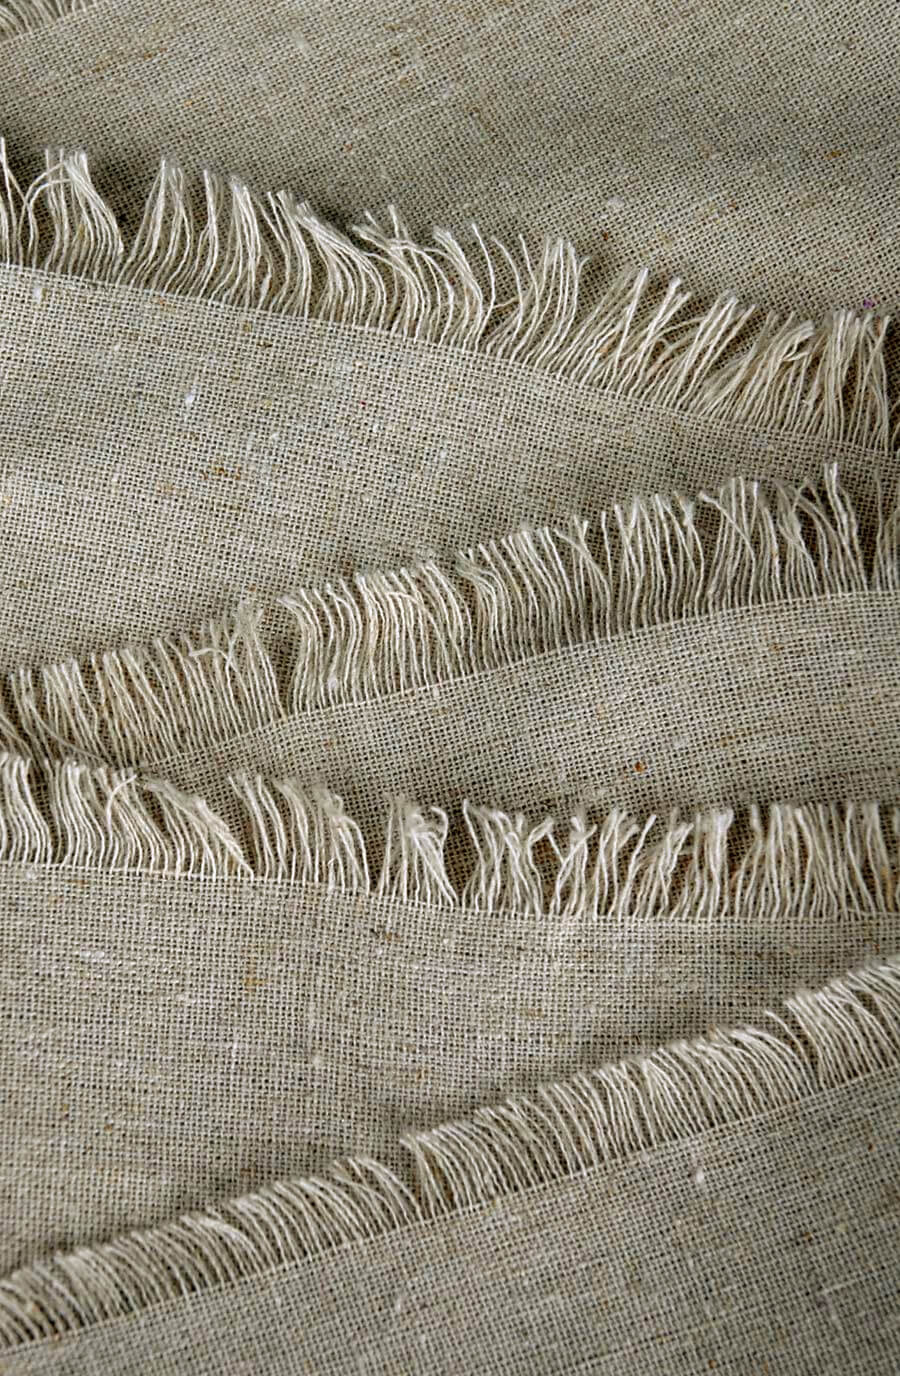
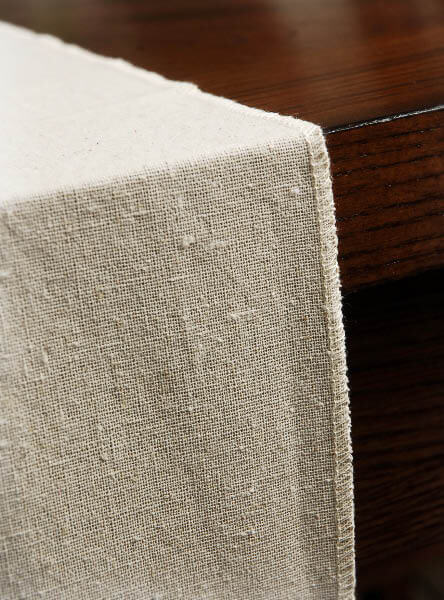
Fringed Edge Linen Table Runner 12.5in x 120in bridal-showercenterpiecesdecoreventsribbonfallbowl-floating-candle-holderlinensreceptiontablescapeweddings
Quick View
Fringed Edge Linen Table Runner 12.5in x 120in
$7.99
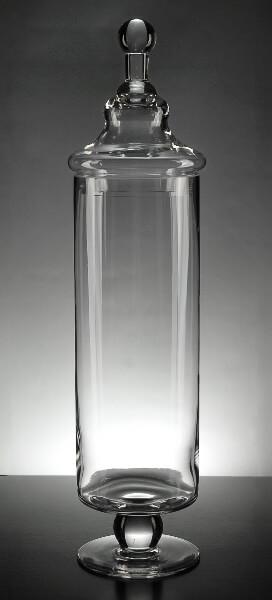
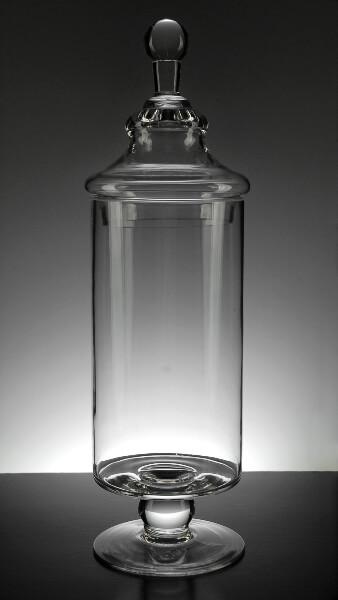
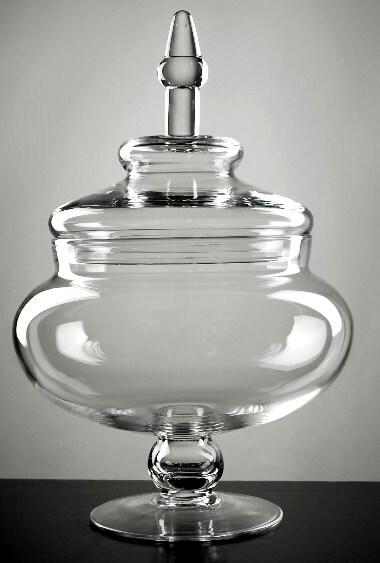
Tall 17.5" Apothecary Jar apothecary-jarsbeverage-bar-suppliesmilk-bottle-vasesbridal-showerdecorengagement-partybowl-floating-candle-holderglasswarereceptiontablescapevintage-bottles-holders
Quick View
Tall 17.5" Apothecary Jar
$34.99
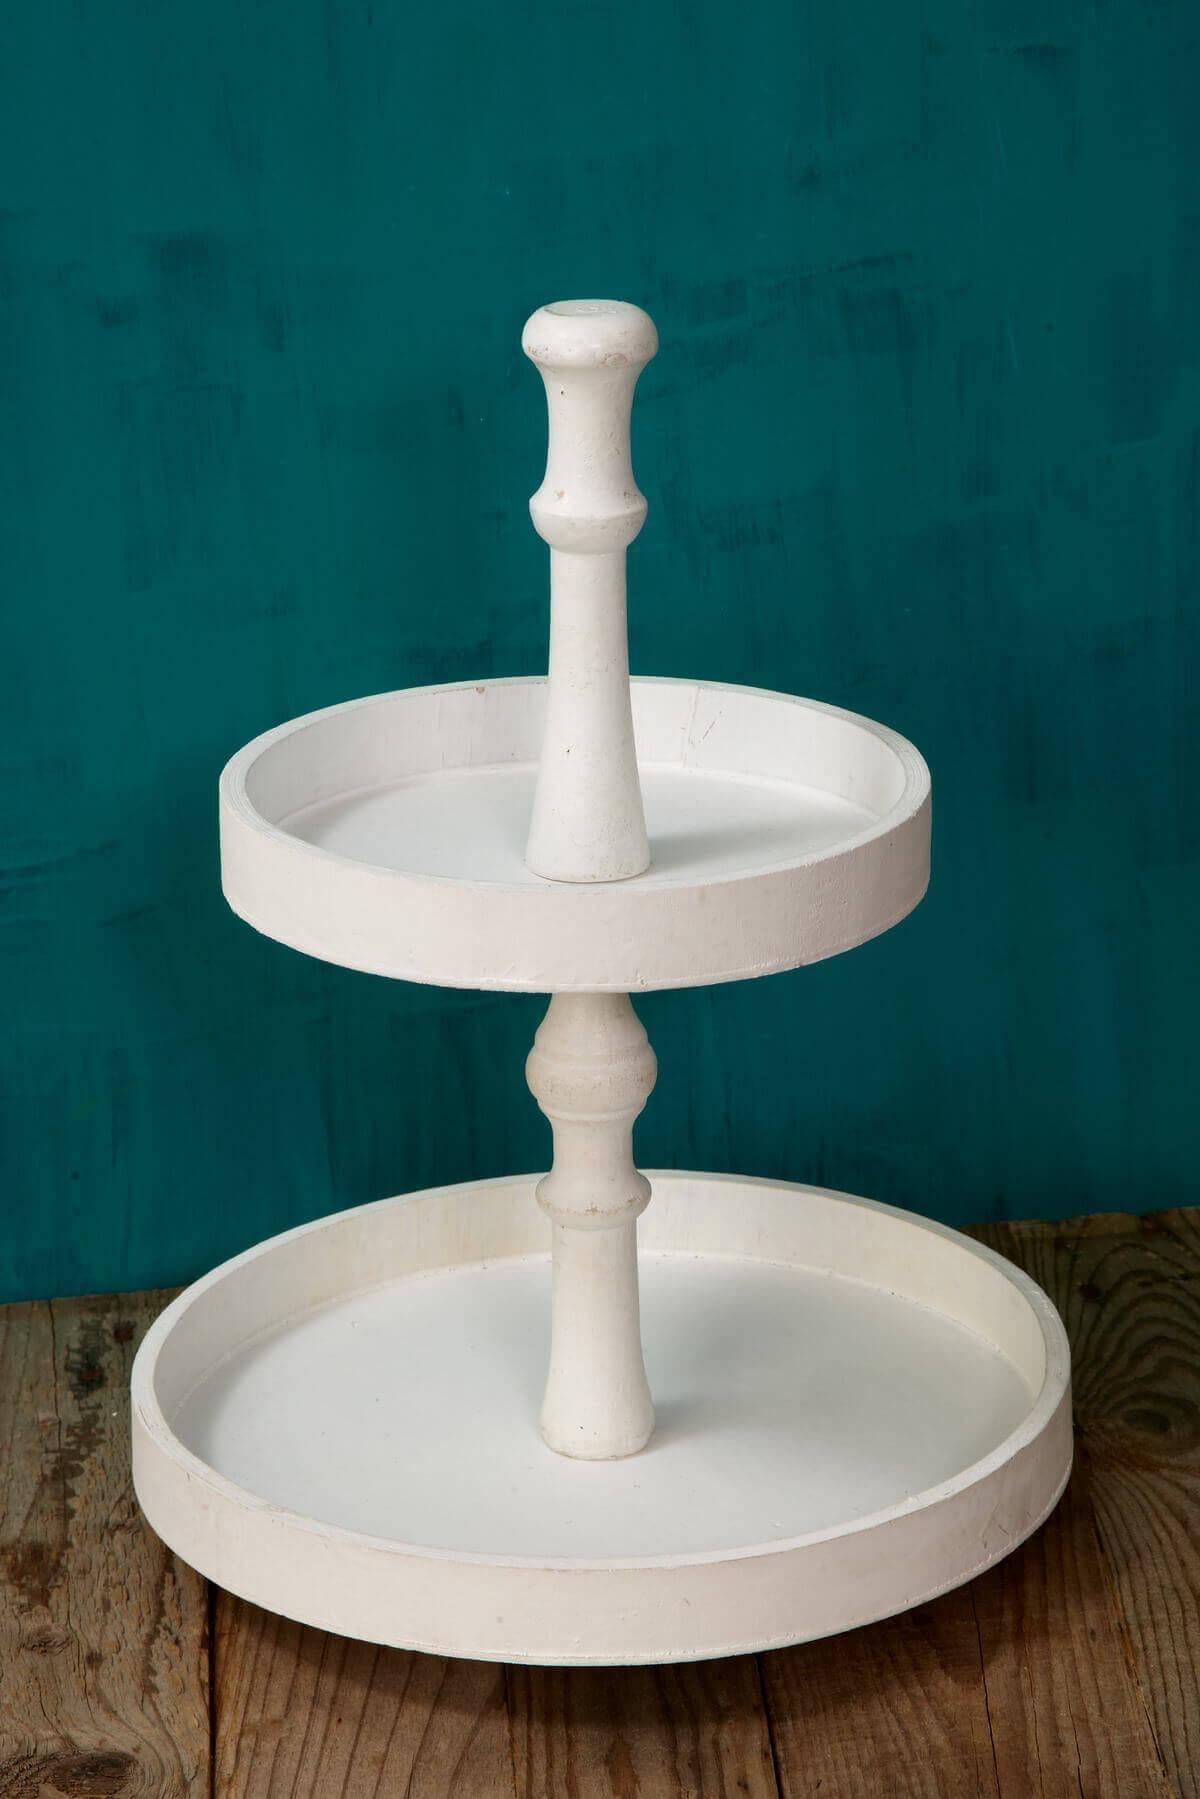
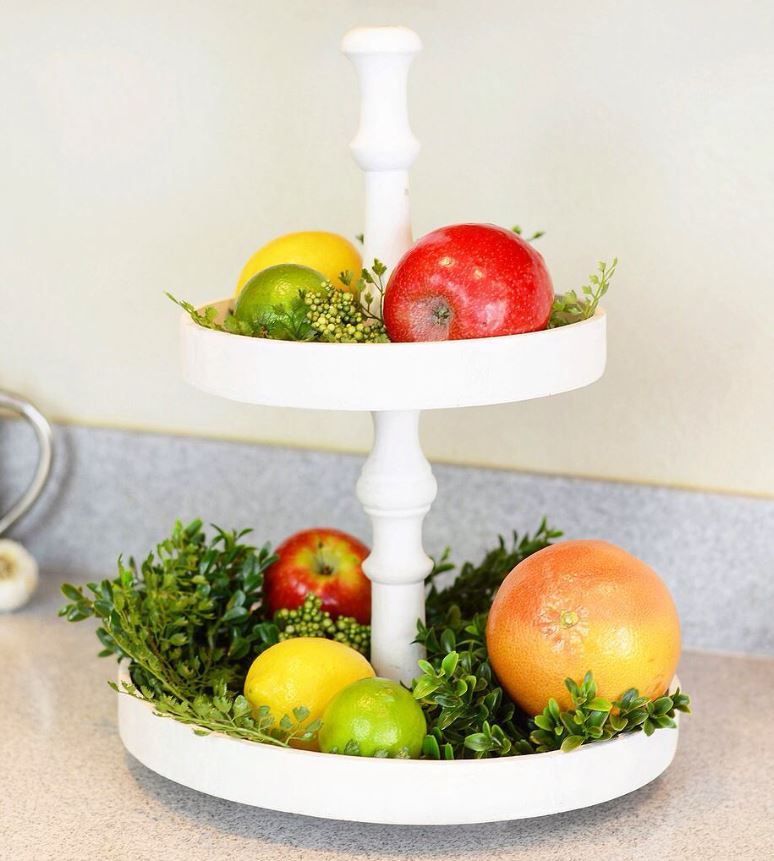
2-Tier Dessert Stand Round 15.5in birthday-party-1bowls-traysbridal-showercake-standscenterpiecescorporate-partiescraftsdecorengagement-partyevent-decor-on-saleeventsbowl-floating-candle-holderfourth-of-julyhome-indoorreceptionsaleservewaretablescapetabletop-on-saleweddings
Quick View
2-Tier Dessert Stand Round 15.5in
$20.99
$34.99
Linen Table Runner 12.5in x 120in birthday-party-1bridal-showercenterpiecesdecorfallbowl-floating-candle-holderlinensreceptiontablescapeweddings
Quick View
Linen Table Runner 12.5in x 120in
$8.99
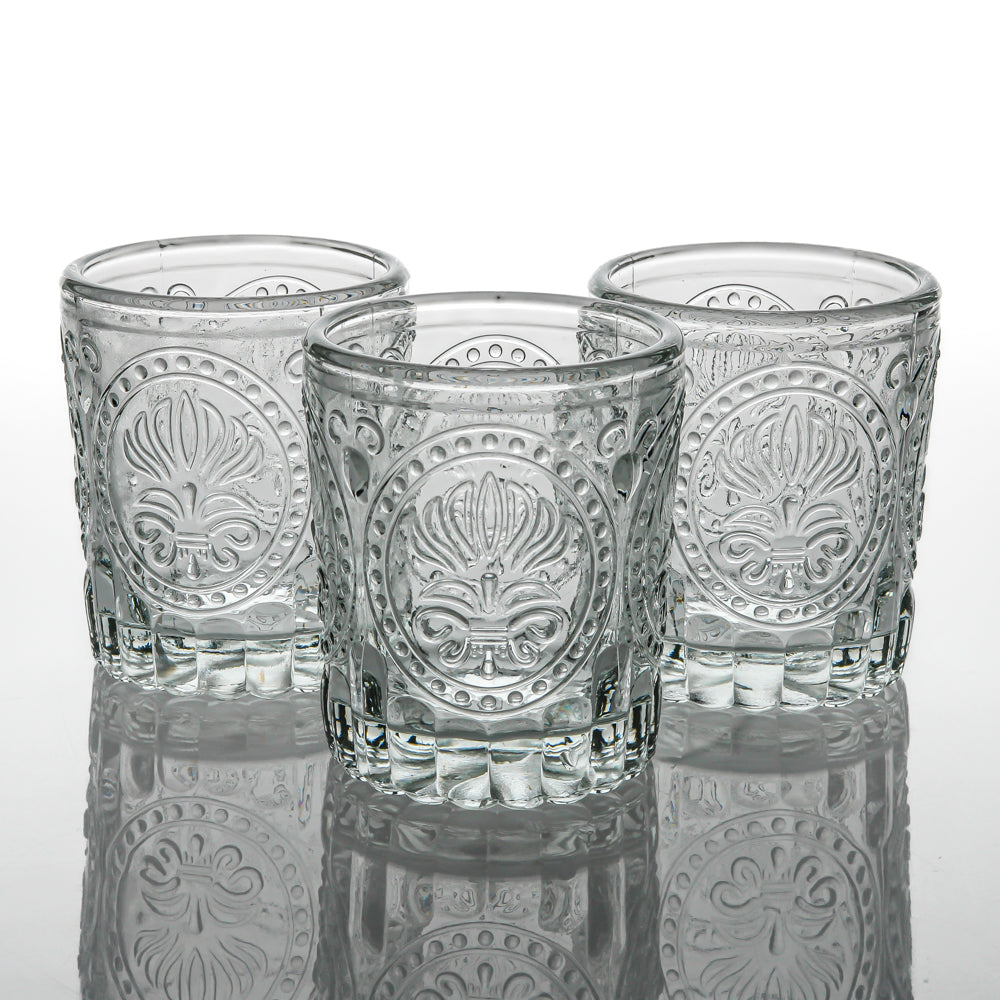
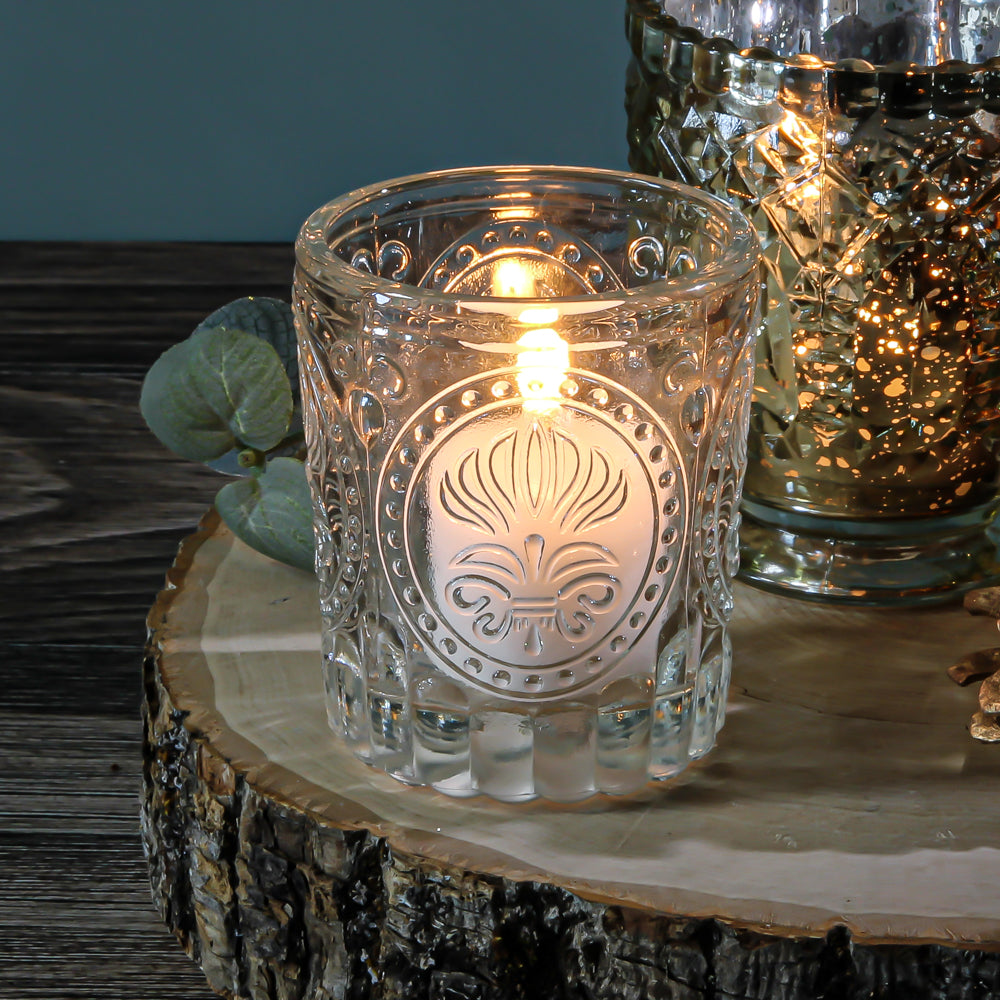
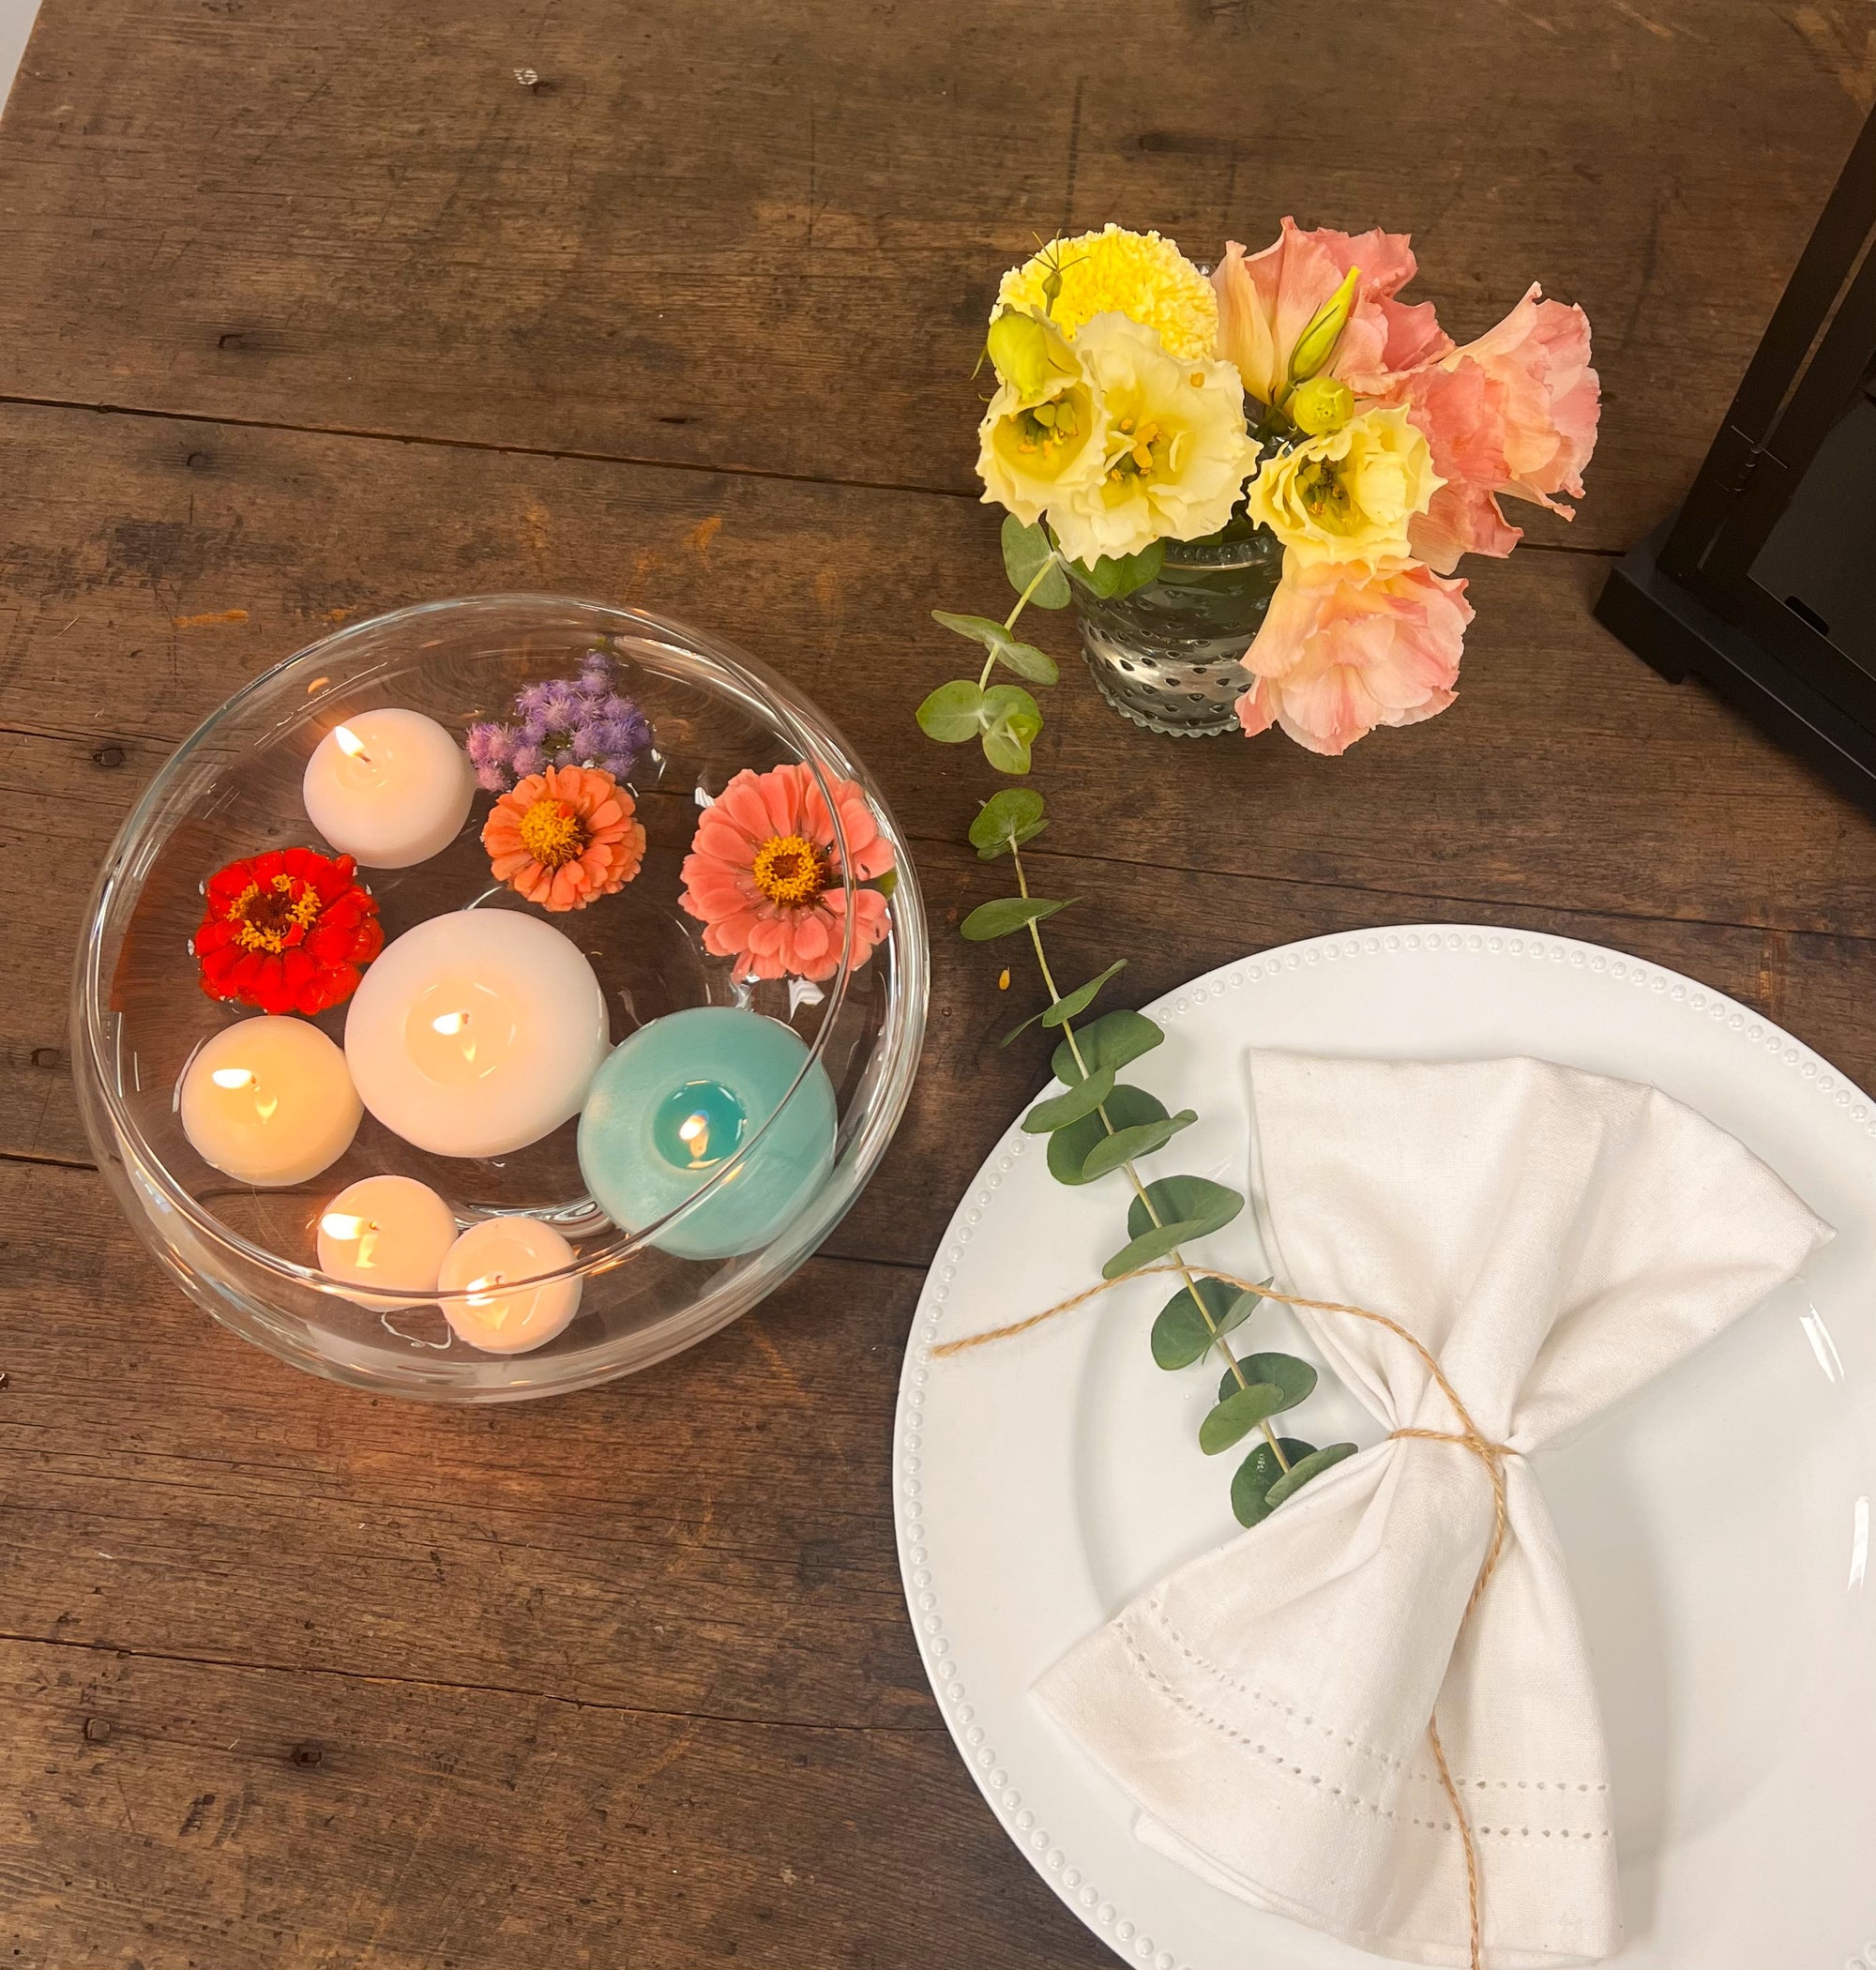
Richland Votive Holder Clear Textured Glass Set of 12 anniversarybeverage-bar-suppliesbud-vasescandle-holder-salecandle-holdersclear-votive-holderscorporate-partiesdecoreastereventsbowl-floating-candle-holderflower-vasesglasswarereceptionsale-group-ctablescapetealight-holdersvotive-candle-holdersvotive-holdersweddings
Quick View
Richland Votive Holder Clear Textured Glass Set of 12
$14.99
$24.99
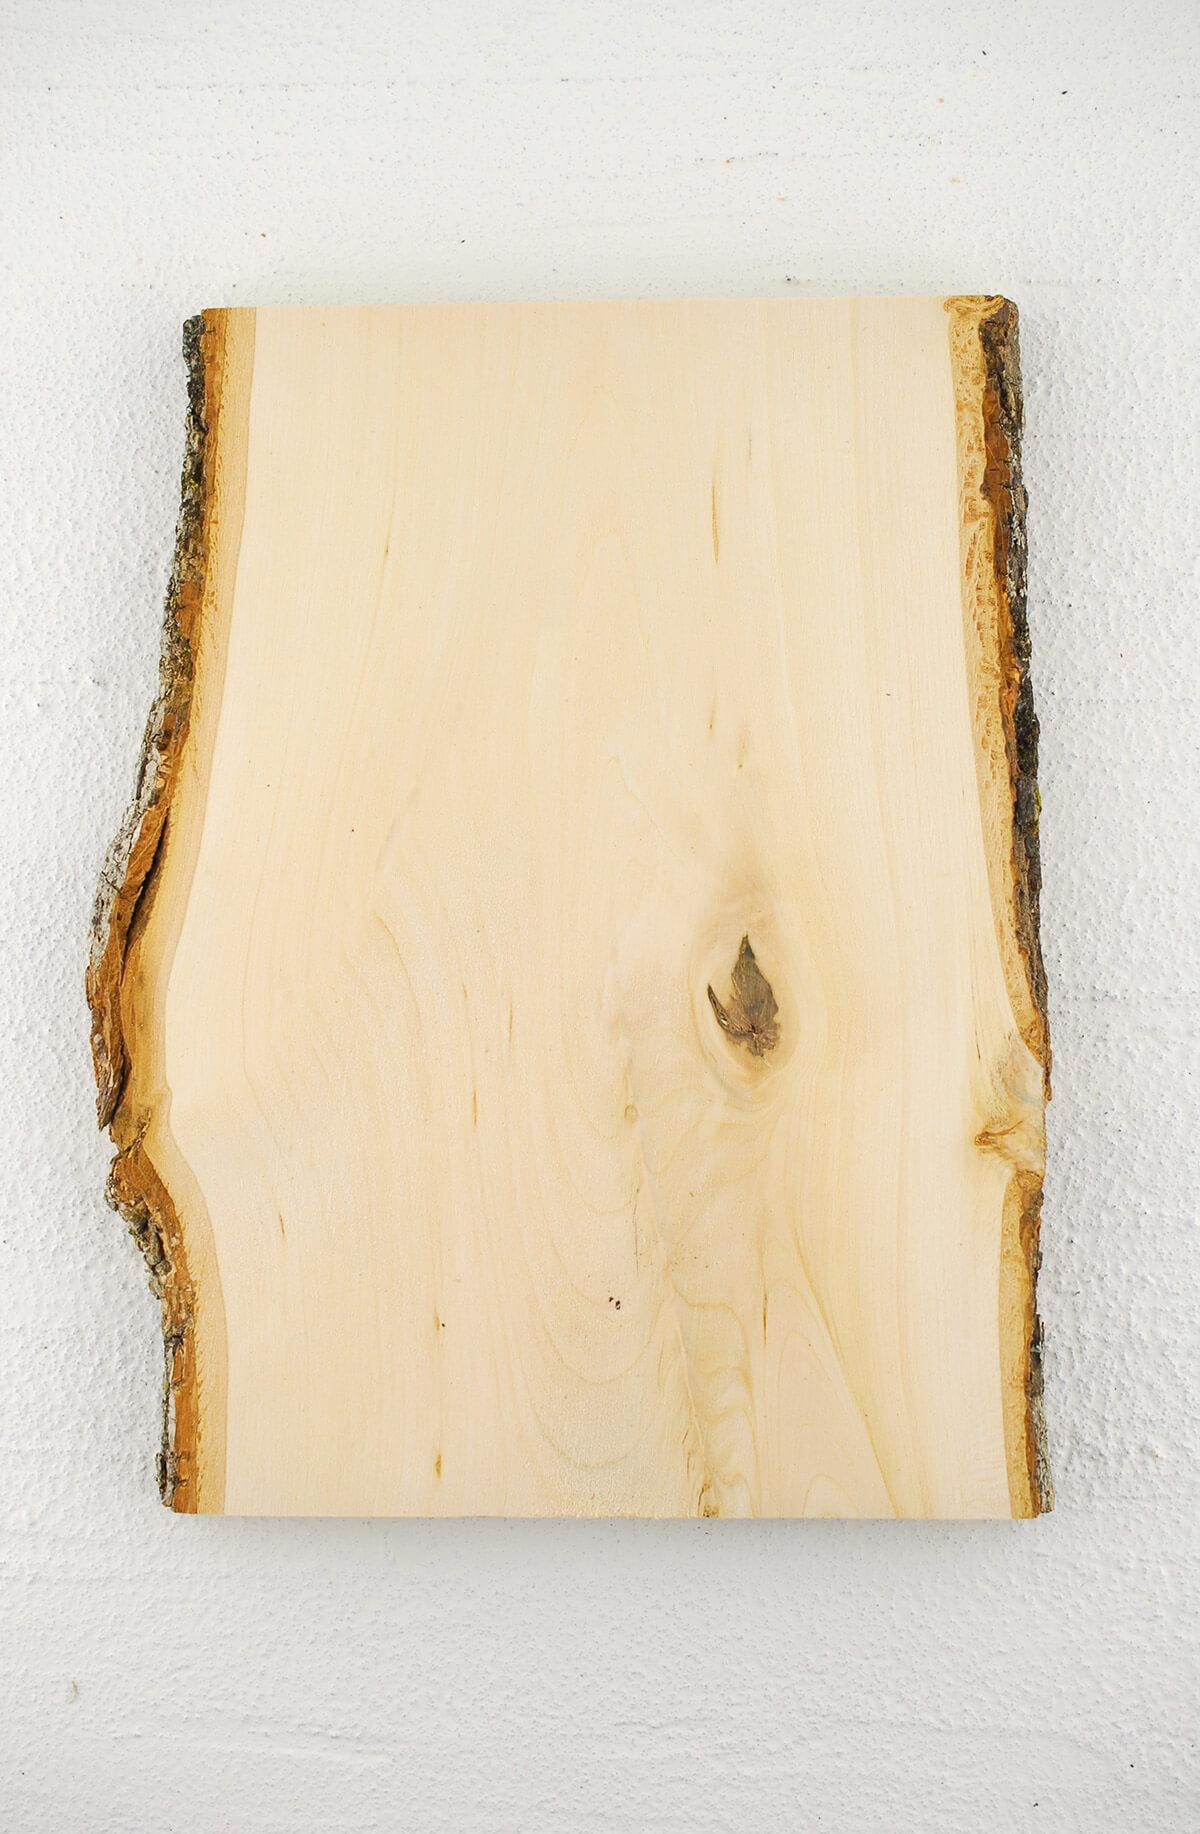
Wood Plank Natural 11" X 8" with Bark birthday-party-1bowls-traysbridal-showercorporate-partiesdecorengagement-partyevent-decor-on-saleeventsfallbowl-floating-candle-holderhome-indoornaturals-floralsreceptionservewaretabletop-on-saleslabswood-crafts
Quick View
Wood Plank Natural 11" X 8" with Bark
$5.99
$9.99
Bamboo 3.5" Wooden Spoons - Bag of 12 birthday-party-1corporate-partiescraftsdecorbowl-floating-candle-holdergift-packaginghalloweenreceptionservewaretablescapewood-crafts
Quick View
Bamboo 3.5" Wooden Spoons - Bag of 12
$13.99
Sold Out
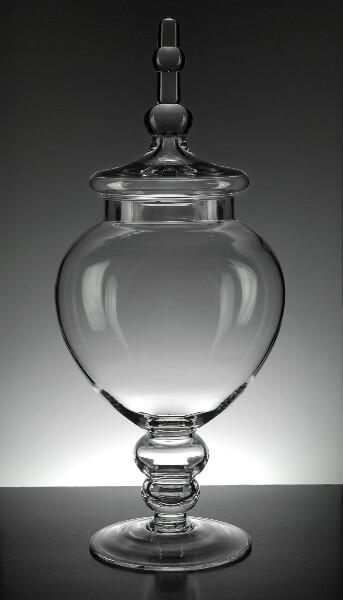
Tall 14" Apothecary Jar apothecary-jarsbeverage-bar-suppliesmilk-bottle-vasesbridal-showerdecorengagement-partybowl-floating-candle-holderglasswarereceptiontablescapevintage-bottles-holders
Quick View
Tall 14" Apothecary Jar
$29.99
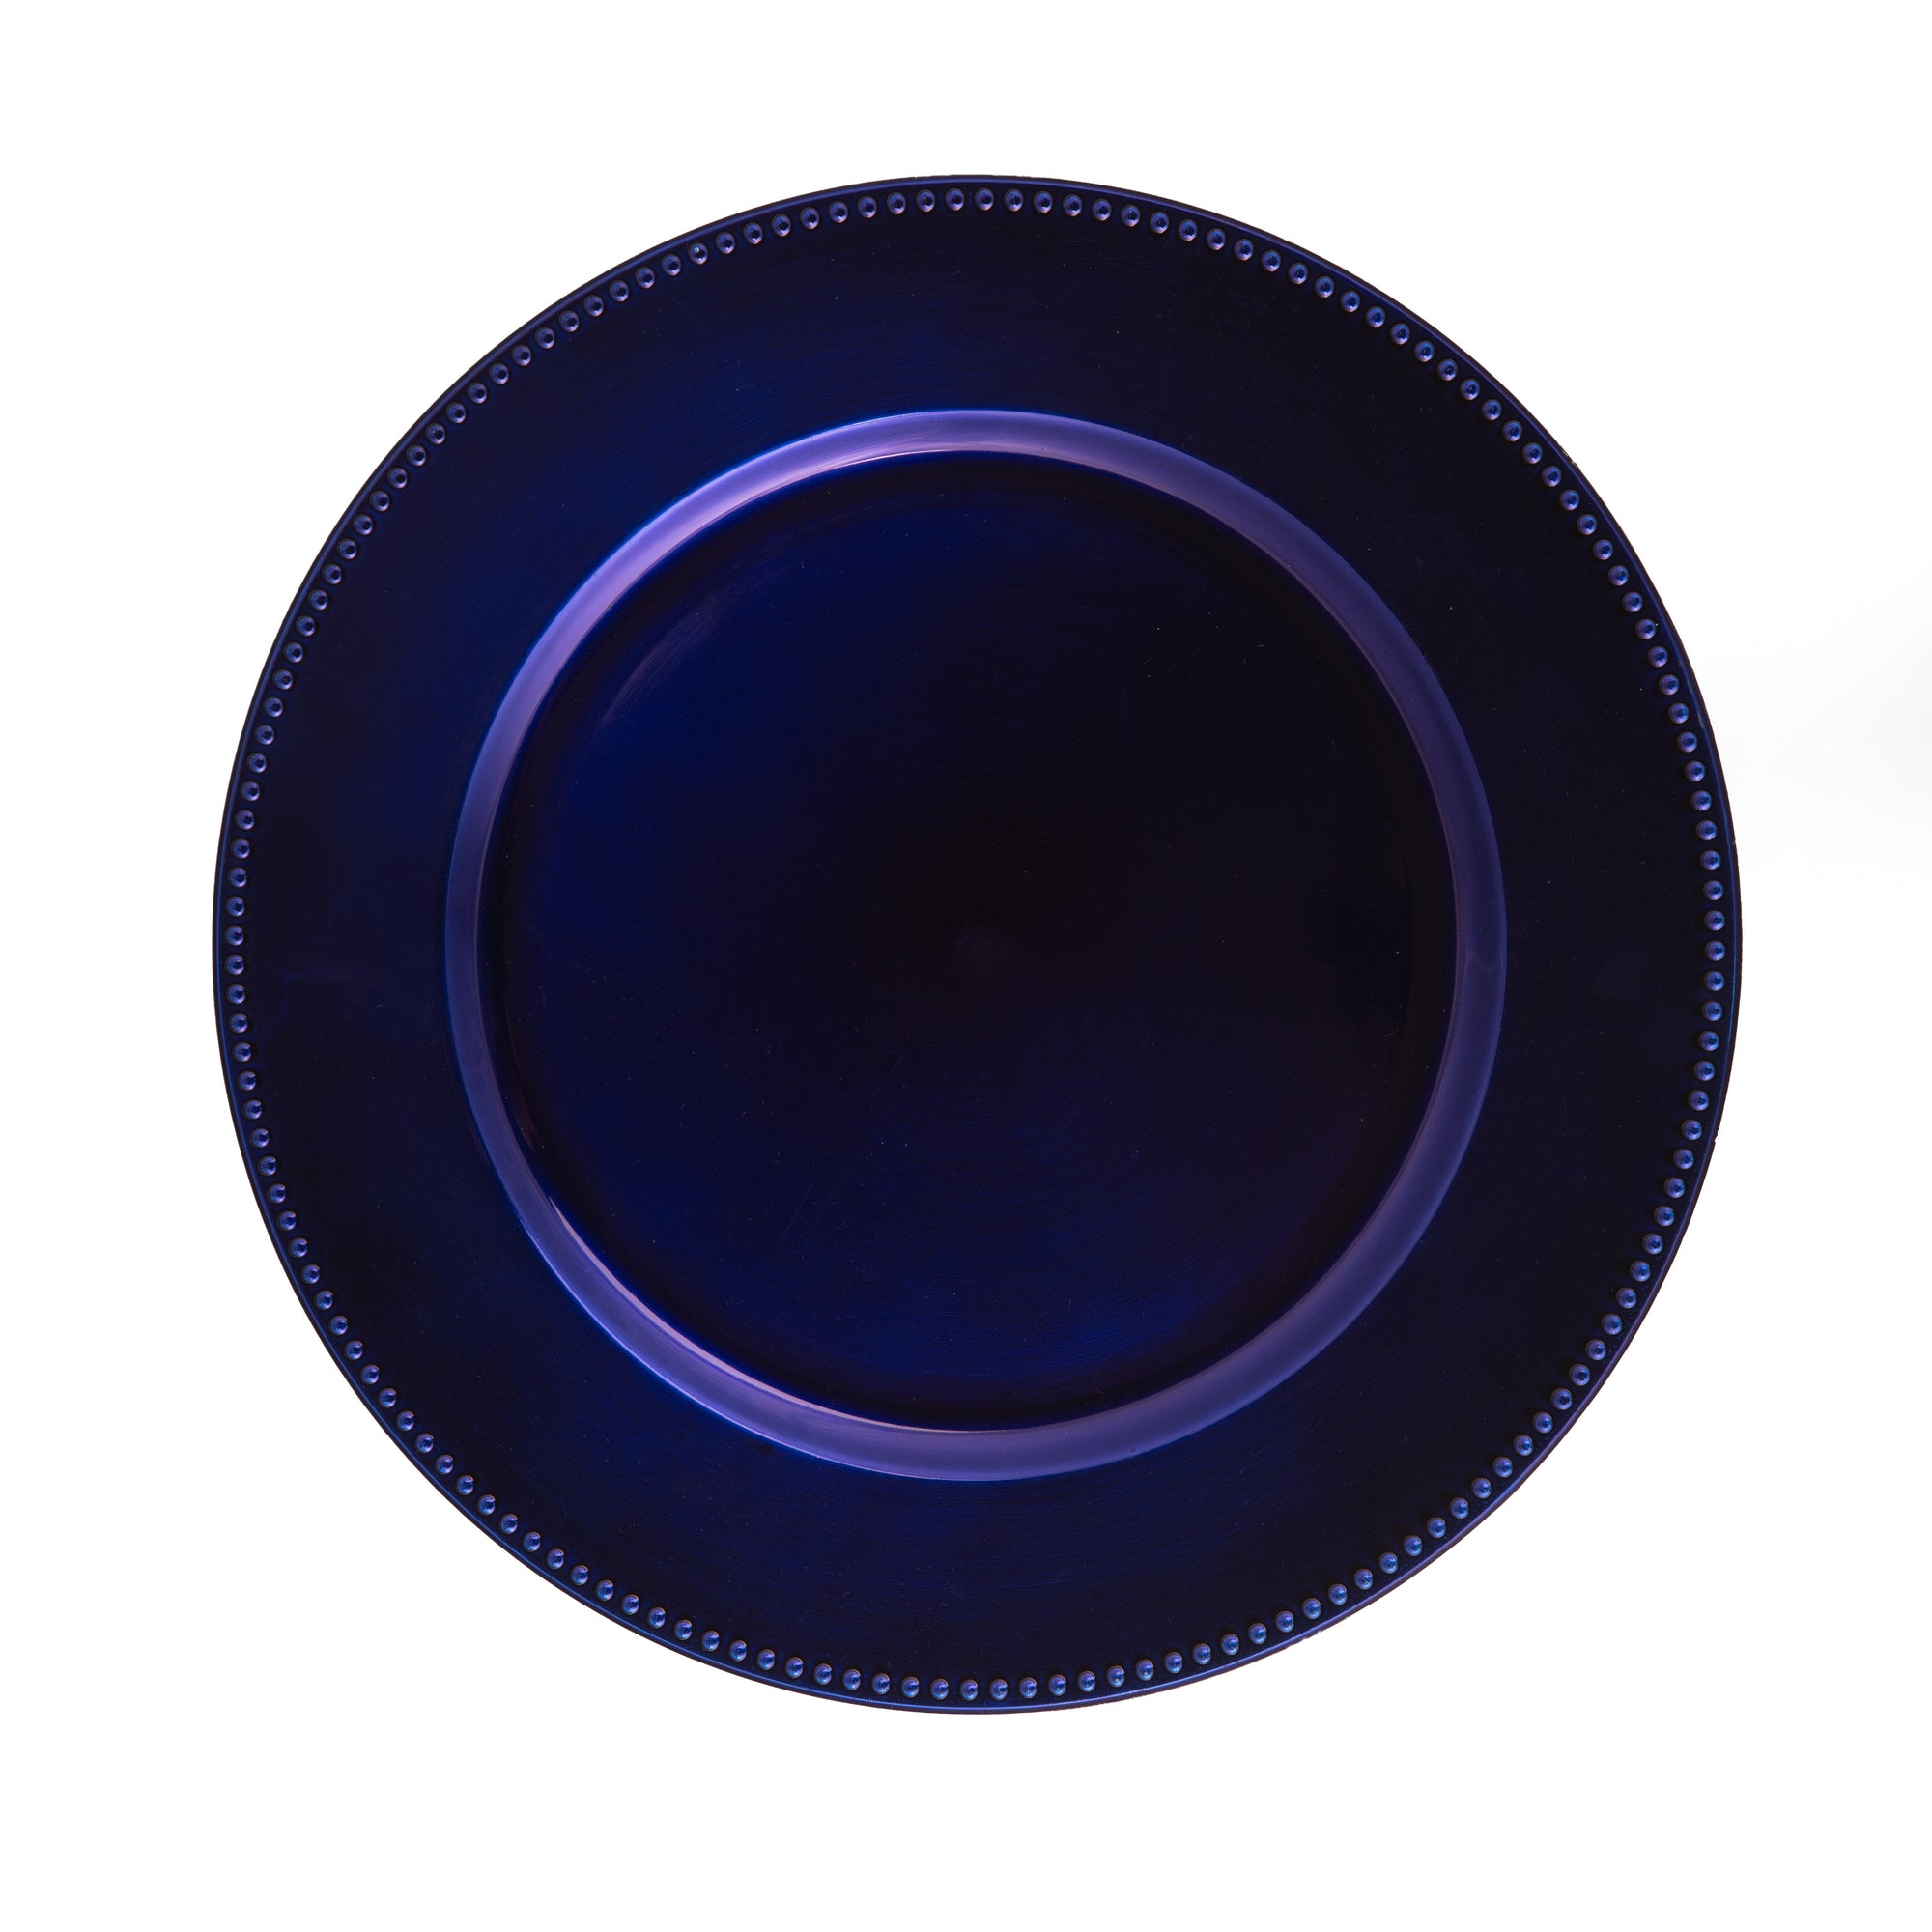
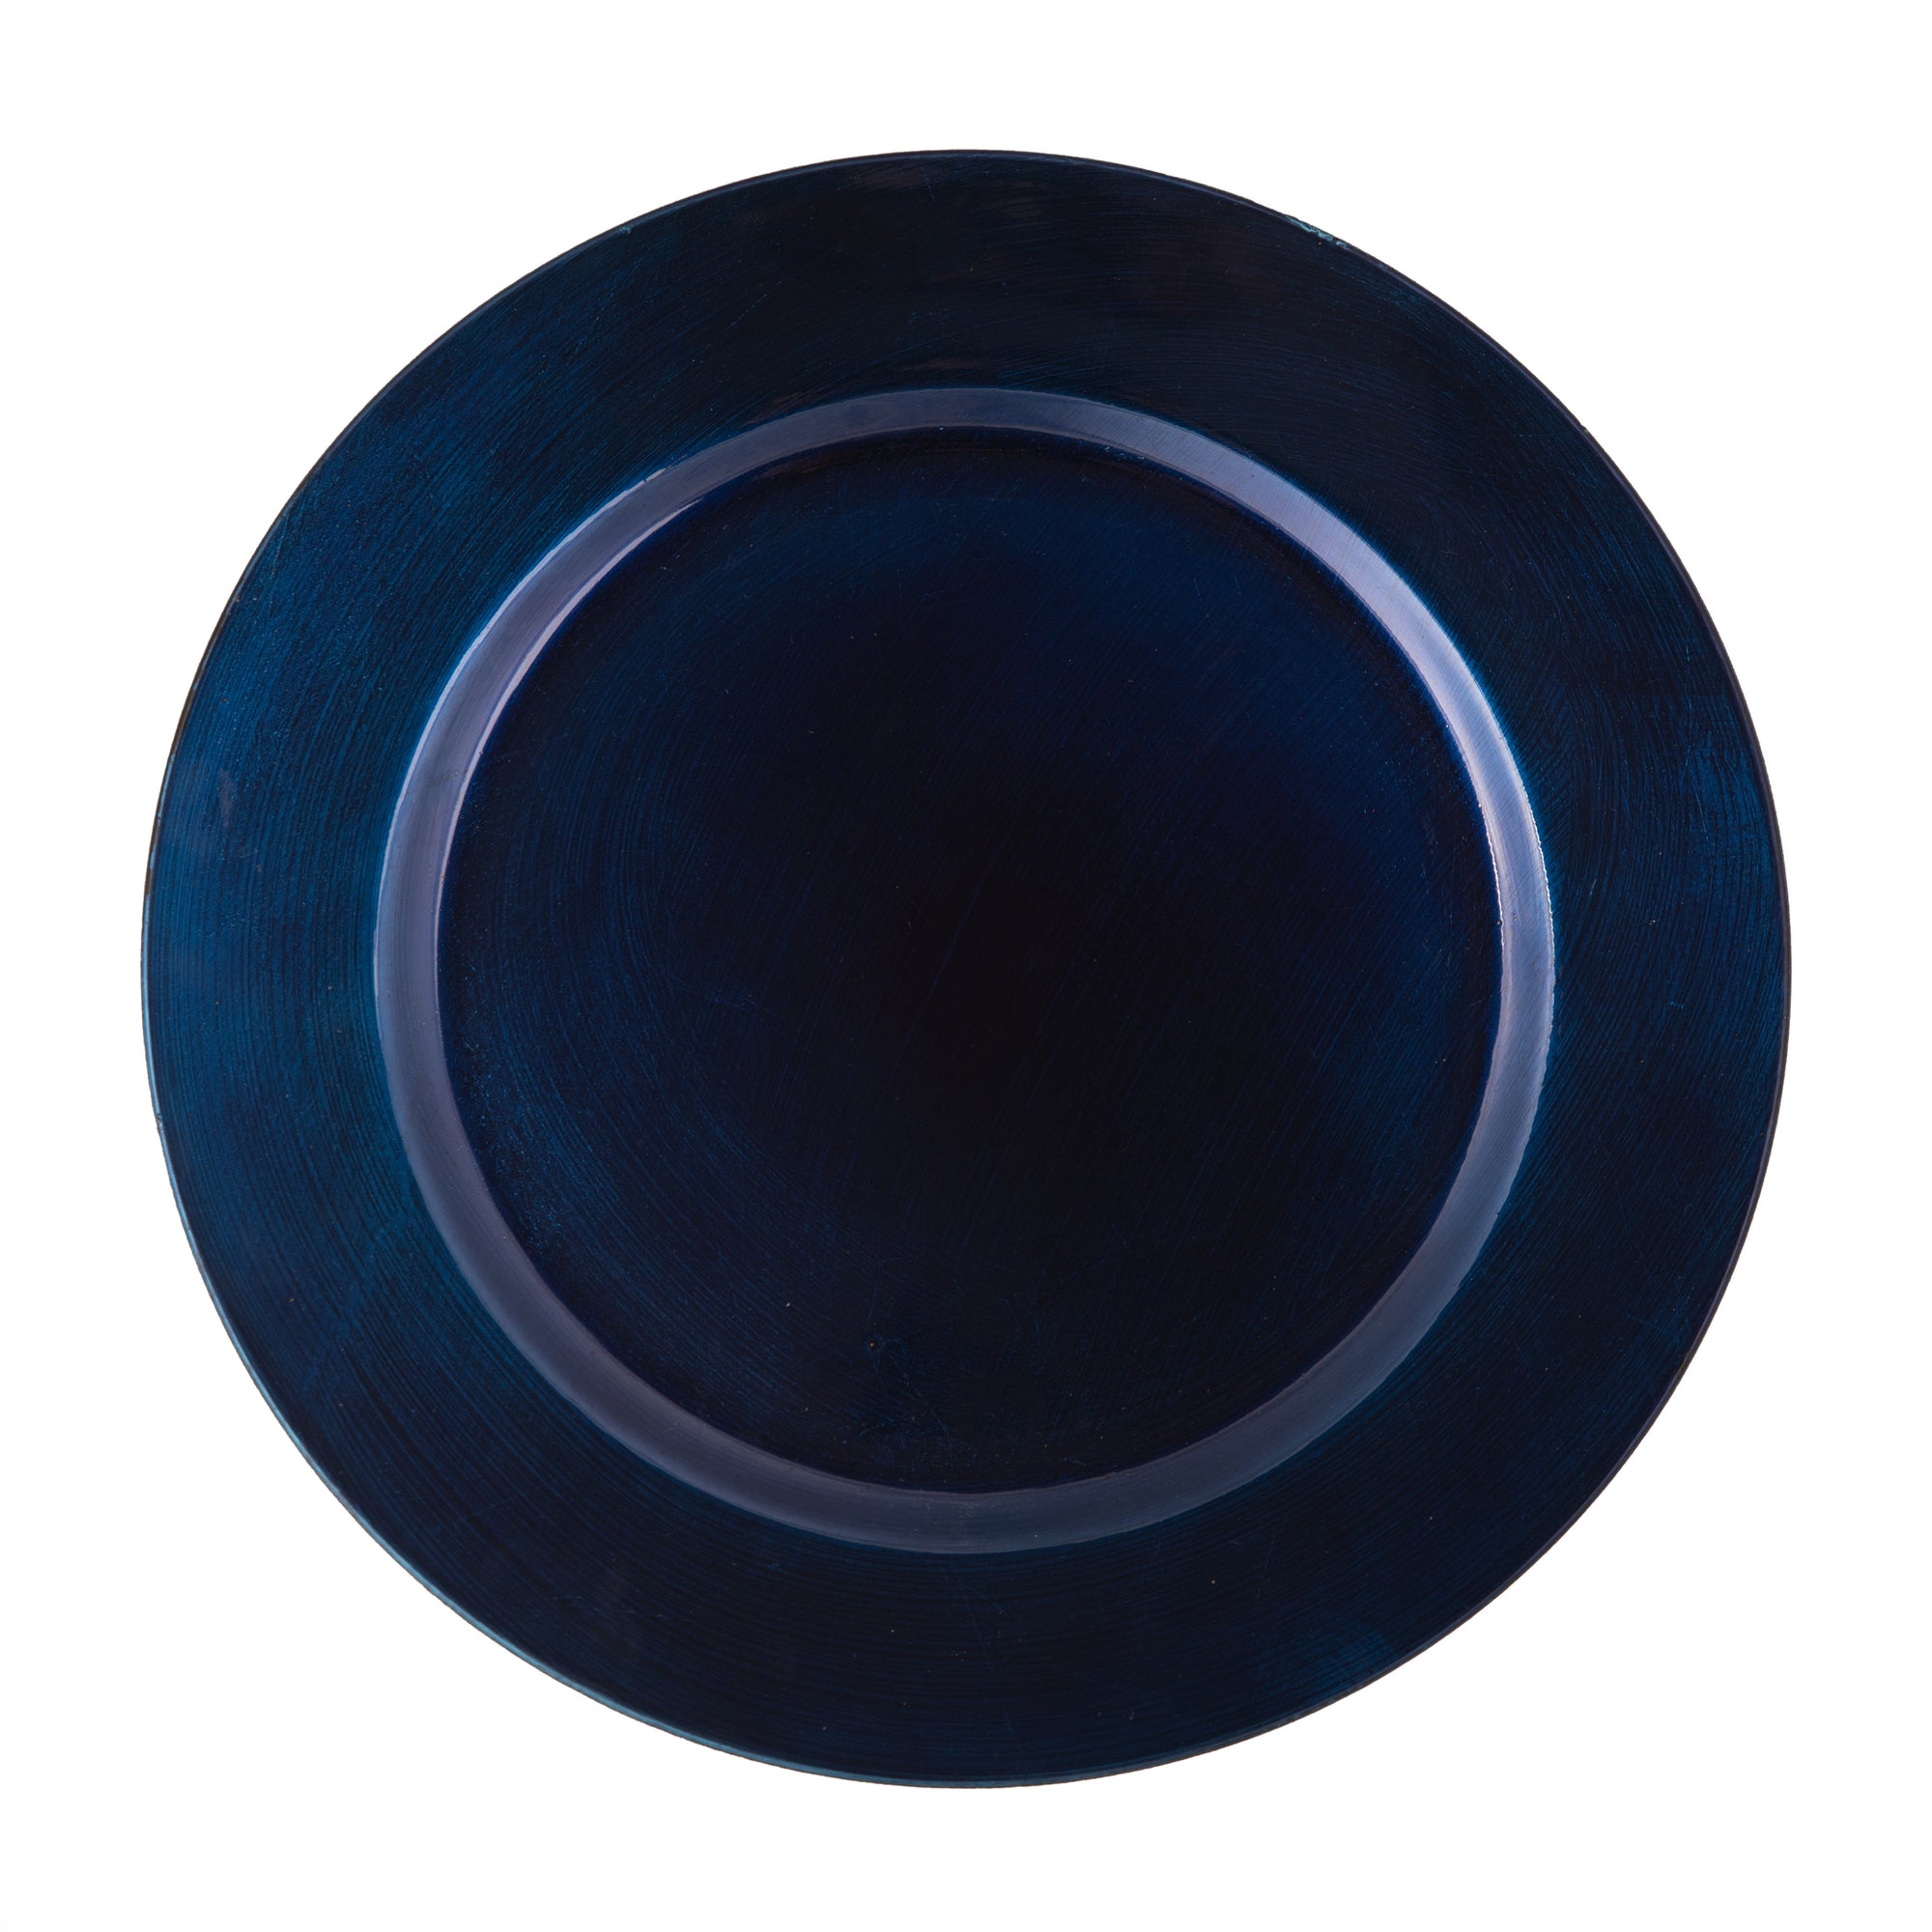
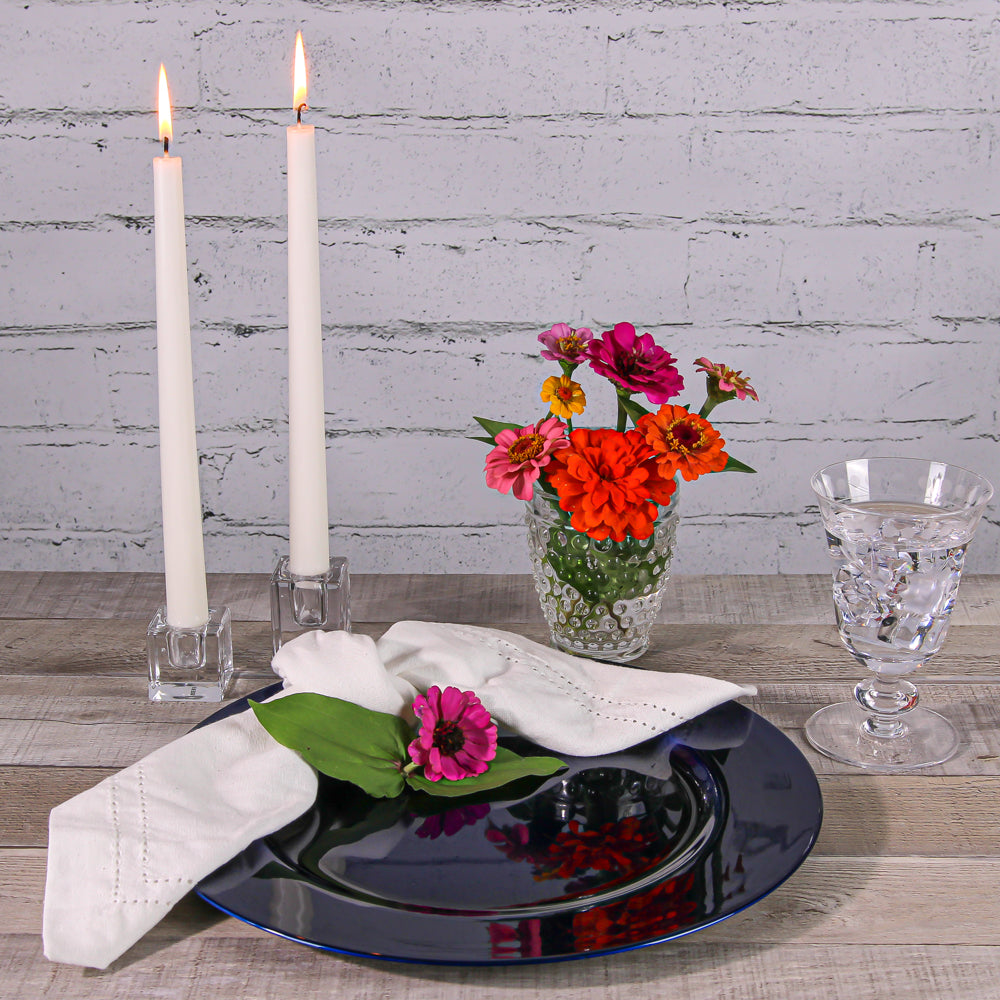
Richland Beaded Charger Plate 13" Royal Blue birthday-party-1bluecharger-platescorporate-partiesdecorengagement-partybowl-floating-candle-holderfourth-of-julygarden-outdoornautical-decorreceptionsaleservewaretablescapetabletop-on-salewinter
Quick View
Richland Beaded Charger Plate 13" Royal Blue
$2.30
$3.99
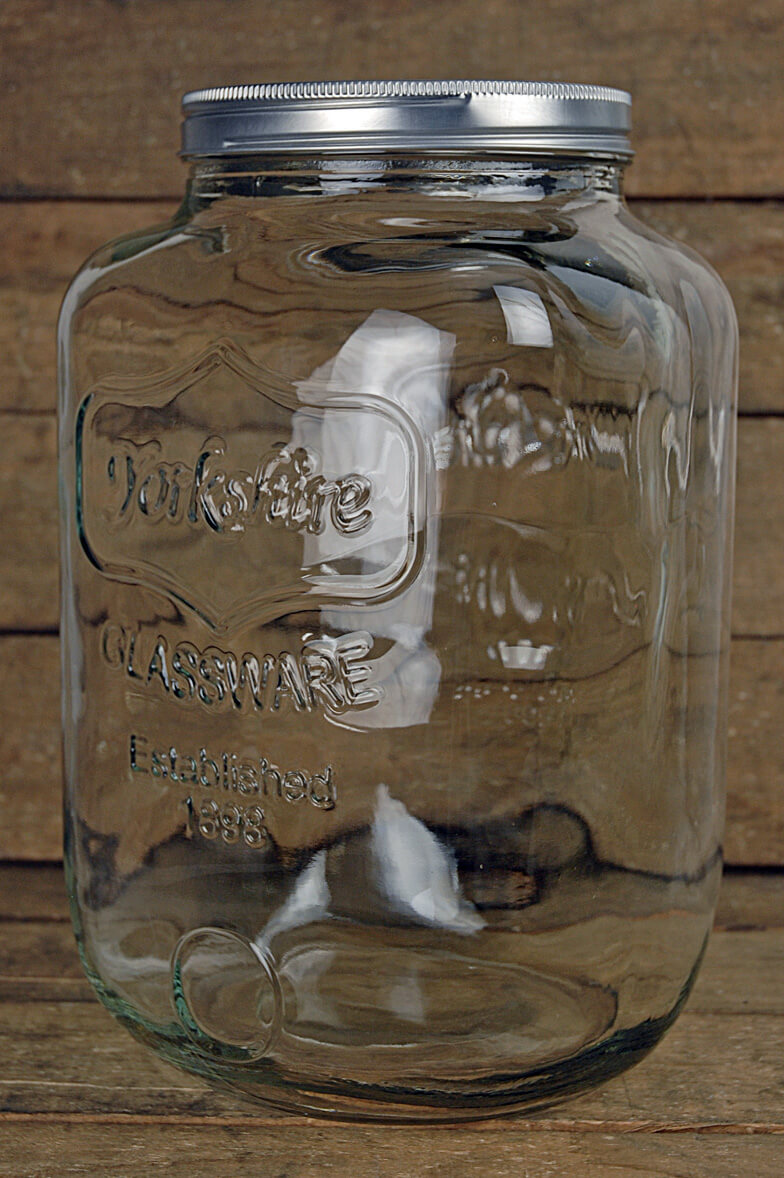
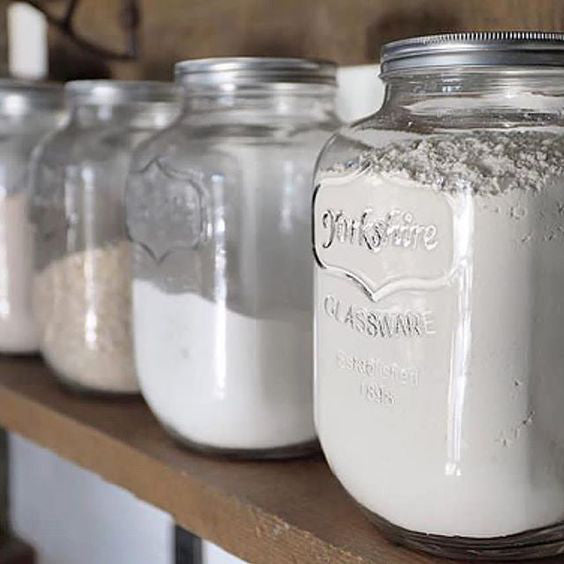
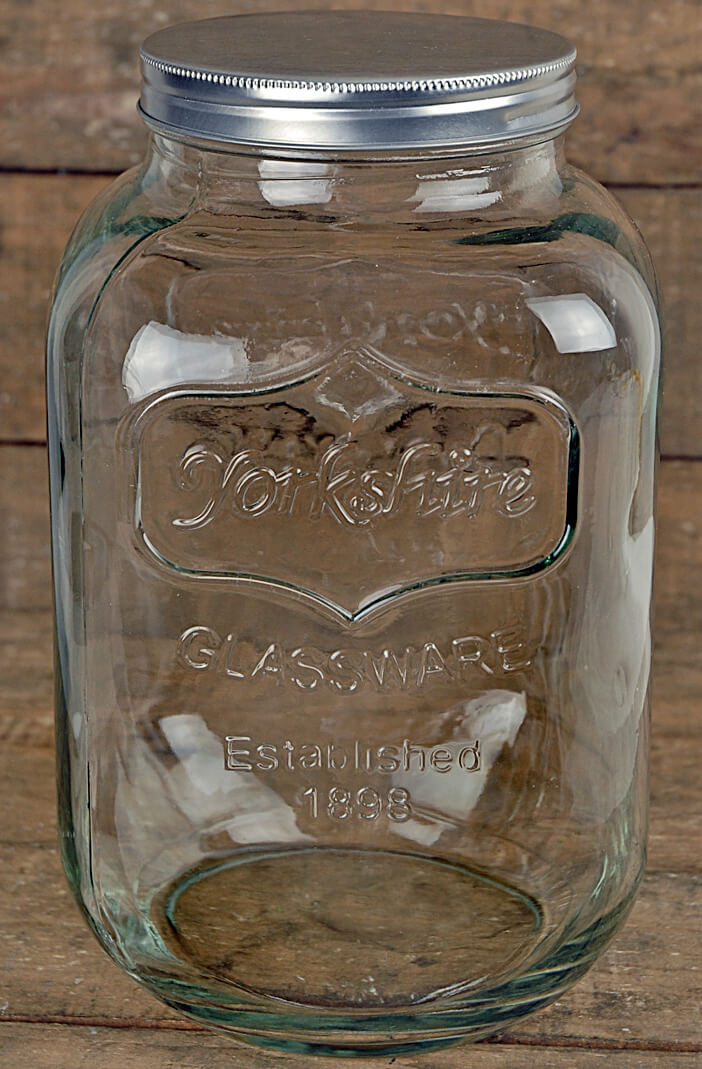
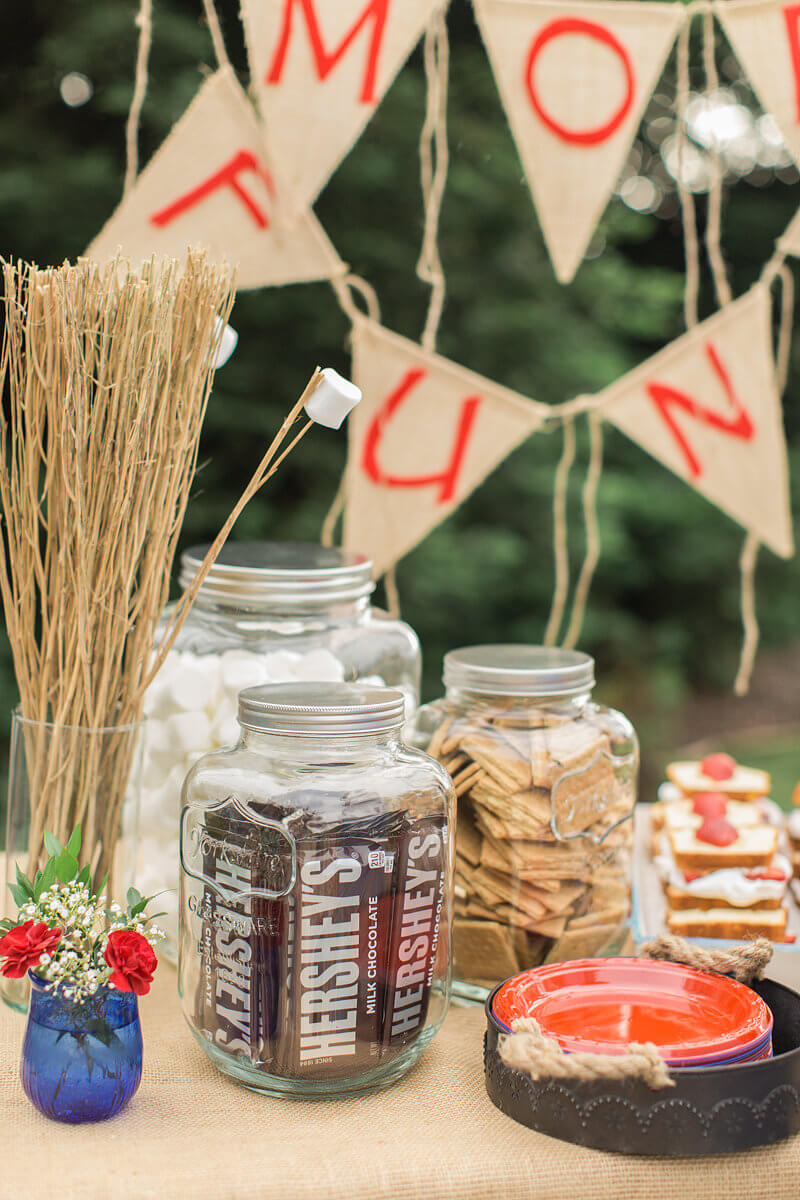
Two Gallon Yorkshire Glassware Mason Jar apothecary-jarsbeverage-bar-suppliesbirthday-party-1milk-bottle-vasescorporate-partiesdecorengagement-partybowl-floating-candle-holderflower-vasesglasswaremason-jarsreceptionservewaretablescapevintage-bottles-holders
Quick View
Two Gallon Yorkshire Glassware Mason Jar
$49.99
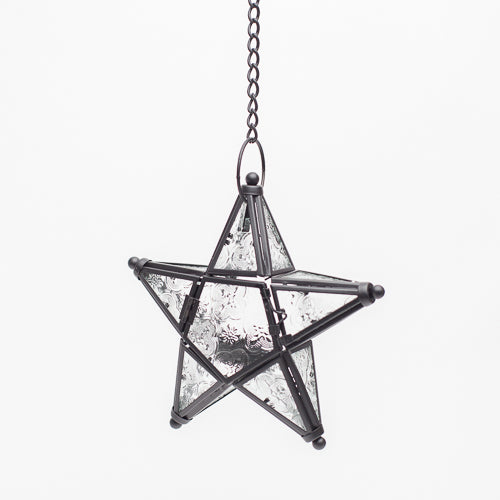
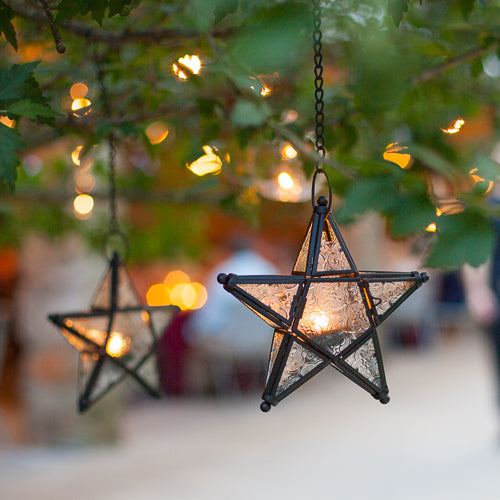
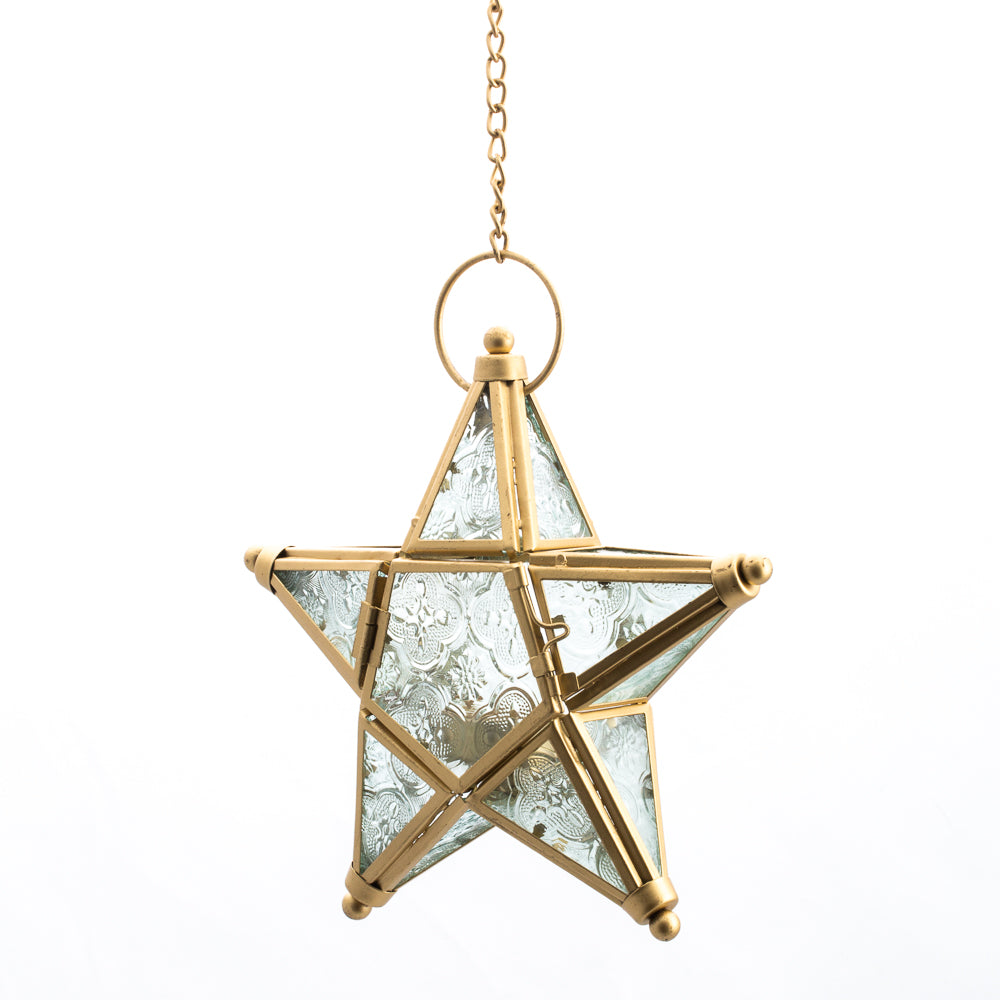
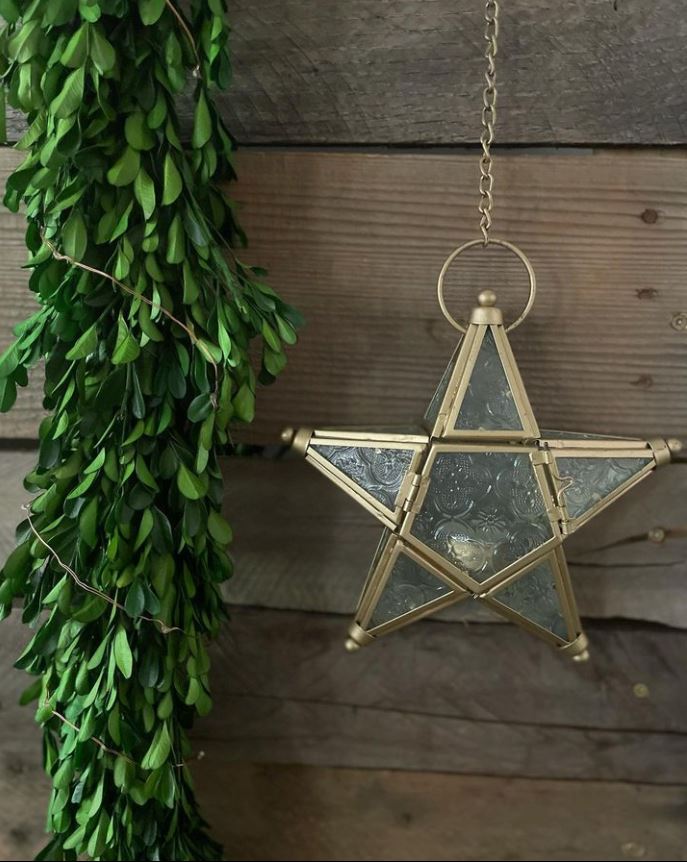
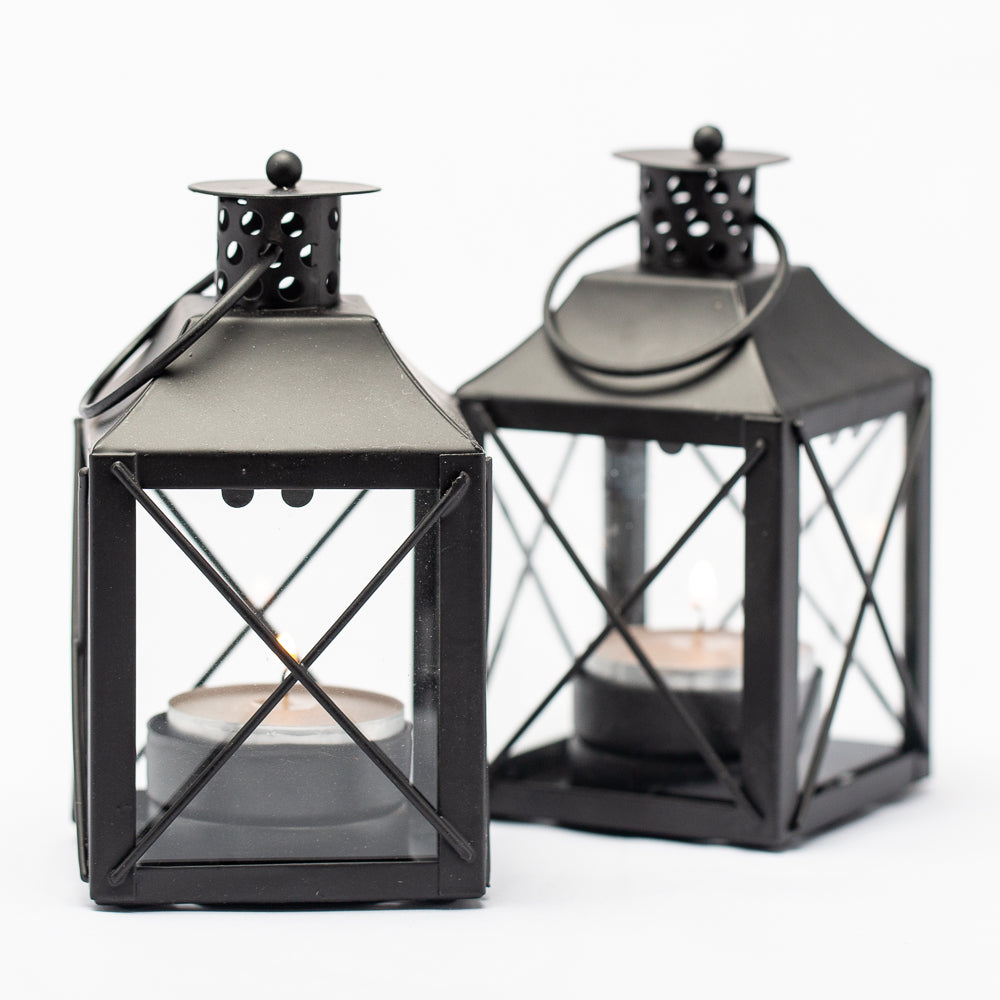
Richland Hanging Star Metal Tealight Lantern with Clear Embossed Glass decorbowl-floating-candle-holdergarden-outdoorgarden-decorhanging-candle-holdershome-indoorlanternstealight-holders
Quick View
Richland Hanging Star Metal Tealight Lantern with Clear Embossed Glass
$9.99
Sold Out
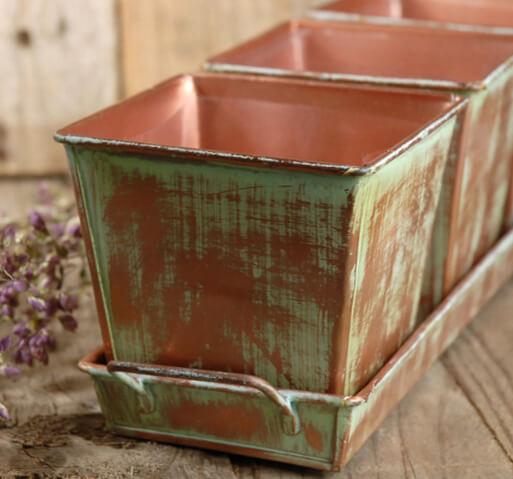
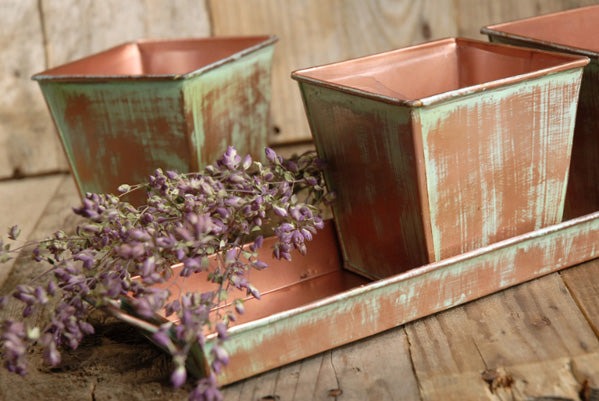
Verdigris Copper Herb Planters & Tray 12in anniversarybirthday-party-1bowls-traysbuckets-tubscorporate-partiesdecoreventsfallbowl-floating-candle-holdergarden-outdoorgarden-decorhome-indoorpots-plantersreceptionservewarethanksgiving
Quick View
Verdigris Copper Herb Planters & Tray 12in
$19.99
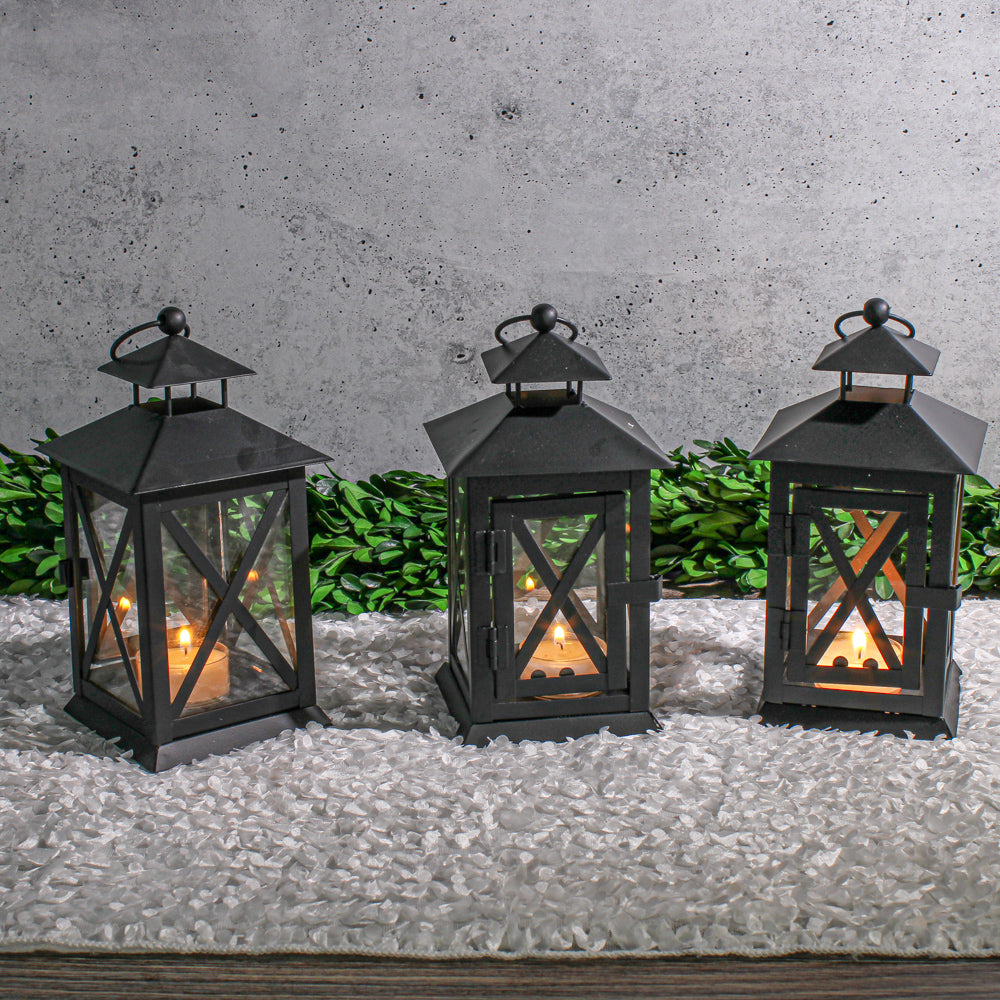
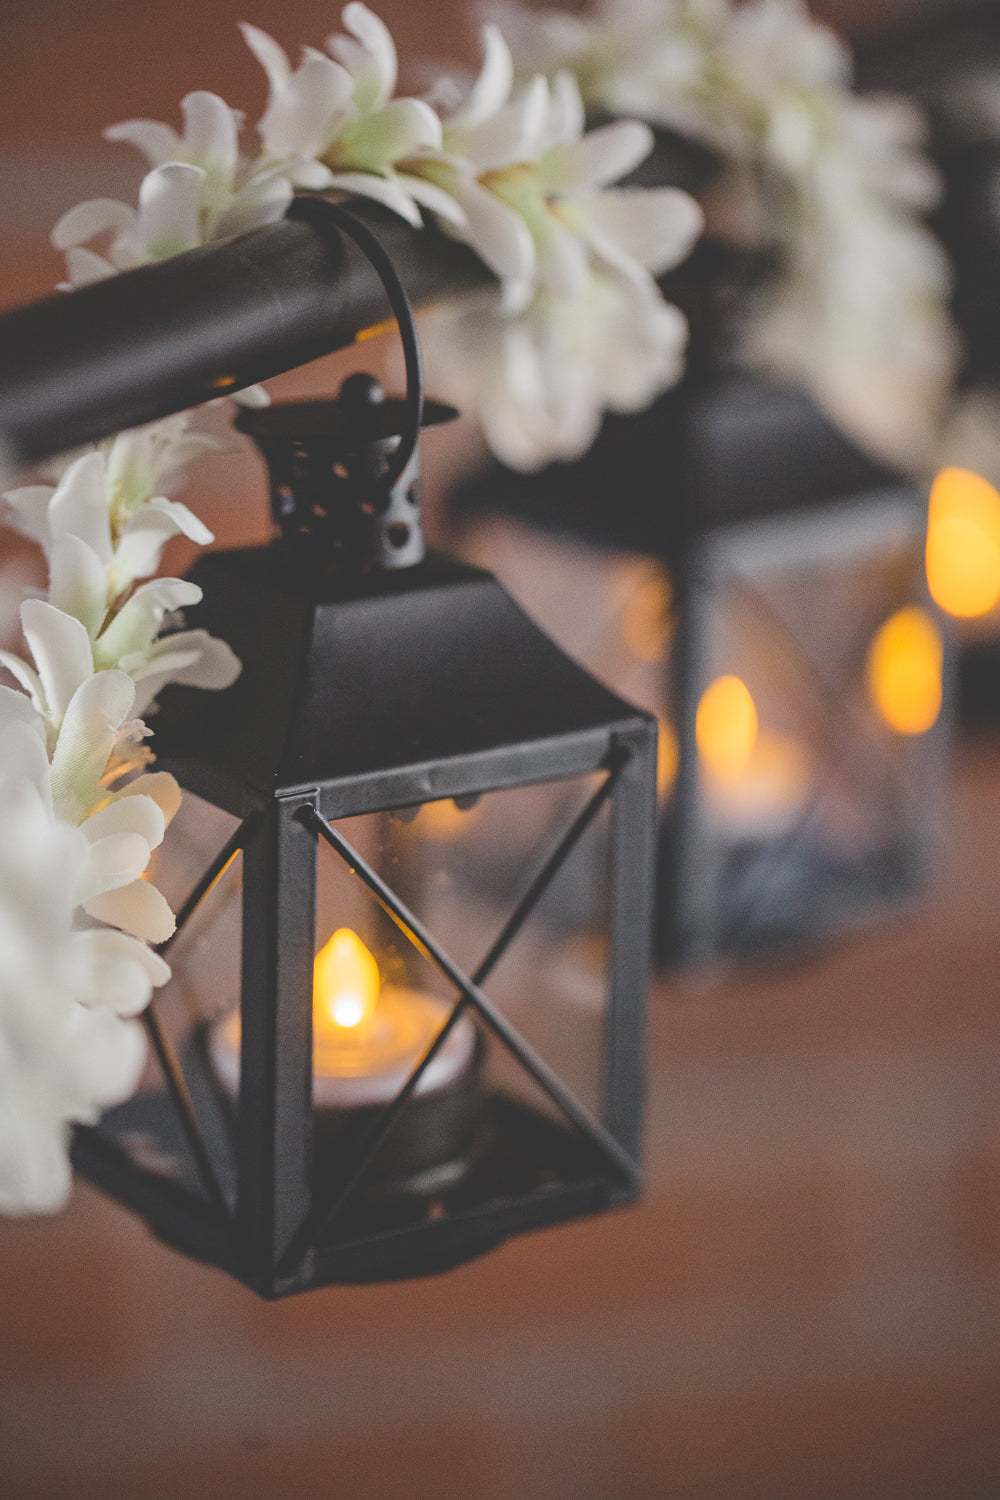
Richland Noble Lantern Black Metal 7" Set of 6 aisle-decorchristmasdecoreventsfallbowl-floating-candle-holdergarden-outdoorgarden-decorhanging-candle-holderslanternstabletop-on-sale
Quick View
Richland Noble Lantern Black Metal 7" Set of 6
$20.99
$34.99
One Gallon Yorkshire Glassware Mason Jar apothecary-jarsbeverage-bar-suppliesbirthday-party-1milk-bottle-vasescorporate-partiesdecorengagement-partybowl-floating-candle-holderflower-vasesglasswaremason-jarsreceptionservewaretablescapevintage-bottles-holders
Quick View
One Gallon Yorkshire Glassware Mason Jar
$24.99
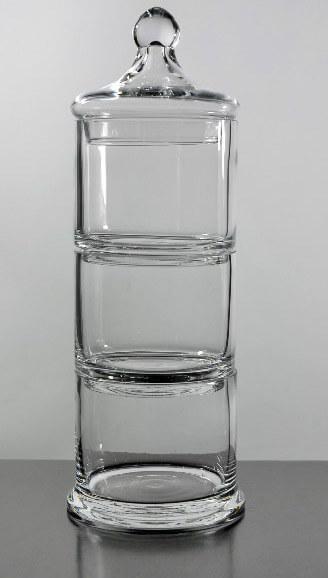
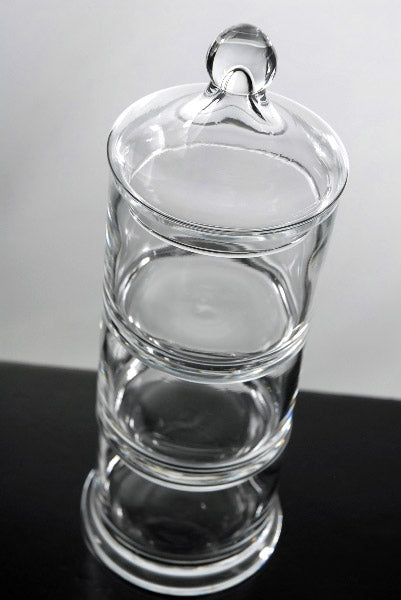
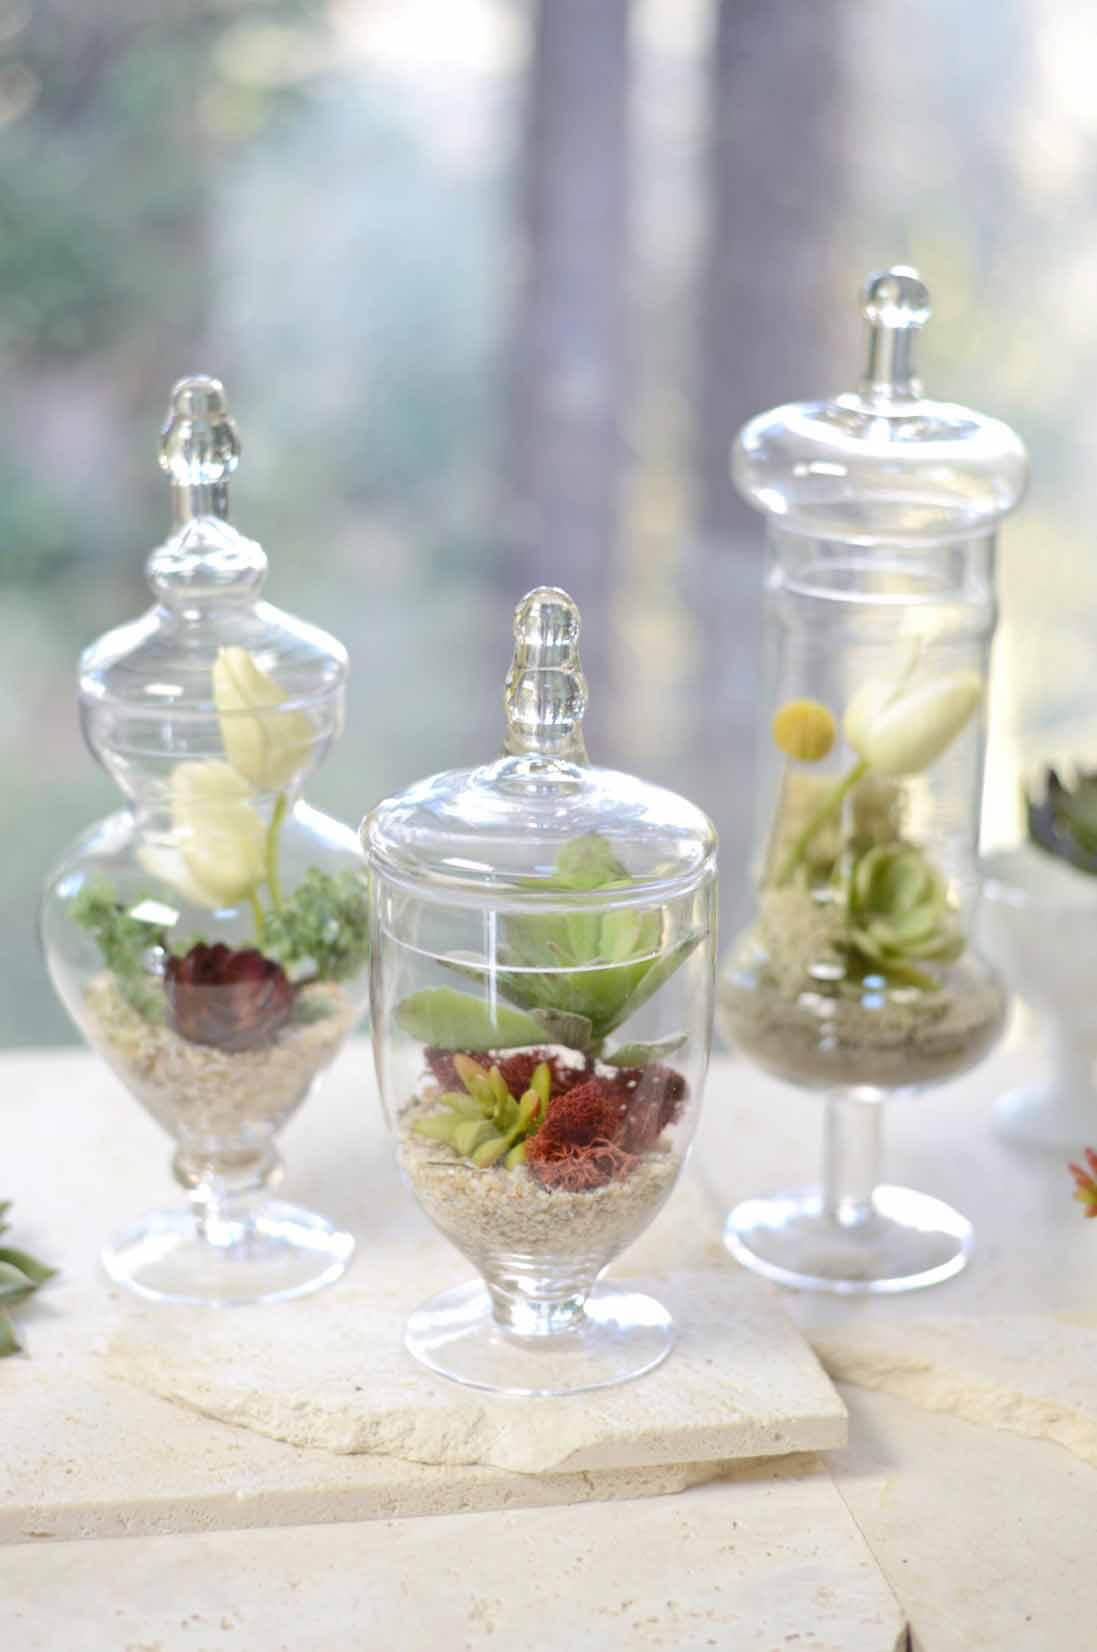
3 Tier Stacking Apothecary Jars 12.5 in. apothecary-jarsbeverage-bar-suppliesmilk-bottle-vasesdecorbowl-floating-candle-holderglasswarehome-indoorreceptionvintage-bottles-holders
Quick View
3 Tier Stacking Apothecary Jars 12.5 in.
$39.99
Glass Apothecary Jar 14" apothecary-jarsbeverage-bar-suppliesmilk-bottle-vasesbridal-showerdecorengagement-partybowl-floating-candle-holderglasswarereceptiontablescapevintage-bottles-holders
Quick View
Glass Apothecary Jar 14"
$74.99
Glass Apothecary Jar 15.5in apothecary-jarsbeverage-bar-suppliesbridal-showerdecorengagement-partybowl-floating-candle-holderglasswarereceptiontablescape
Quick View
Glass Apothecary Jar 15.5in
$34.99
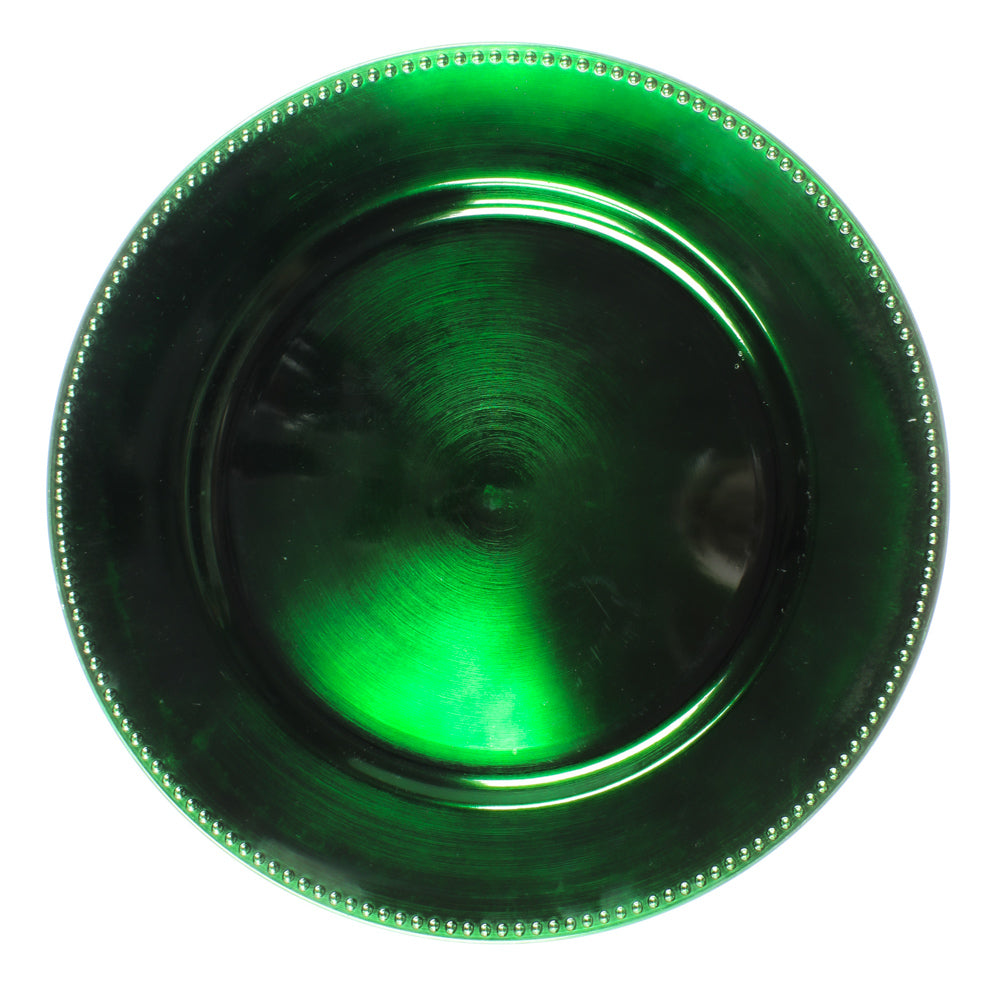
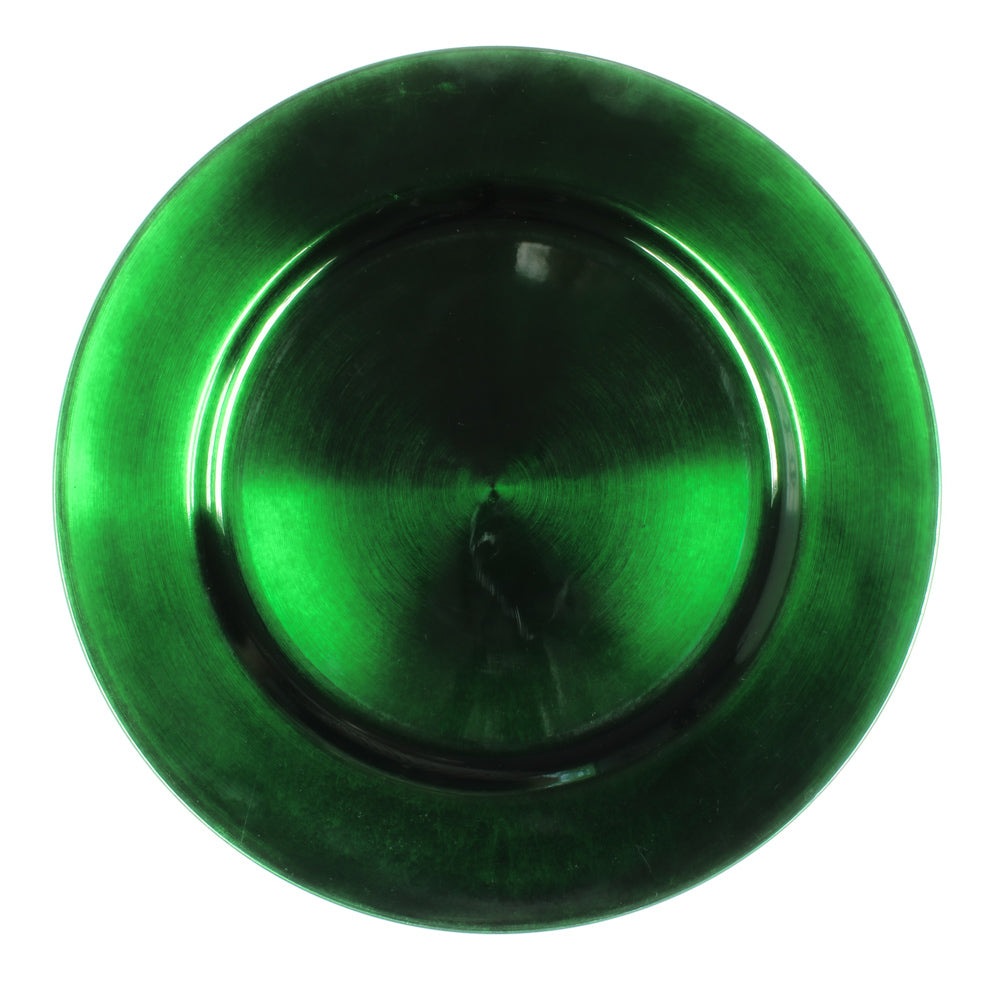
Richland Beaded Charger Plate 13" Forest Green charger-plateschristmascorporate-partiesdecorbowl-floating-candle-holdergreenreceptionservewarest-patricks-daytablescape
Quick View
Richland Beaded Charger Plate 13" Forest Green
$3.99
Richland Beaded Charger Plate 13" Aqua Blue birthday-party-1bluecharger-platescorporate-partiesdecorbowl-floating-candle-holderfourth-of-julygarden-outdoornautical-decorreceptionservewaretablescapetabletop-on-salewinter
Quick View
Richland Beaded Charger Plate 13" Aqua Blue
$2.39
$3.99
Richland Plain Charger Plate 13" Royal Blue birthday-party-1bluecharger-platescorporate-partiesdecorbowl-floating-candle-holderfourth-of-julygarden-outdoornautical-decorreceptionservewaretablescapewinter
Quick View
Richland Plain Charger Plate 13" Royal Blue
$3.99
Richland Noble Lantern Black Metal 7" aisle-decorchristmasdecoreventsfallbowl-floating-candle-holdergarden-outdoorgarden-decorhanging-candle-holderslanternstabletop-on-sale
Quick View
Richland Noble Lantern Black Metal 7"
$4.79
$7.99
Richland Hanging Star Metal Tealight Lantern Gold with Clear Embossed Glass candle-holderschristmascorporate-partiesdecorbowl-floating-candle-holdergarden-outdoorgarden-decorhanging-candle-holdershome-indoorlanternstealight-holders
Quick View
Richland Hanging Star Metal Tealight Lantern Gold with Clear Embossed Glass
$9.99
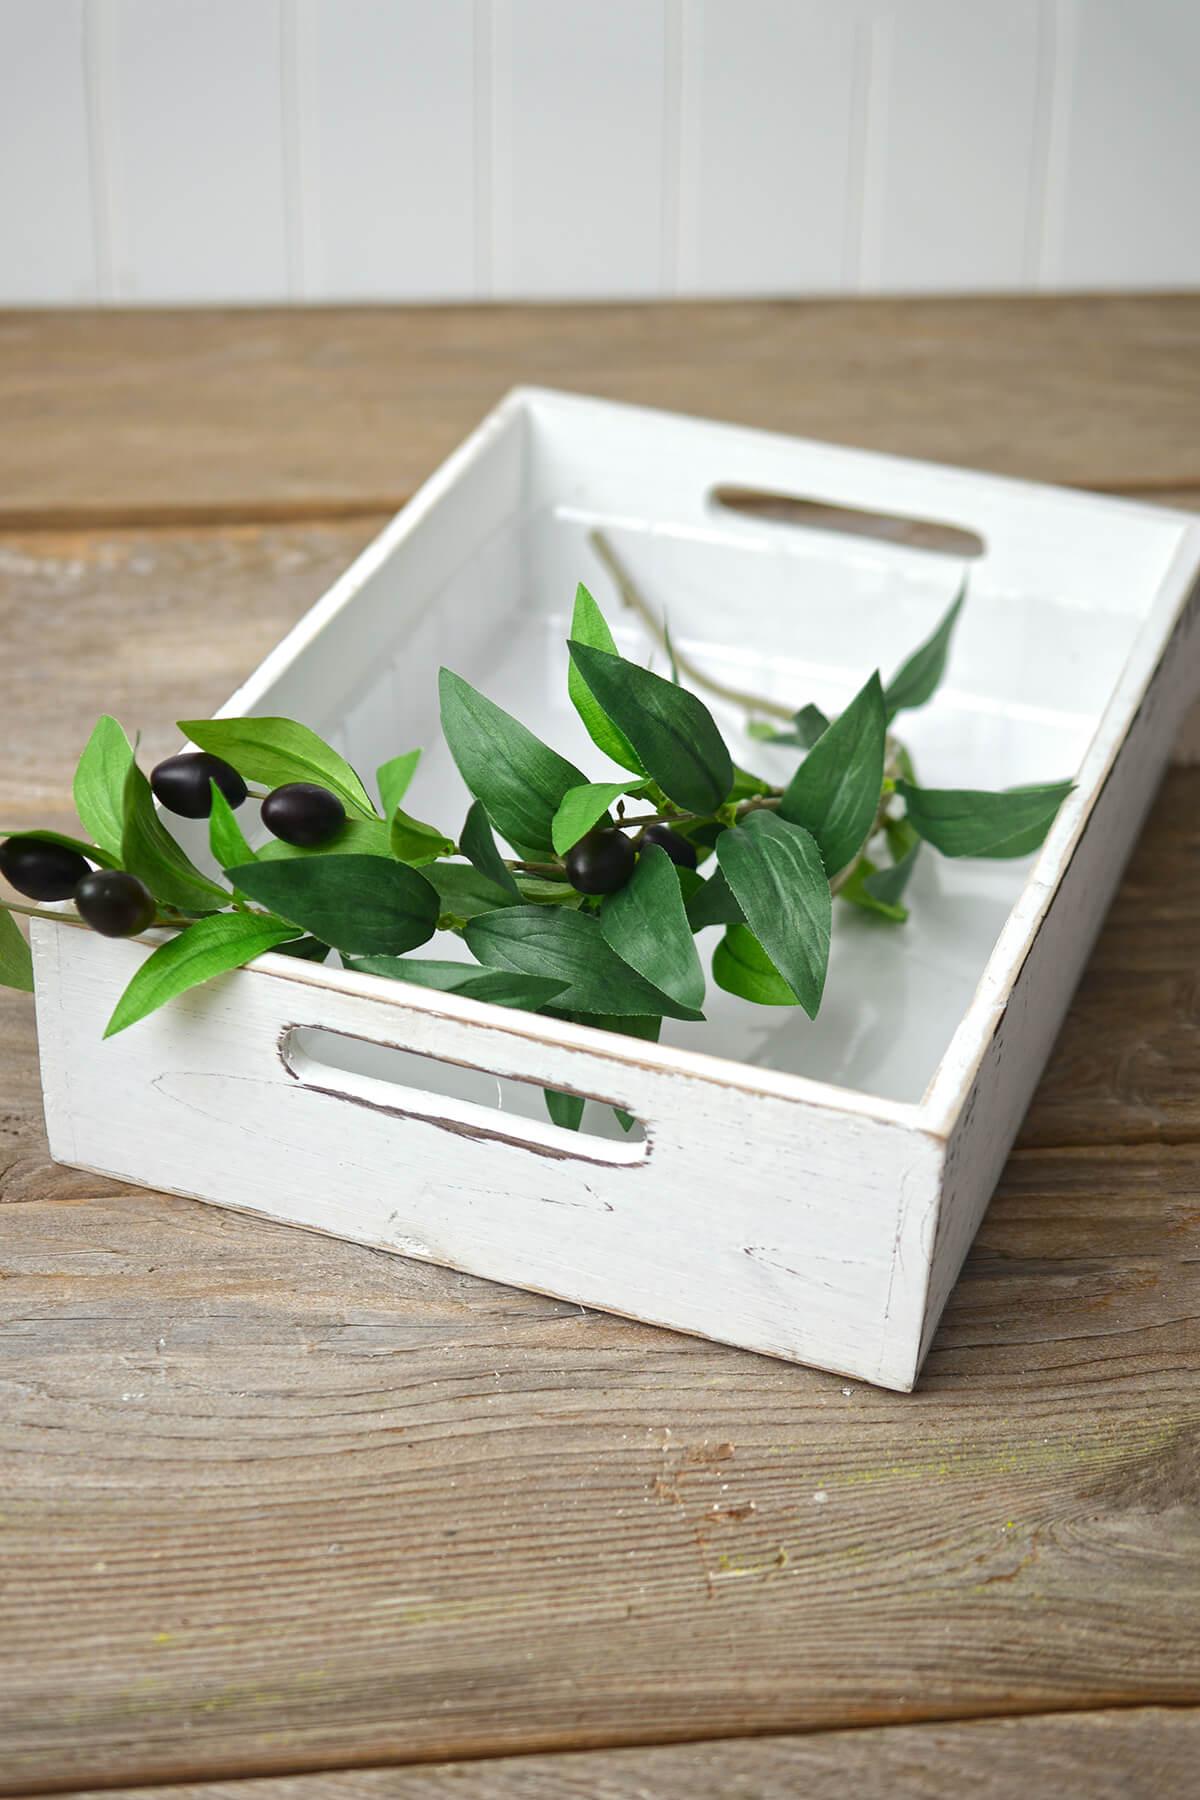
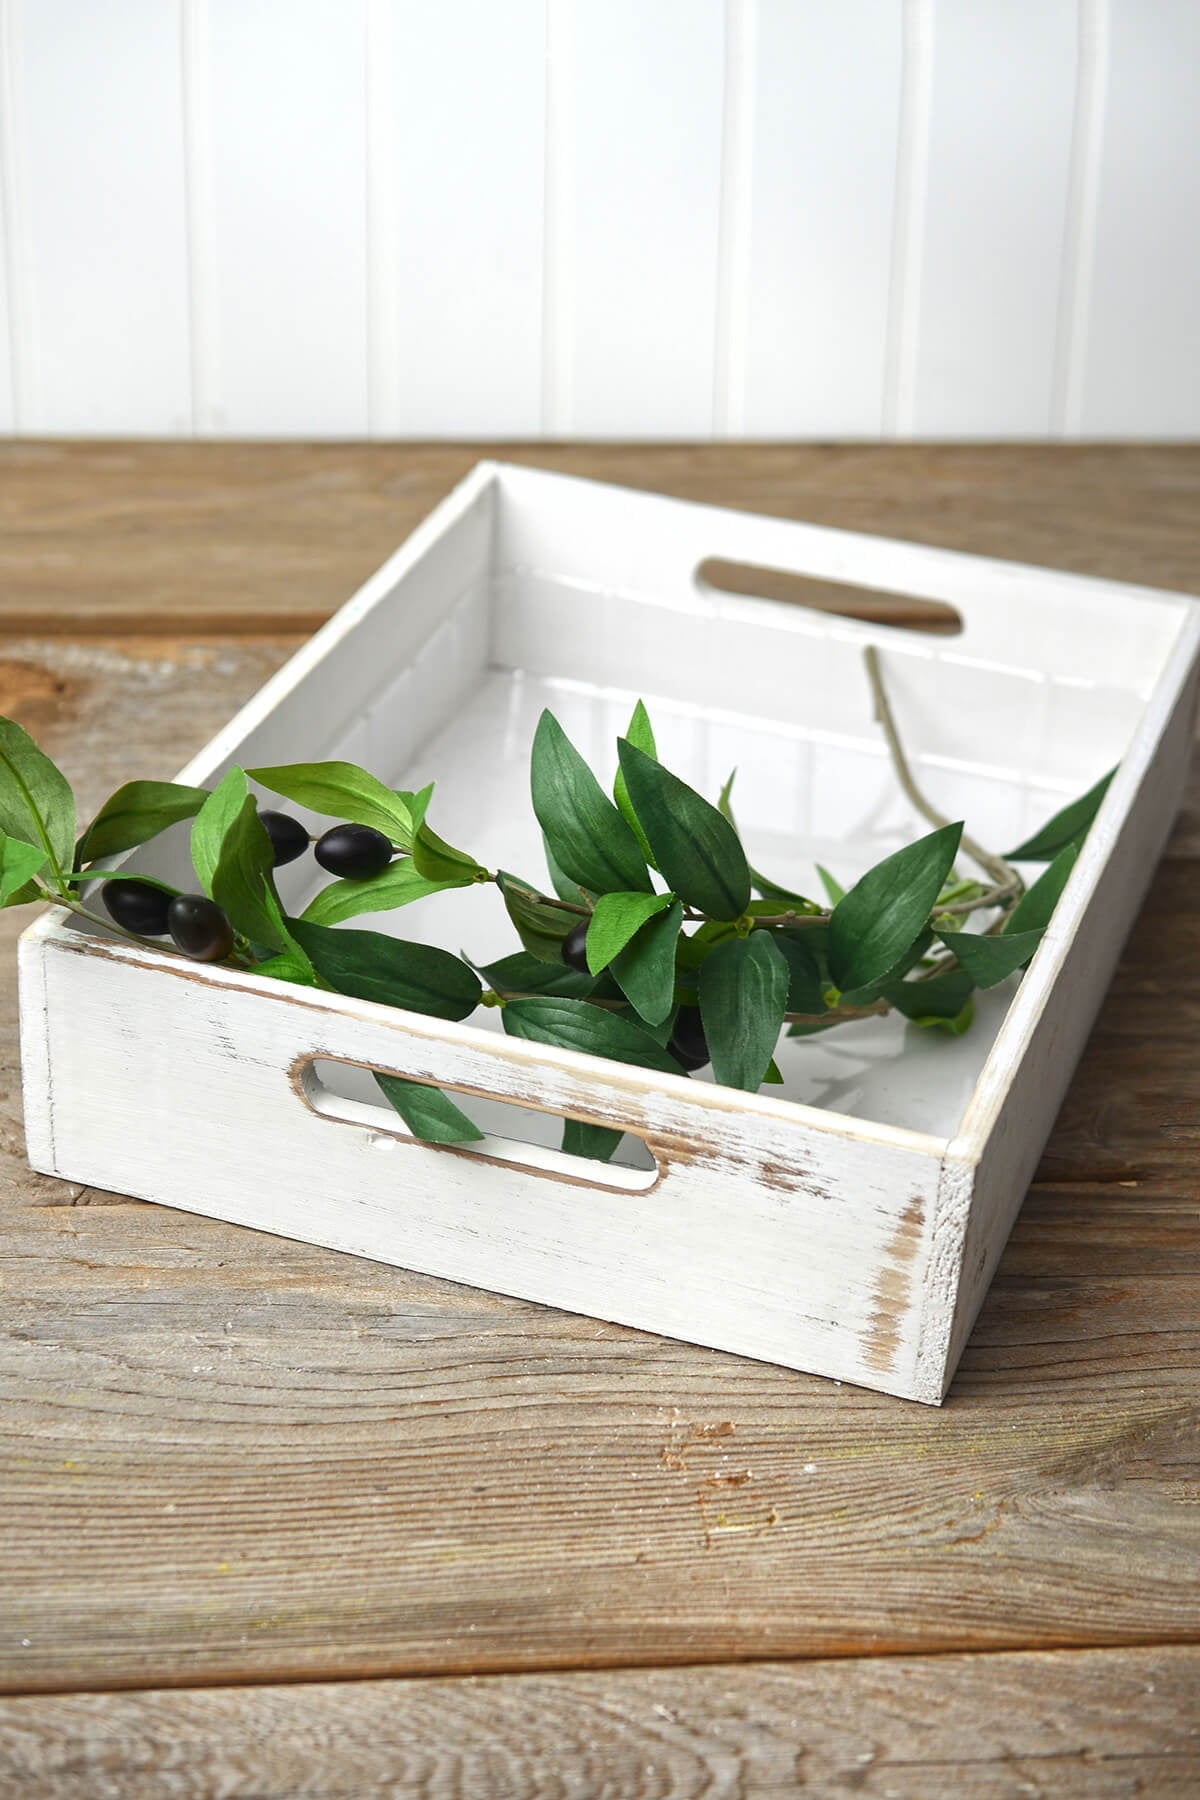
Whitewashed Wood Rectangle Tray 9x13 birthday-party-1bowls-traysbridal-showercorporate-partiesdecorevent-decor-on-saleeventsbowl-floating-candle-holderfourth-of-julygarden-outdoorgarden-decorhome-indoorreceptionsale-group-fserveware
Quick View
Whitewashed Wood Rectangle Tray 9x13
$14.99
$24.99
Richland Votive Holder Clear Textured Glass Set of 48 anniversarybeverage-bar-suppliesbud-vasescandle-holder-salecandle-holdersclear-votive-holderscorporate-partiesdecoreastereventsbowl-floating-candle-holderflower-vasesglasswarereceptionsale-group-ctablescapetealight-holdersvotive-candle-holdersvotive-holdersweddings
Quick View
Richland Votive Holder Clear Textured Glass Set of 48
$53.99
$89.99
Eastland Black Shepherd Hook 48" Set of 10 aisle-decorceremonydecorevent-decor-on-salebowl-floating-candle-holdergarden-outdoorgarden-decorsalesale-group-eshepherd-hooks
Quick View
Eastland Black Shepherd Hook 48" Set of 10
$35.99
$59.99
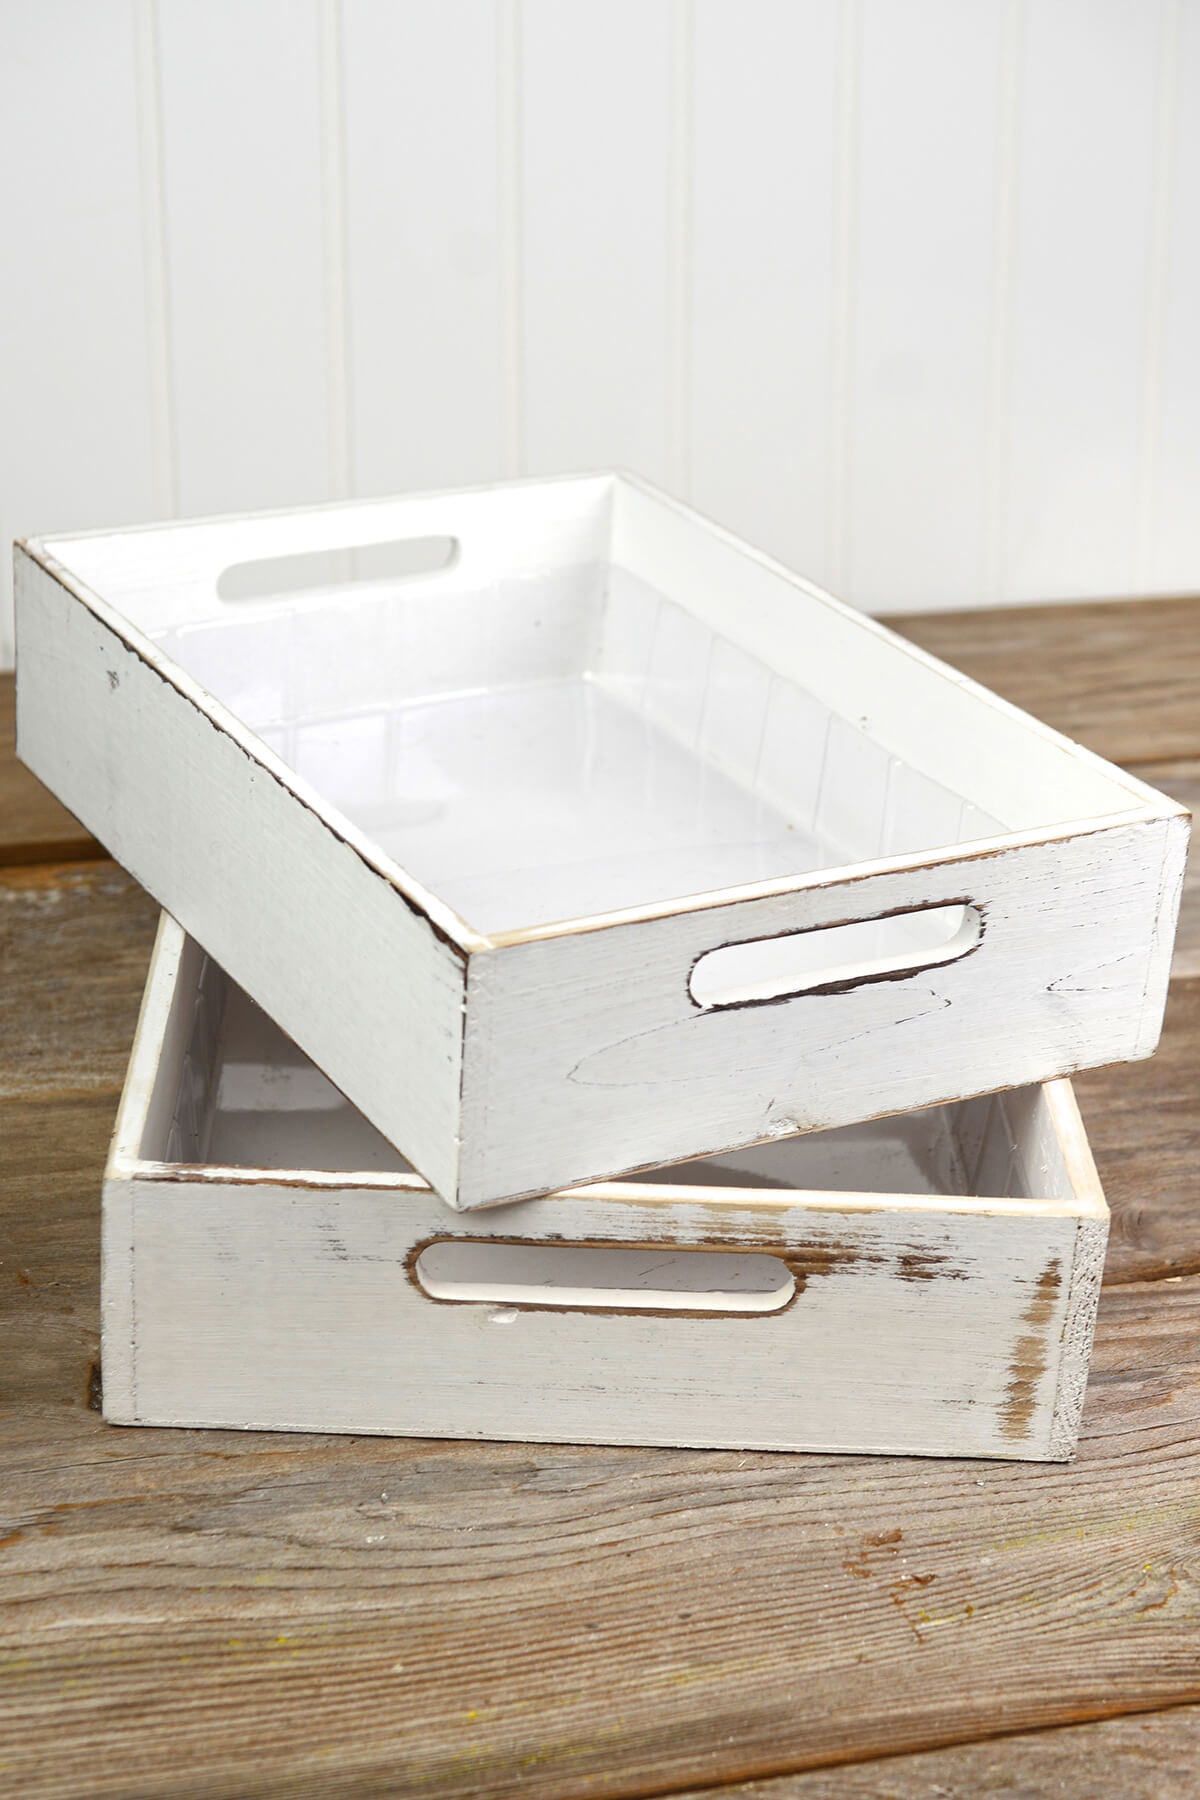
Whitewashed Wood Rectangle Tray 10x14 birthday-party-1bowls-traysbridal-showercorporate-partiesdecoreventsbowl-floating-candle-holderfourth-of-julygarden-outdoorgarden-decorhome-indoorreceptionserveware
Quick View
Whitewashed Wood Rectangle Tray 10x14
$19.99
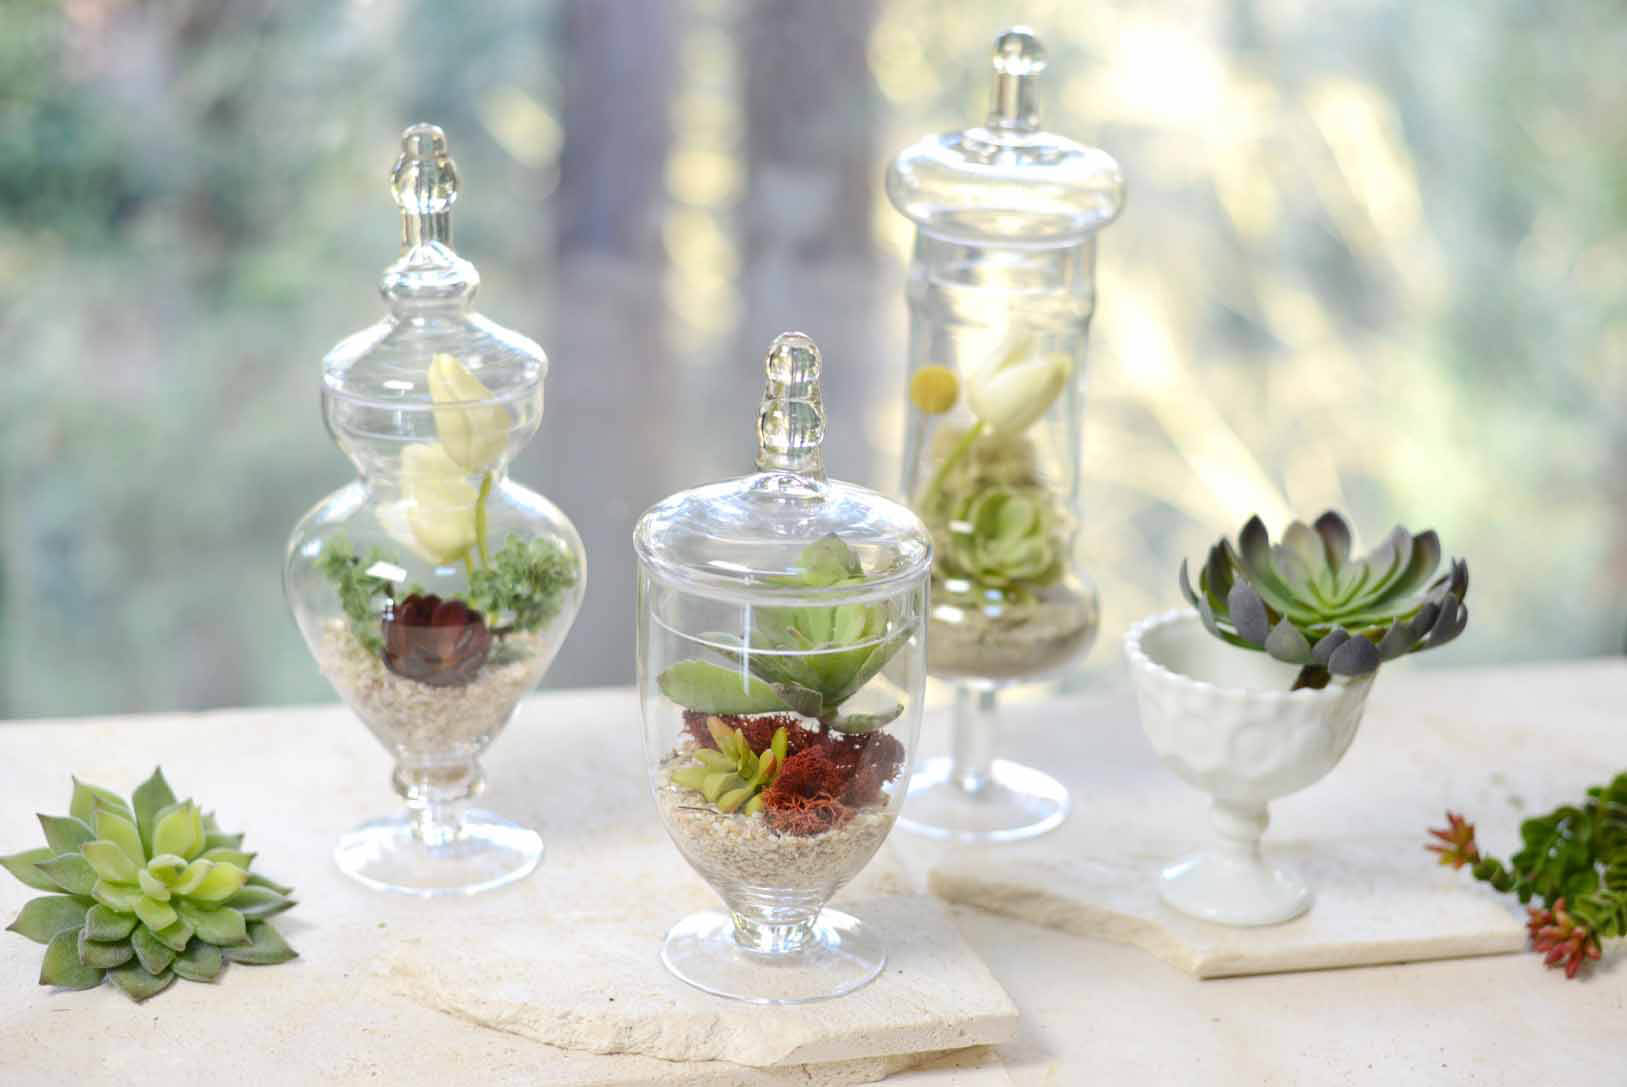
Set of 3 Apothecary Jars 9", 12", & 13.5" apothecary-jarsbeverage-bar-suppliesmilk-bottle-vasesbridal-showercenterpiecesdecorengagement-partybowl-floating-candle-holdergarden-outdoorglasswarehome-indoorreceptionsalesale-group-gsucculentstablescapevases-on-salevintage-bottles-holdersweddings
Quick View
Set of 3 Apothecary Jars 9", 12", & 13.5"
$35.99
$59.99
Richland Plain Charger Plate 13" Forest Green charger-plateschristmascorporate-partiesdecorbowl-floating-candle-holdergreenreceptionservewarest-patricks-daytablescape
Quick View
Richland Plain Charger Plate 13" Forest Green
$3.99
Eastland Black Shepherd Hook 48" Set of 20 aisle-decorceremonydecorevent-decor-on-salebowl-floating-candle-holdergarden-outdoorgarden-decorsalesale-group-eshepherd-hooks
Quick View
Eastland Black Shepherd Hook 48" Set of 20
$65.99
$109.99
Richland Mini Tealight Lanterns Black Metal Set of 5 candle-holder-salecandle-holderscorporate-partiesdecorevent-decor-on-saleeventsfallbowl-floating-candle-holdergarden-outdoorgarden-decorhanging-candle-holderslanternsreceptionsalesale-group-ctablescapetealight-holders
Quick View
Richland Mini Tealight Lanterns Black Metal Set of 5
$11.99
$19.99
Eastland Black Shepherd Hook 48" Set of 4 aisle-decorceremonydecorevent-decor-on-salebowl-floating-candle-holdergarden-outdoorgarden-decorsalesale-group-eshepherd-hooks
Quick View
Eastland Black Shepherd Hook 48" Set of 4
$17.99
$29.99
Richland Francie Bell Jar beverage-bar-suppliesbirthday-party-1milk-bottle-vasesbridal-showercorporate-partiesdecorengagement-partybowl-floating-candle-holderglasswarereceptionservewaretablescapevintage-bottles-holders
Quick View
Richland Francie Bell Jar
$14.99
Sold Out
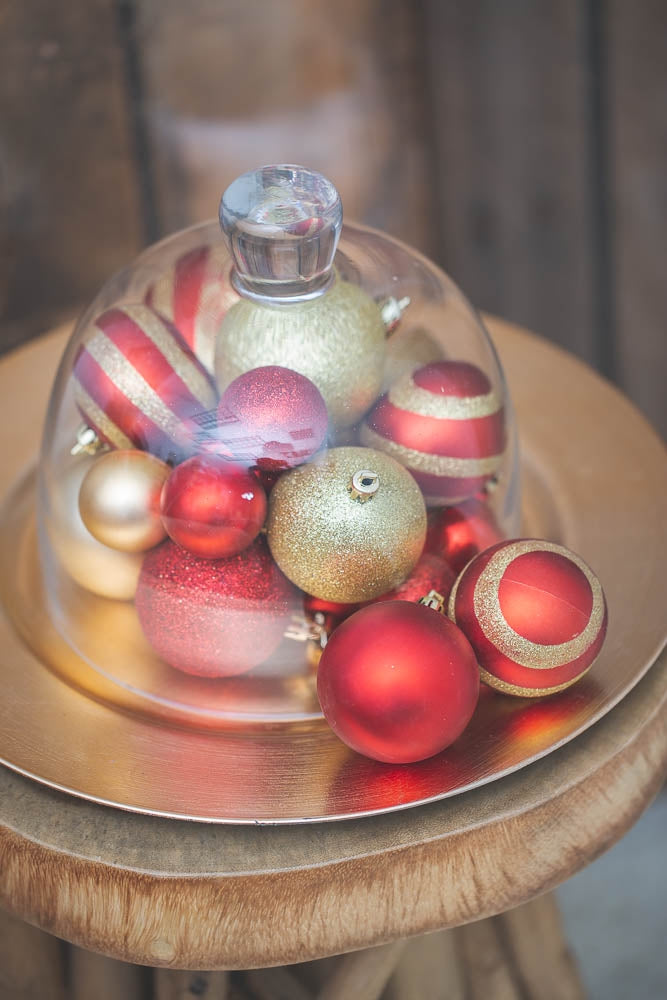
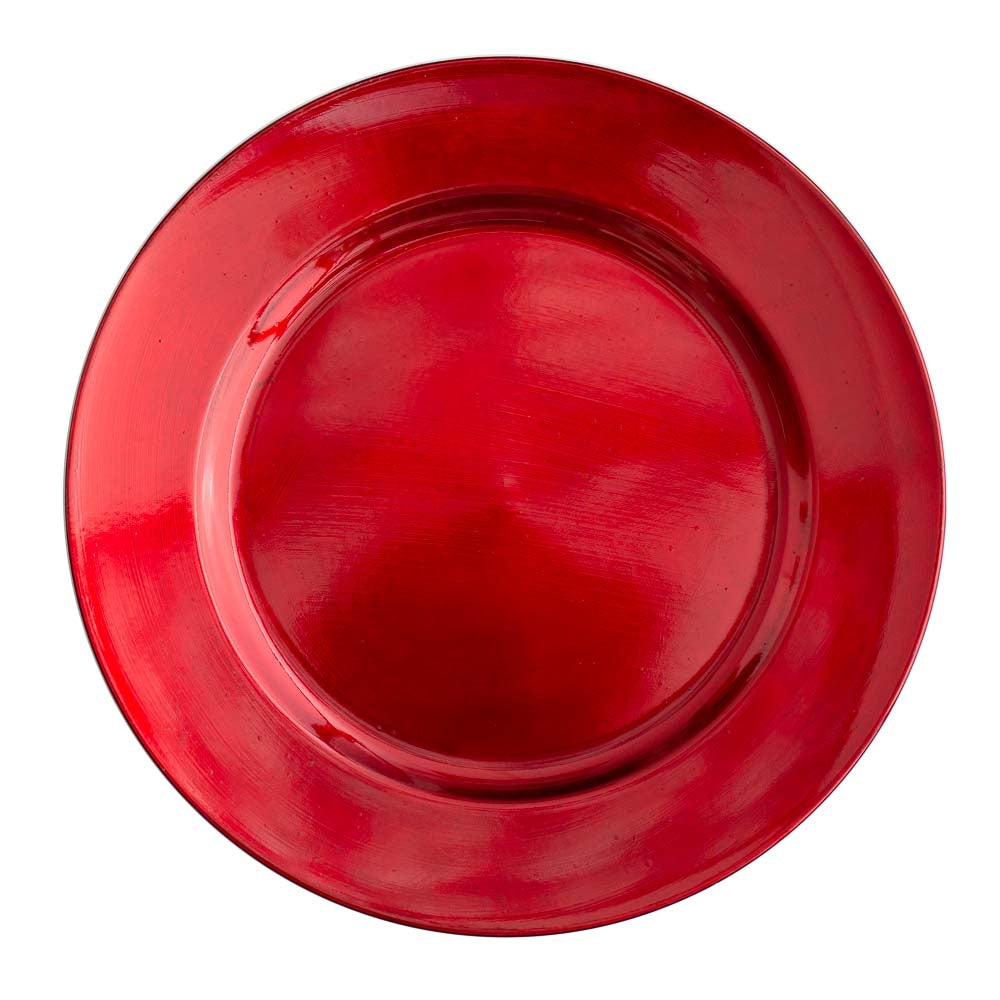
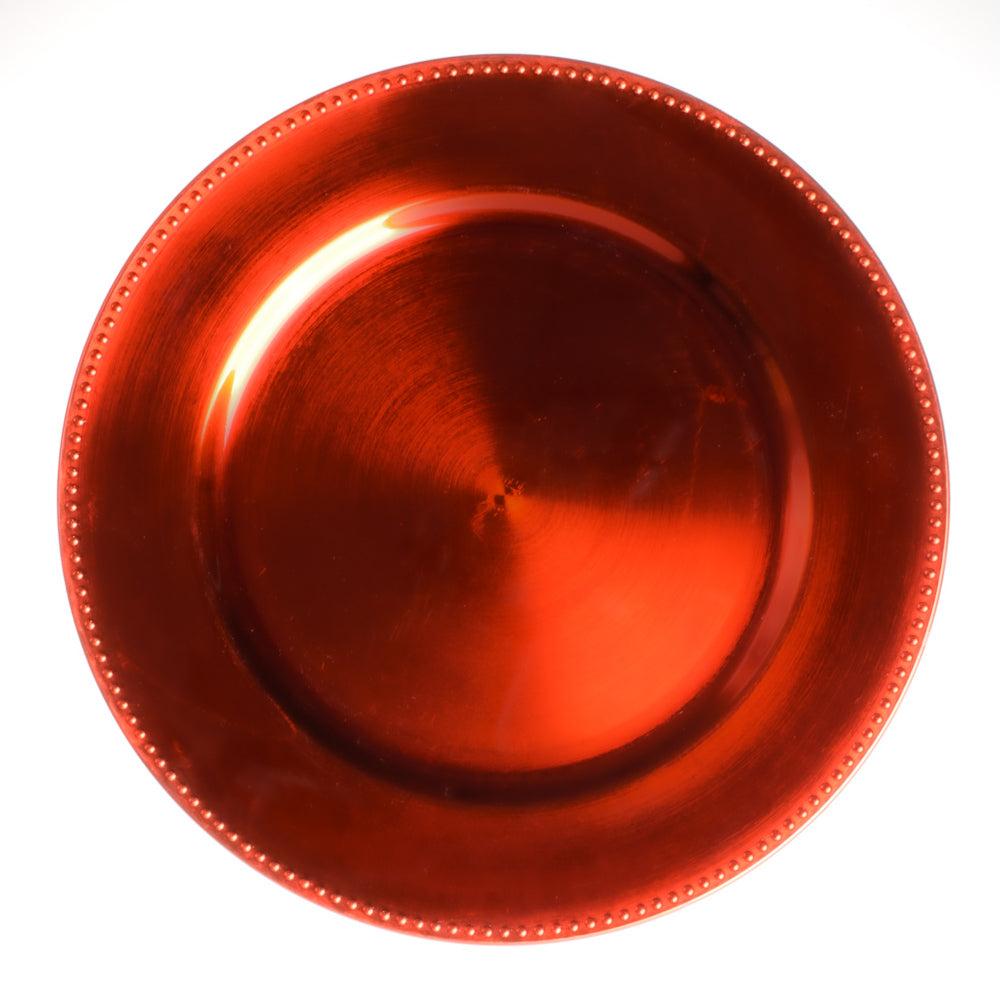
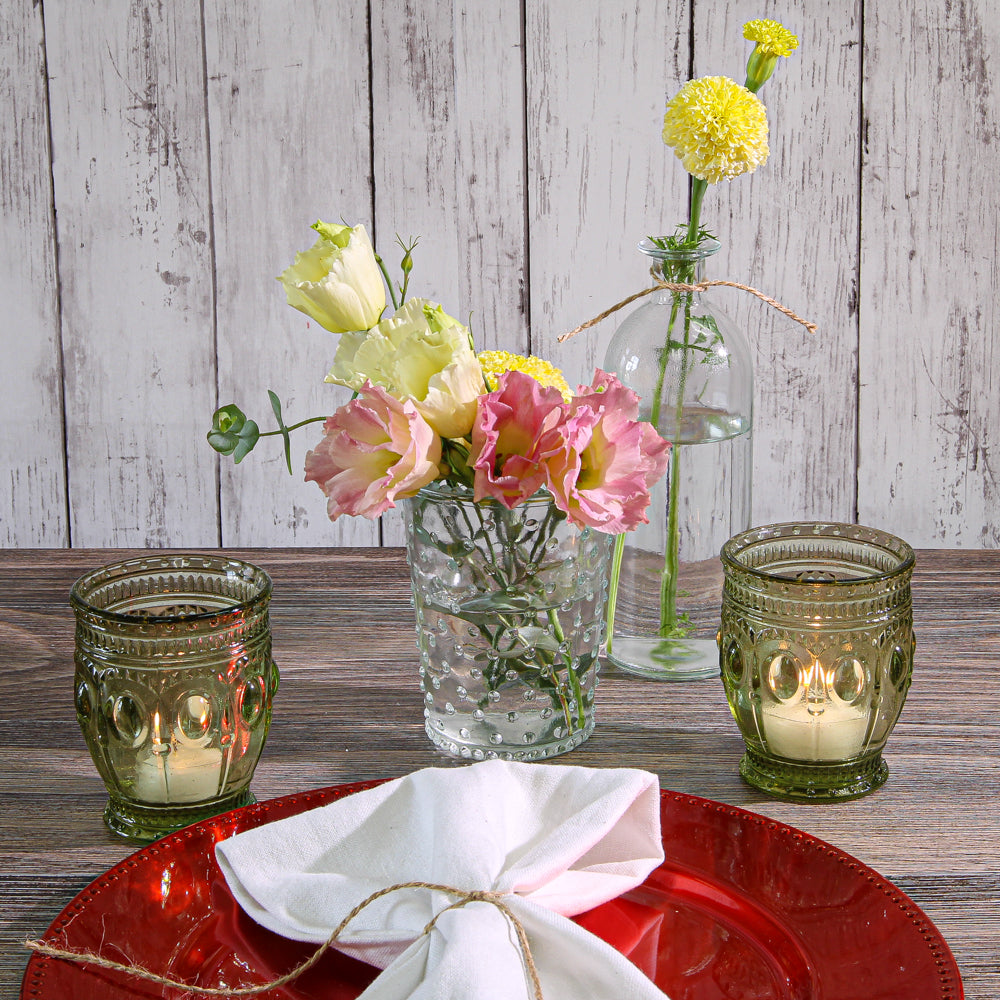
Richland Plain Charger Plate 13" Red anniversarycharger-plateschristmascorporate-partiesdecorbowl-floating-candle-holderfourth-of-julyreceptionservewaretablescapevalentines-day
Quick View
Richland Plain Charger Plate 13" Red
$3.99
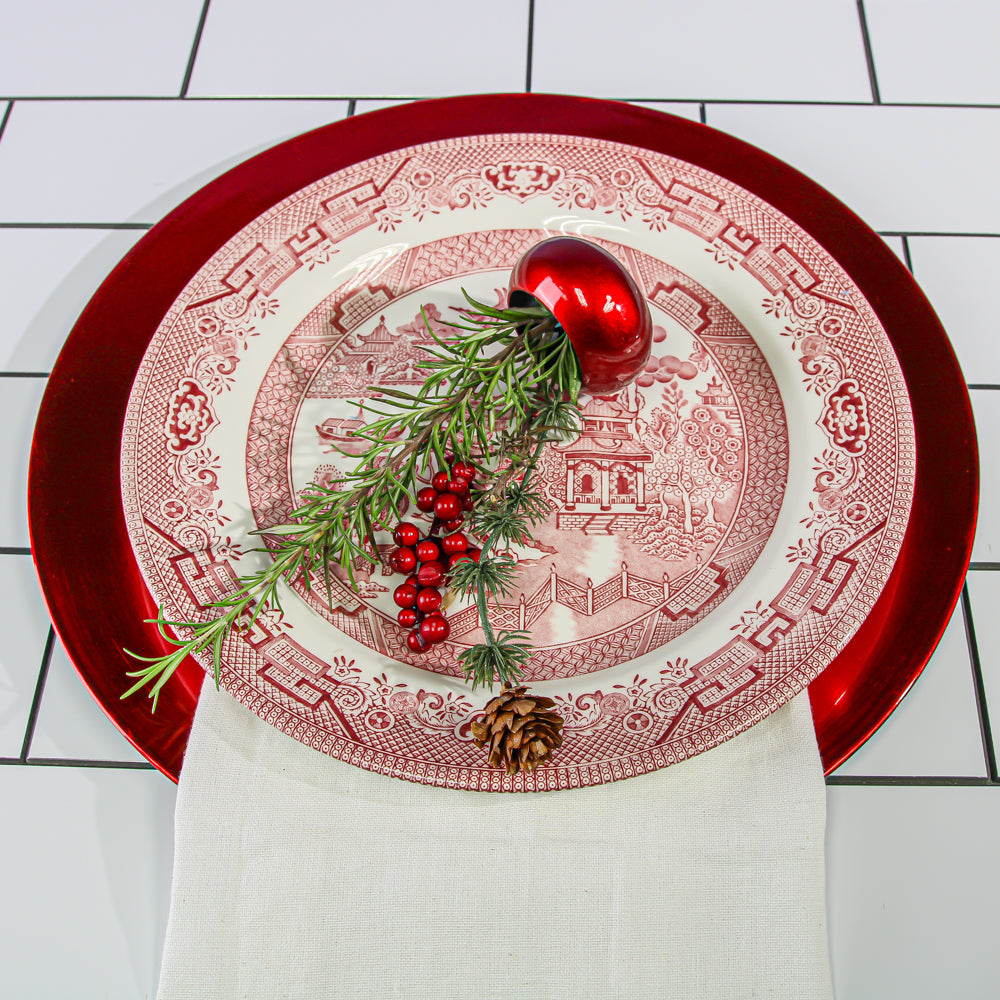
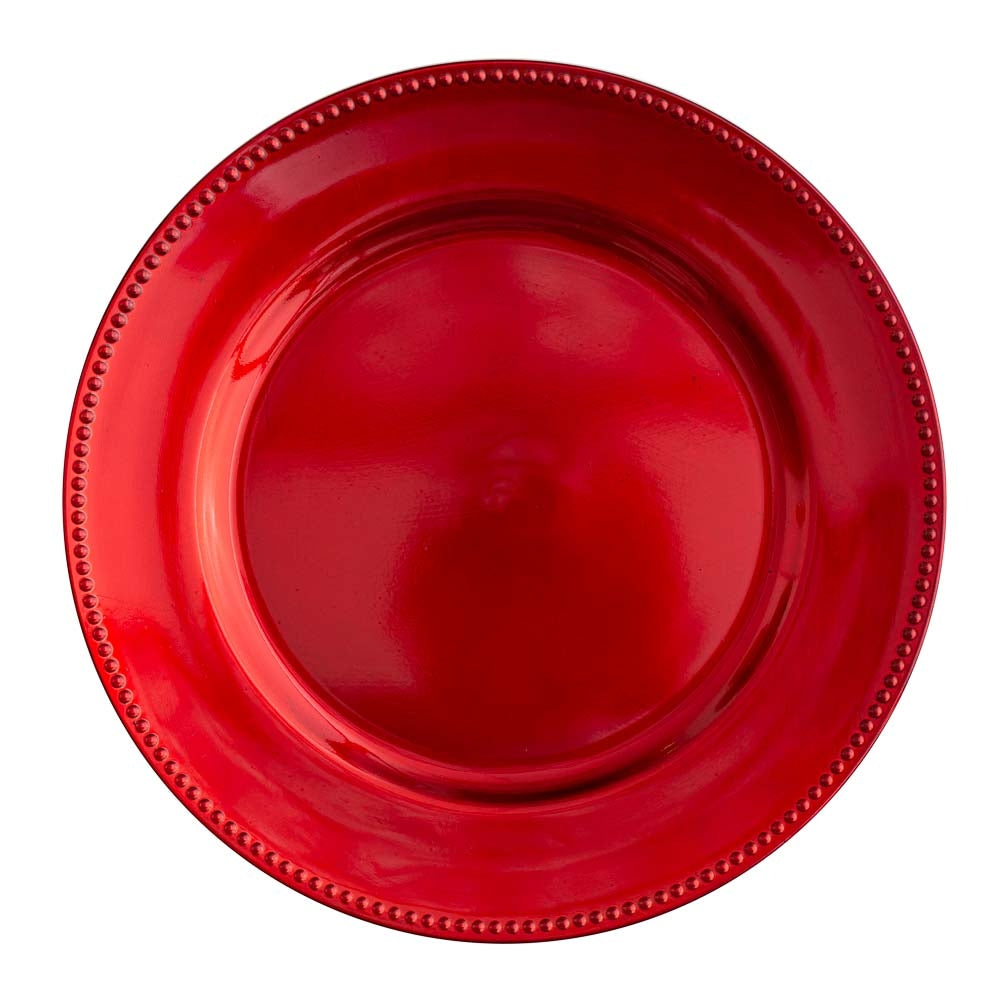
Richland Beaded Charger Plate 13" Red anniversarycharger-plateschristmascorporate-partiesdecorengagement-partybowl-floating-candle-holderfourth-of-julyreceptionservewaretablescapevalentines-day
Quick View
Richland Beaded Charger Plate 13" Red
$3.99
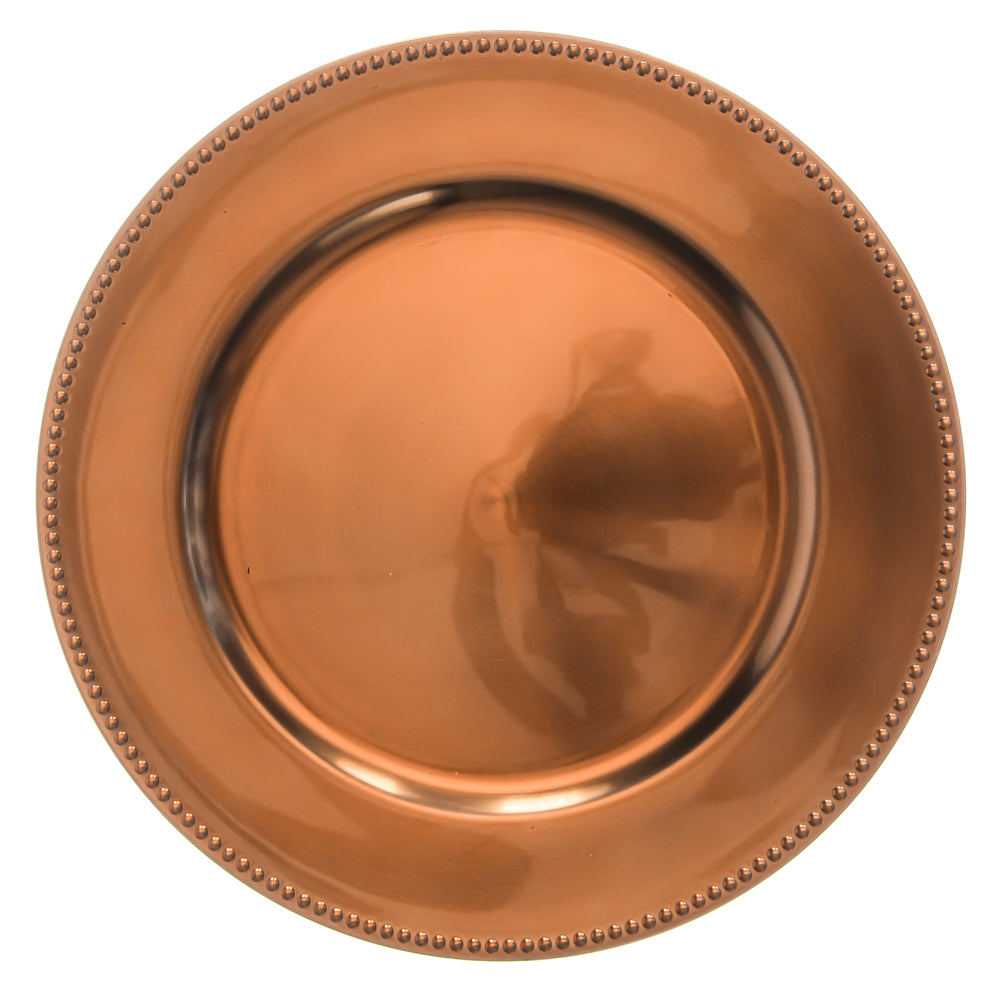
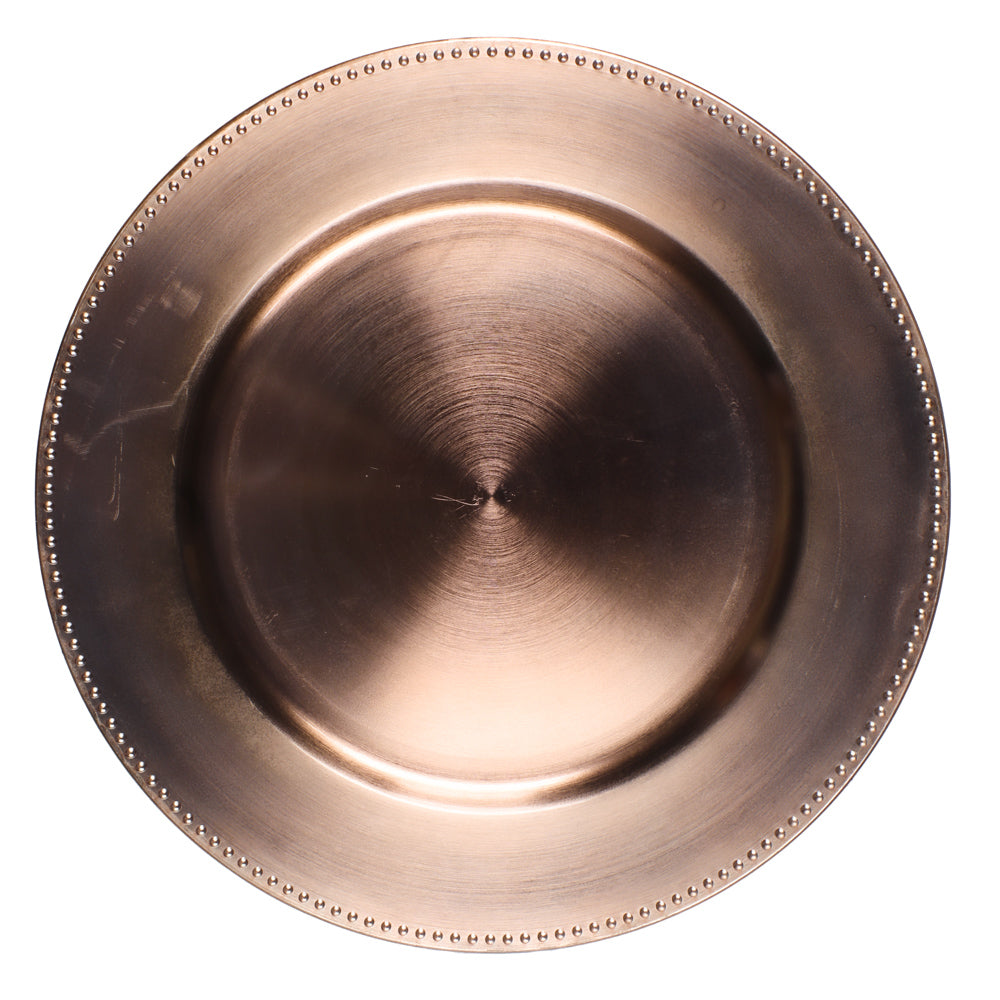
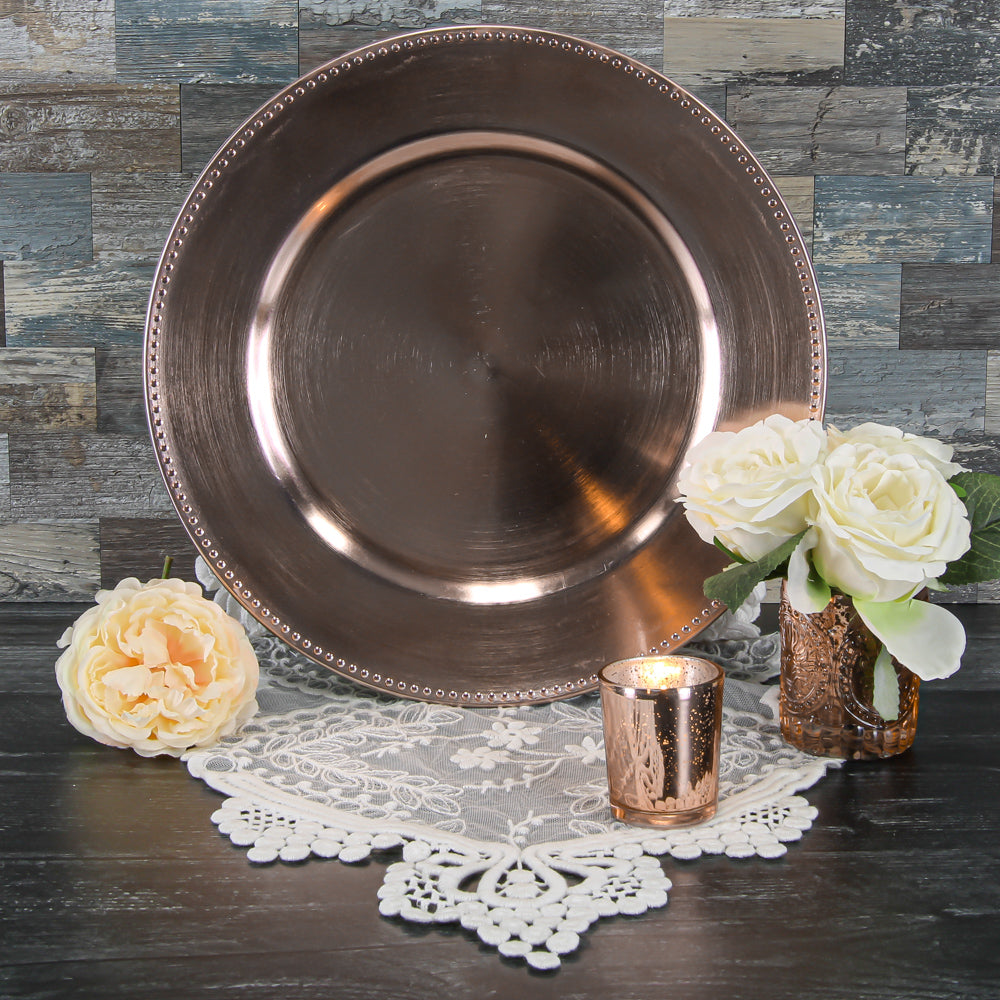
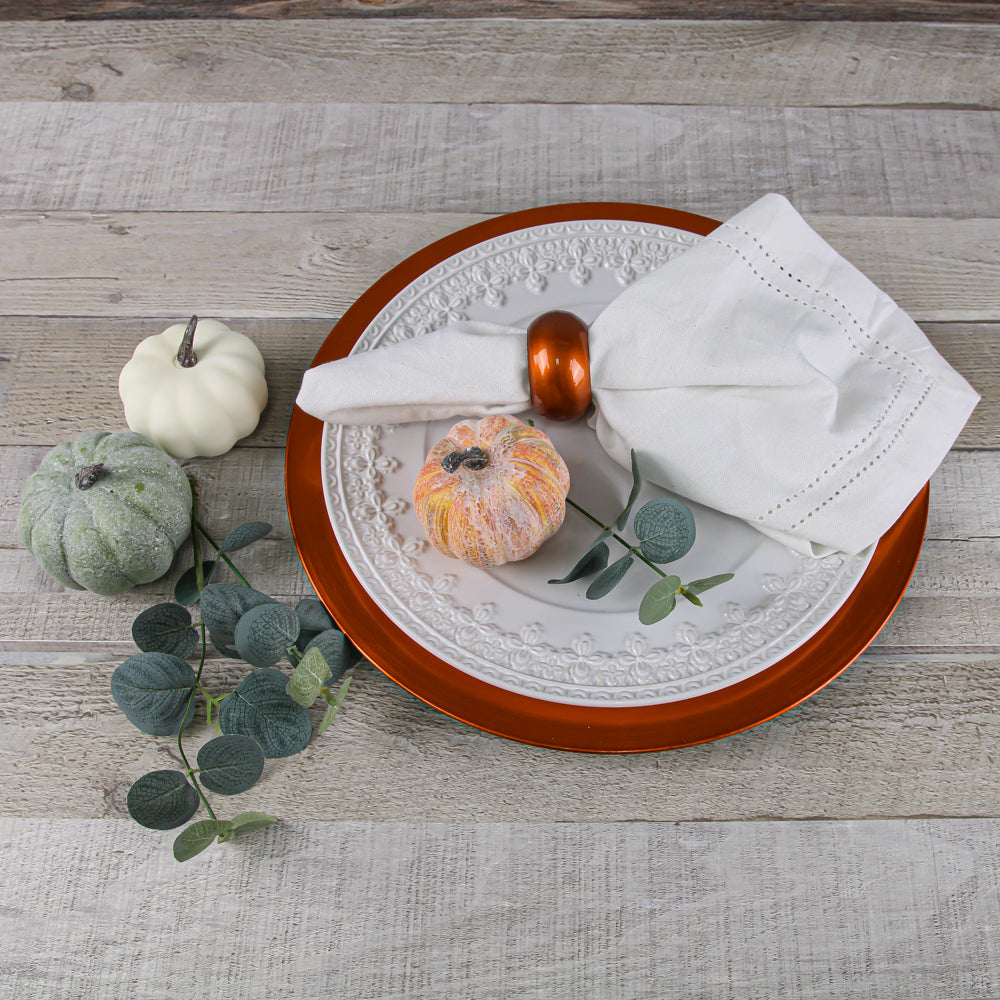
Richland Beaded Charger Plate 13" Copper anniversarycharger-platescorporate-partiesdecoreventsfallbowl-floating-candle-holderreceptionservewaretablescapethanksgiving
Quick View
Richland Beaded Charger Plate 13" Copper
$3.99
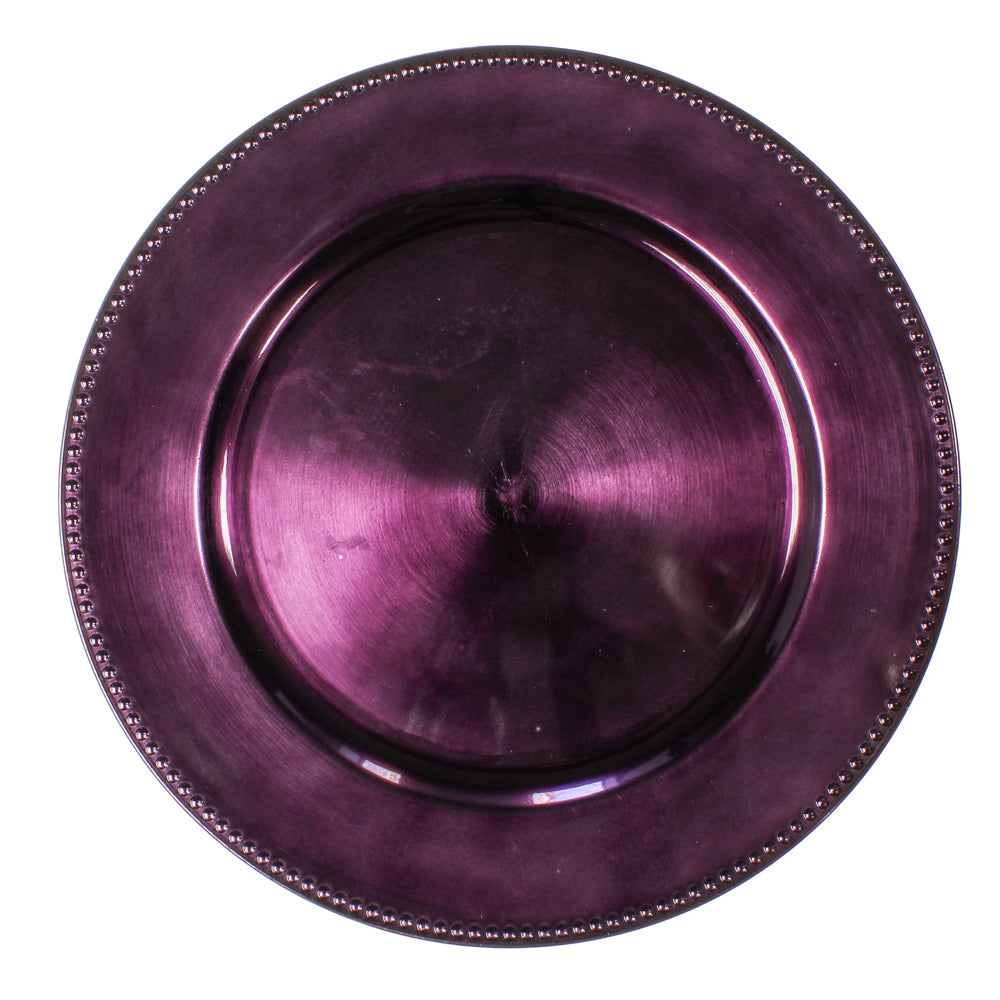
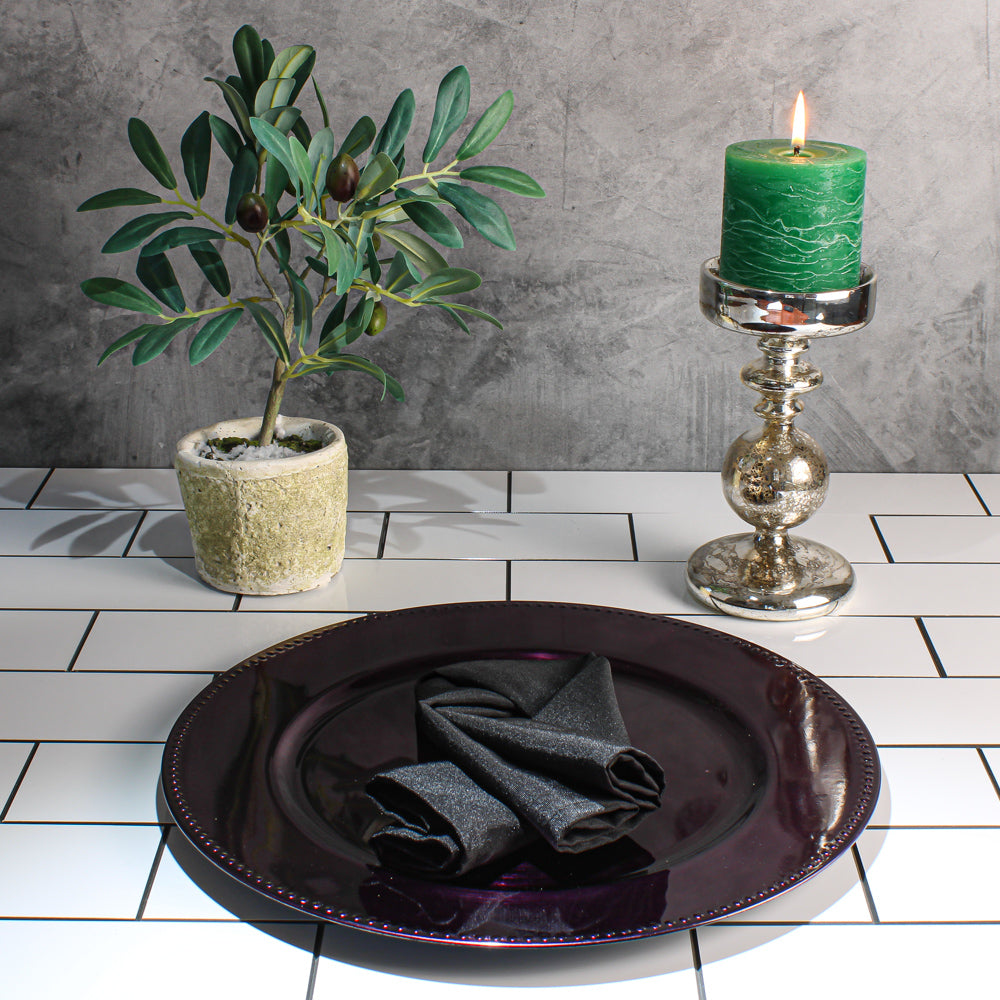
Richland Beaded Charger Plate 13" Eggplant bachelorette-partycharger-platescorporate-partiesdecoreventsfallbowl-floating-candle-holderhalloweenlavender-and-lilacreceptionservewaretablescapethanksgiving
Quick View
Richland Beaded Charger Plate 13" Eggplant
$3.99
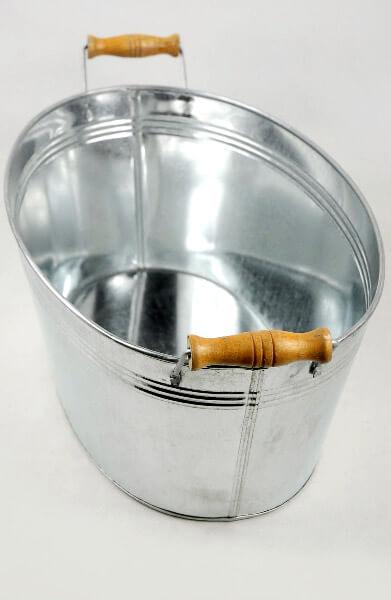
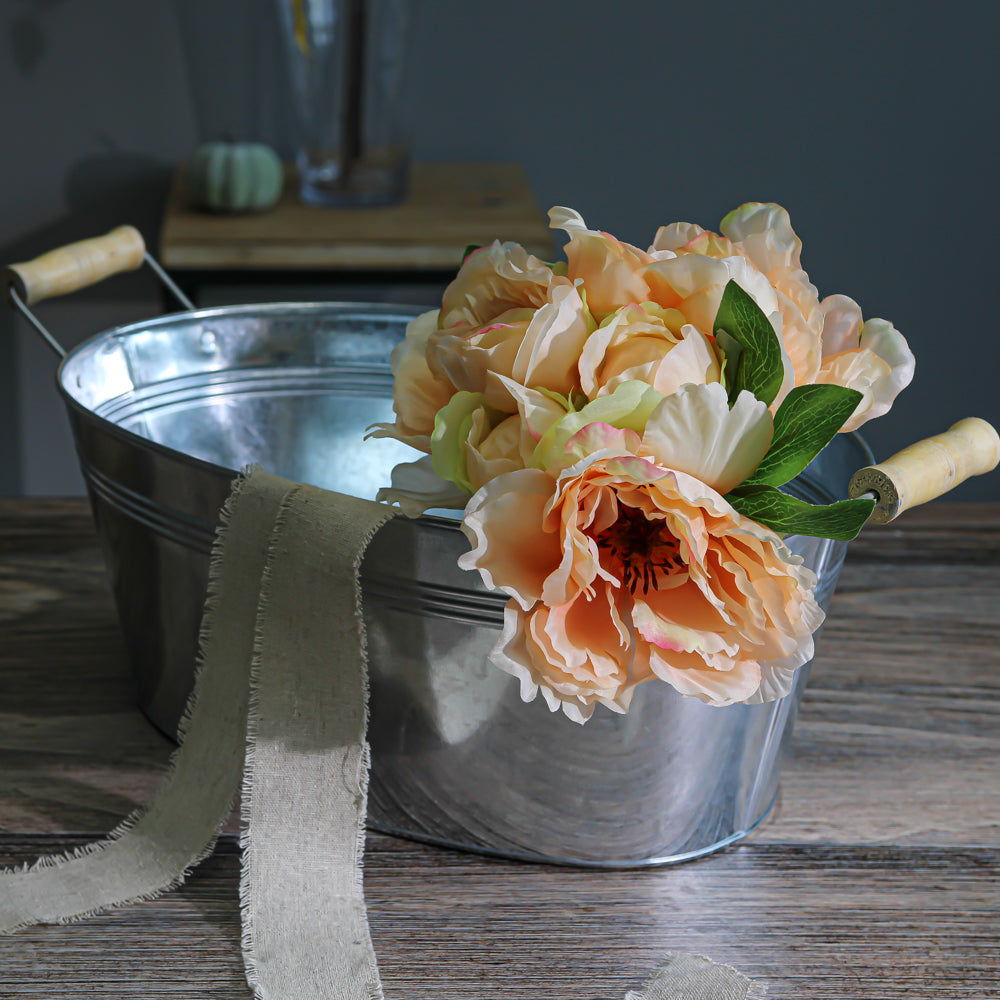
Galvanized Tub Oval 15 Inch bachelorette-partybeverage-bar-suppliesbirthday-party-1buckets-tubscorporate-partiesdecorengagement-partyeventsbowl-floating-candle-holdergarden-outdoorgarden-decorhome-indoorreceptionsale-group-fservewaretabletop-on-sale
Quick View
Galvanized Tub Oval 15 Inch
$11.99
$19.99
Richland Beaded Charger Plate 13" Orange charger-platescorporate-partiesdecoreventsfallbowl-floating-candle-holderhalloweenreceptionservewaretablescapethanksgiving
Quick View
Richland Beaded Charger Plate 13" Orange
$3.99
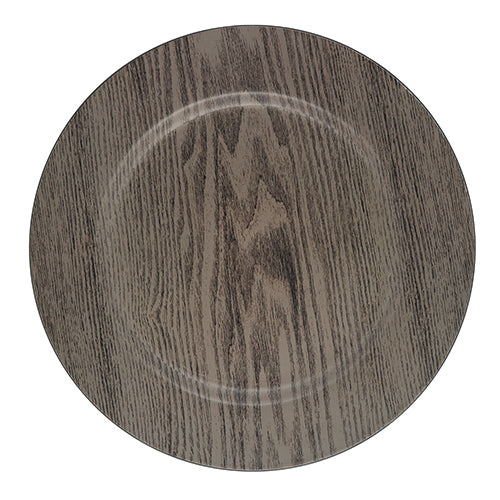
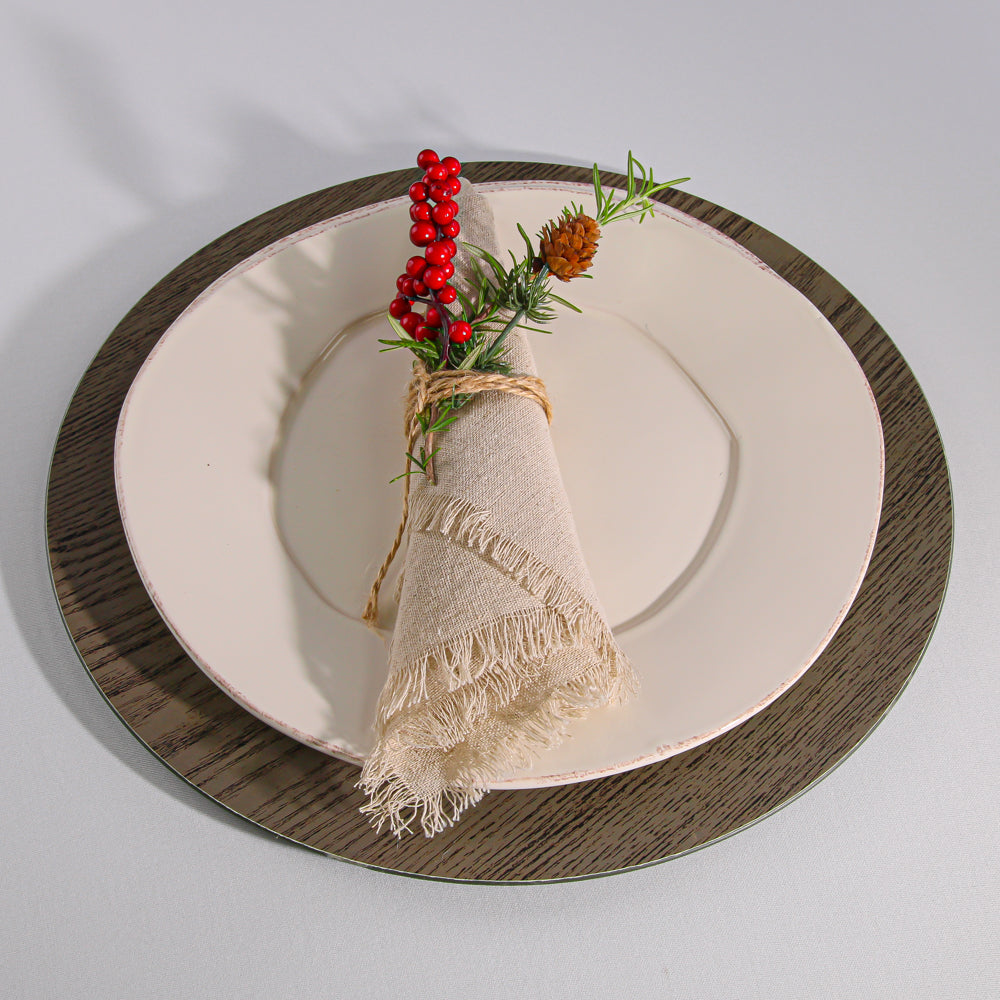
Richland Plain Charger Plate 13" Woodgrain birthday-party-1charger-platescorporate-partiesdecoreventsfallbowl-floating-candle-holdergarden-outdoorhalloweennautical-decorreceptionservewaretablescapethanksgivingwinter
Quick View
Richland Plain Charger Plate 13" Woodgrain
$3.99
Richland Beaded Charger Plate 13" Rose Gold anniversarybridal-showercharger-platescorporate-partiesdecoreastereventsfallbowl-floating-candle-holderpinkreceptionservewaretablescapevalentines-dayweddings
Quick View
Richland Beaded Charger Plate 13" Rose Gold
$3.99
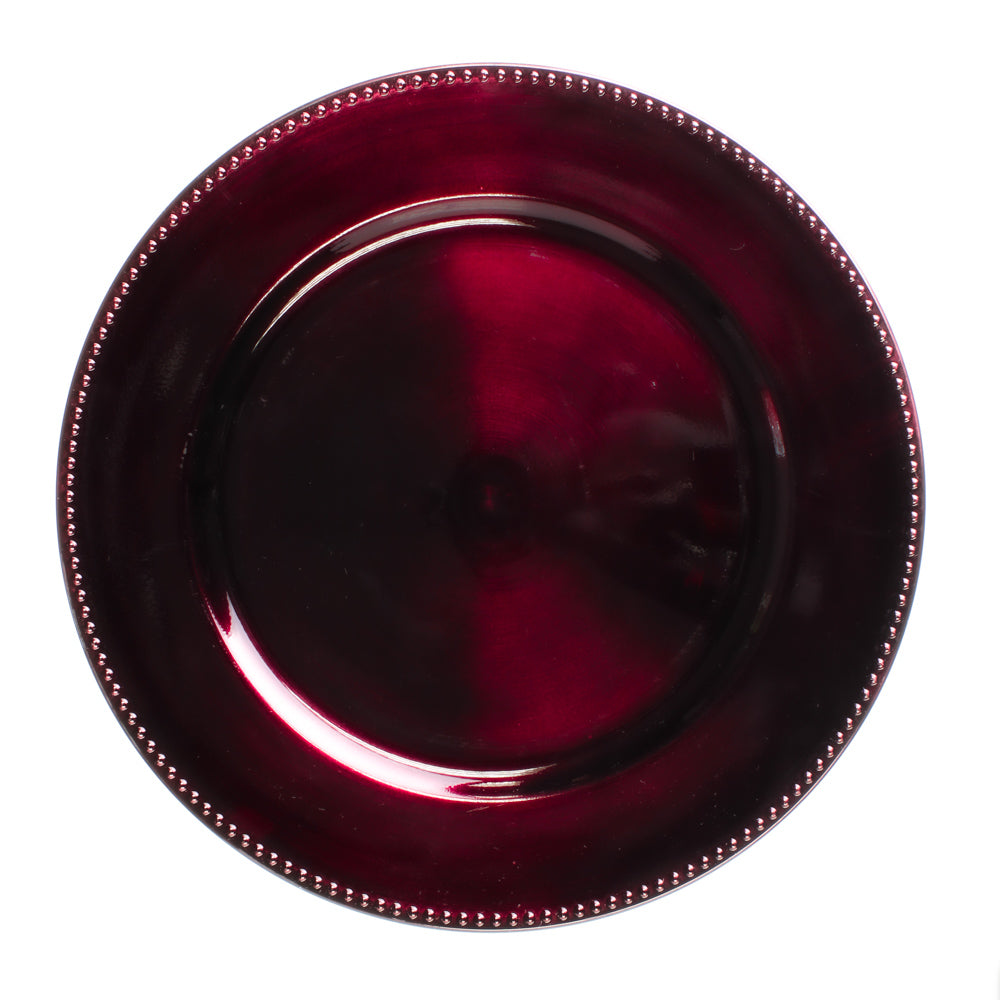
Richland Beaded Charger Plate 13" Burgundy anniversarycharger-plateschristmascorporate-partiesdecoreventsfallbowl-floating-candle-holderreceptionservewaretablescape
Quick View
Richland Beaded Charger Plate 13" Burgundy
$3.99
Richland Vintage Glass Vase with Topper Set of 12 anniversarybeverage-bar-suppliesmilk-bottle-vasesbud-vasescorporate-partiesdecorengagement-partyevent-decor-on-salebowl-floating-candle-holderflower-vasesglasswarehome-indoorreceptionsalesale-group-gvasesvases-on-salevintage-bottles-holders
Quick View
Richland Vintage Glass Vase with Topper Set of 12
$17.99
$29.99
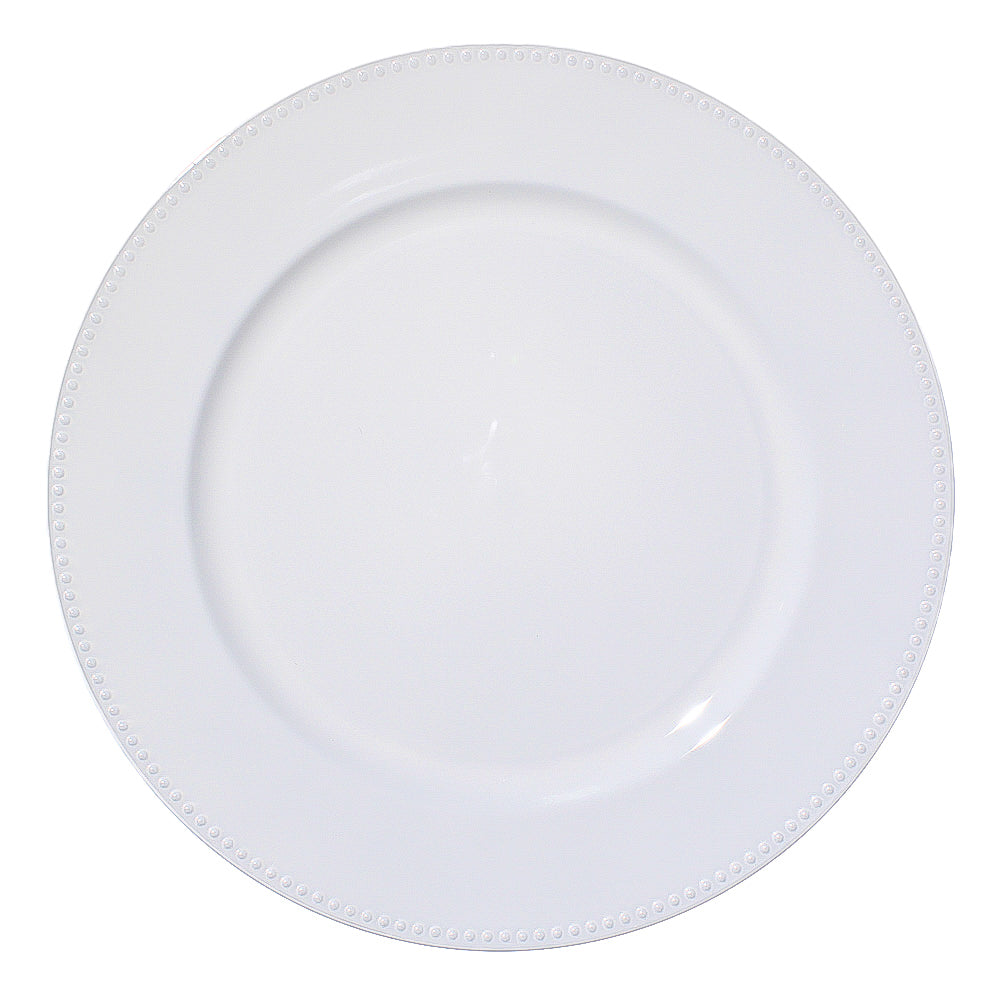
Richland Beaded Charger Plate 13" White bridal-showercharger-plateschristmascorporate-partiesdecoreasterengagement-partyeventsbowl-floating-candle-holderfourth-of-julygarden-outdoornautical-decorreceptionservewaretablescapevalentines-dayweddingswinter
Quick View
Richland Beaded Charger Plate 13" White
$3.99
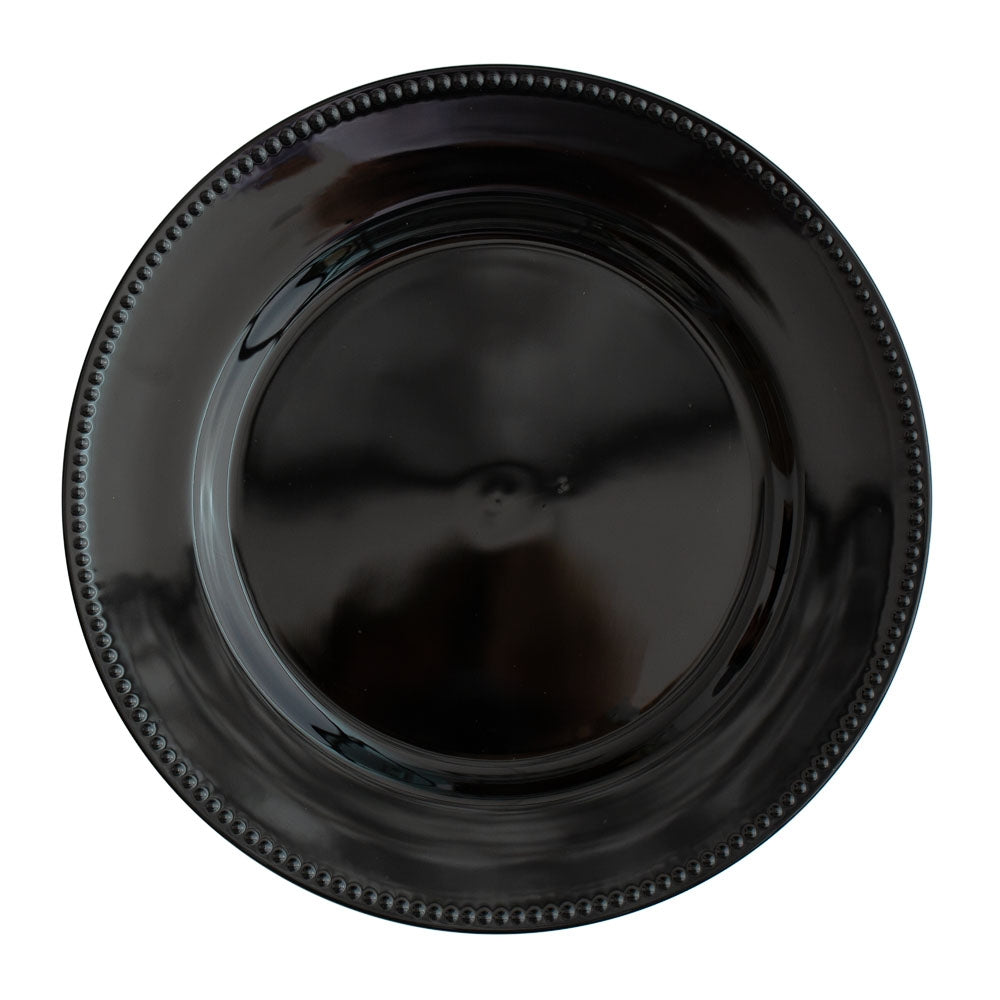
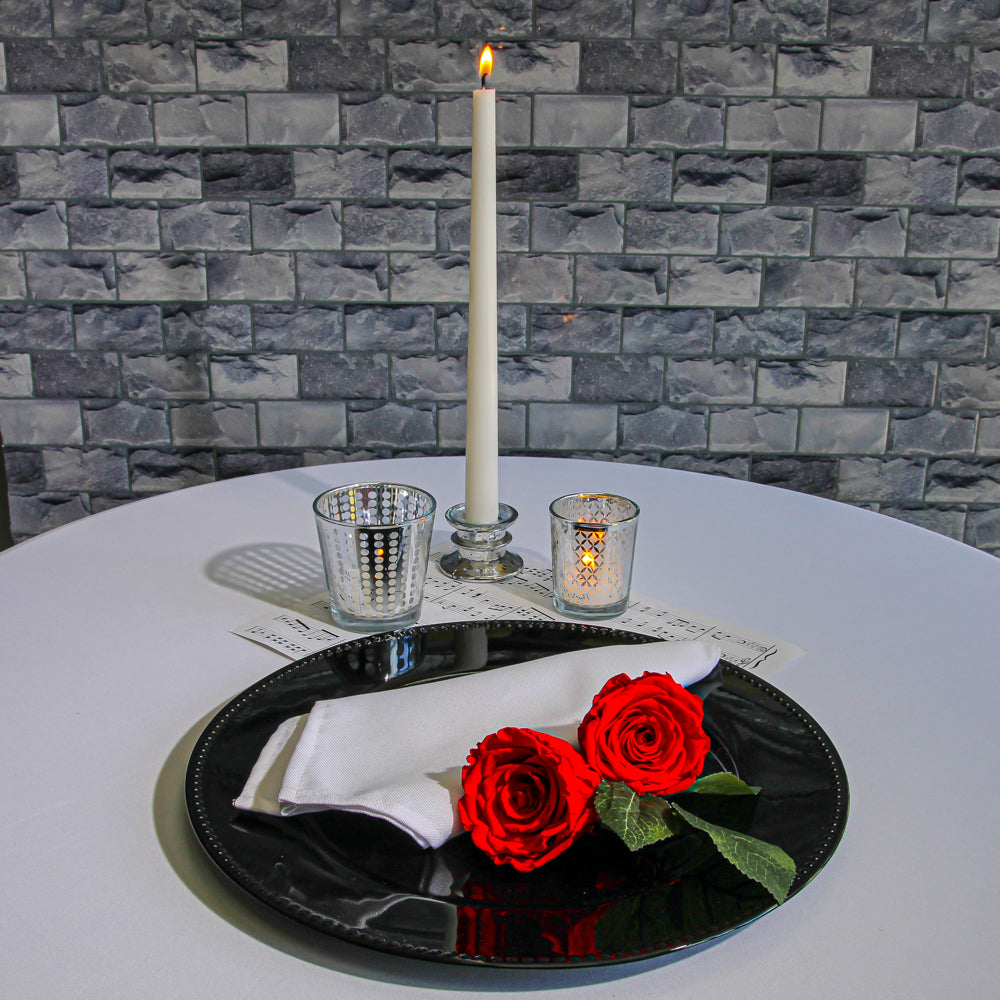
Richland Beaded Charger Plate 13" Black anniversarybachelorette-partycharger-platescorporate-partiesdecorengagement-partybowl-floating-candle-holderhalloweennew-years-evereceptionservewaretablescapeweddings
Quick View
Richland Beaded Charger Plate 13" Black
$3.99
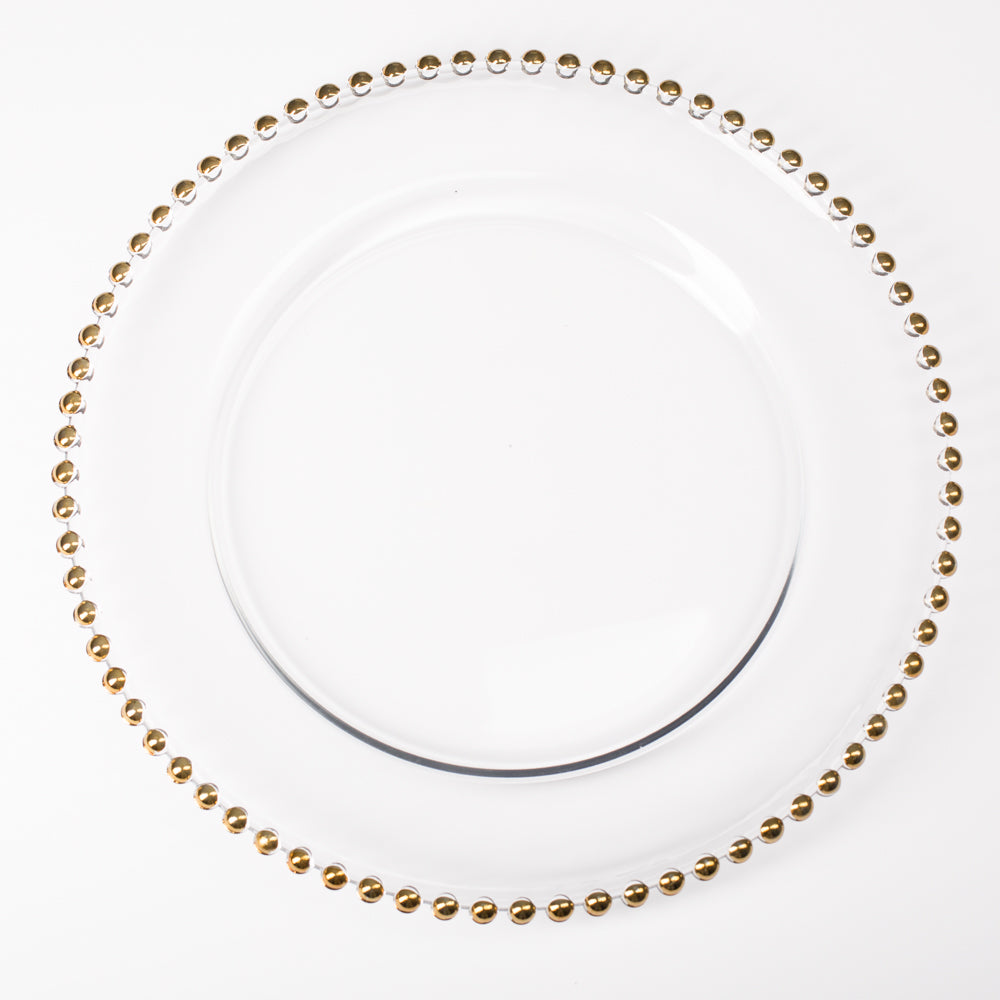
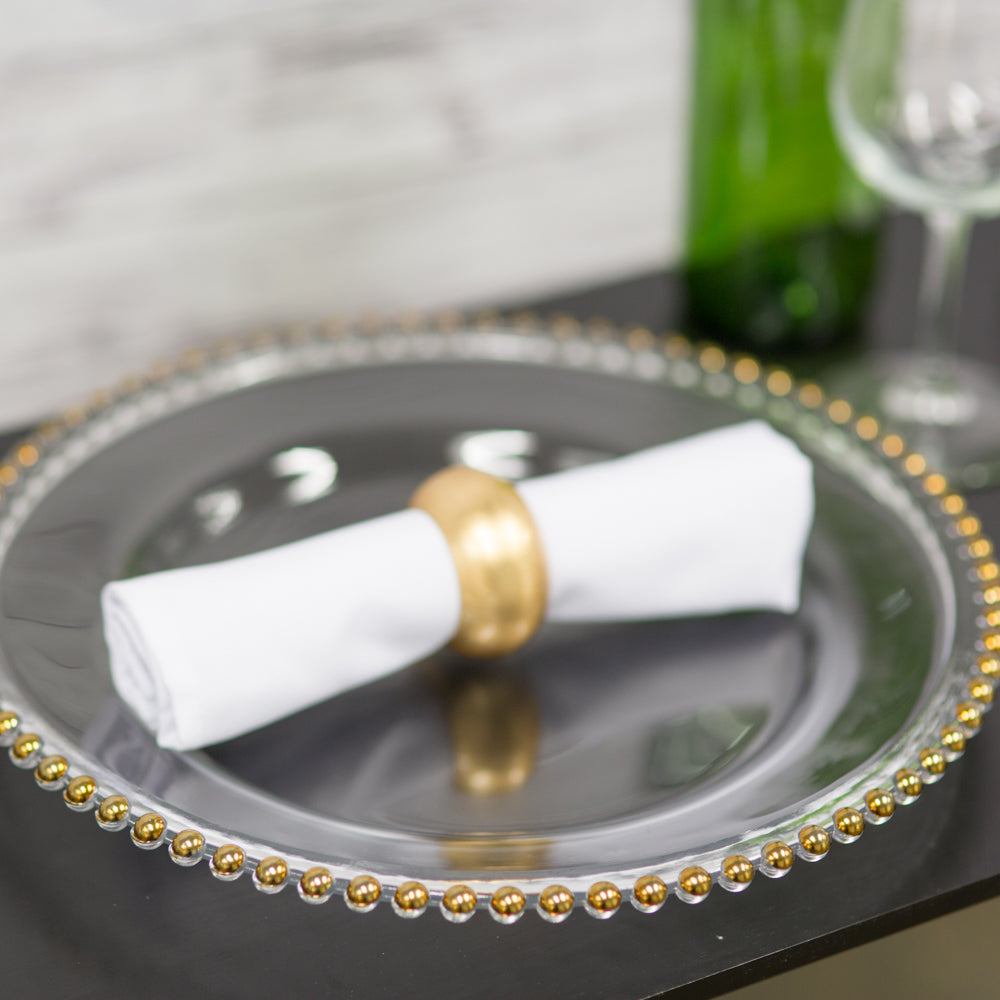
Richland 13" Gold Beaded Glass Charger Plate bridal-showercharger-plateschristmascorporate-partiesdecoreventsbowl-floating-candle-holderreceptionservewarest-patricks-daytablescapethanksgivingweddingswinter
Quick View
Richland 13" Gold Beaded Glass Charger Plate
$14.99
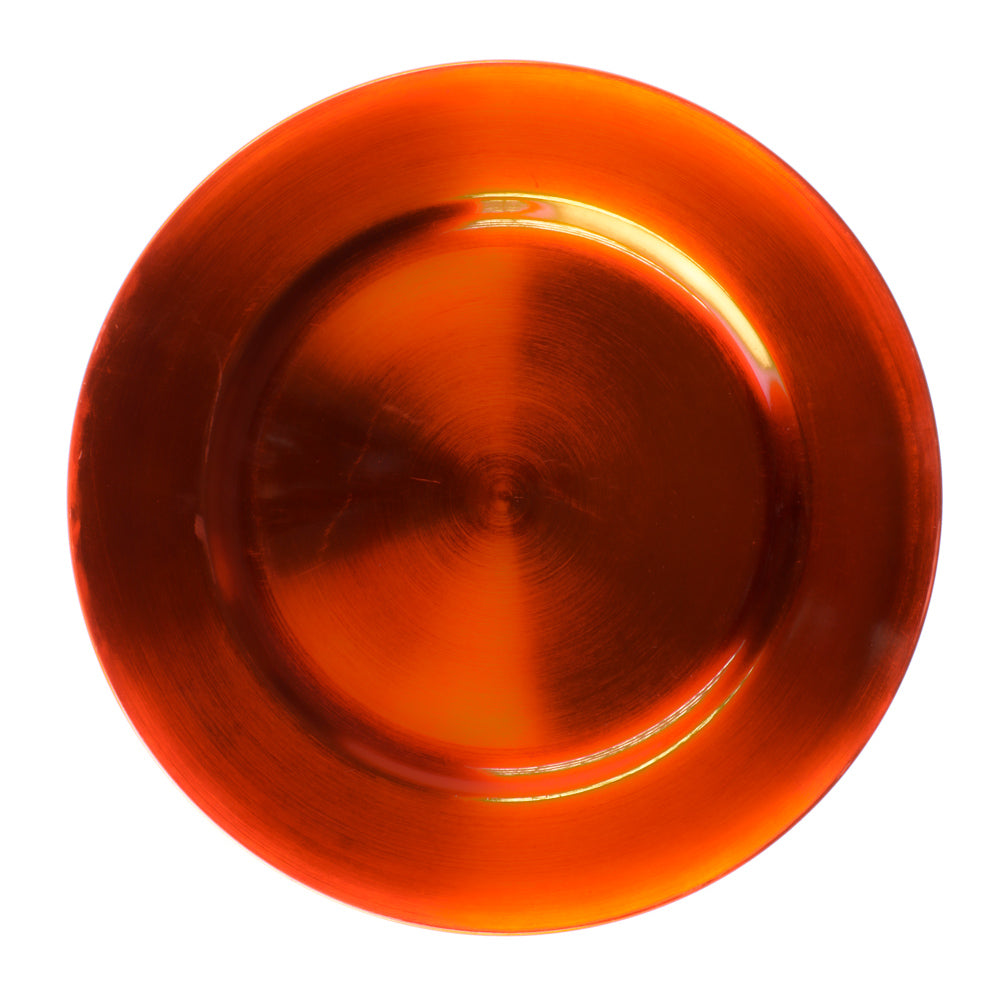
Richland Plain Charger Plate 13" Orange charger-platescorporate-partiesdecoreventsfallbowl-floating-candle-holderhalloweenreceptionservewaretablescapethanksgiving
Quick View
Richland Plain Charger Plate 13" Orange
$3.99
Load More Products
Search